

Setting up the Fourier GR‑1 humanoid at home takes about 2–3 hours. Unbox the 55 kg robot, charge the 2‑hour battery, and power on following the manufacturer’s guide. Set up network connectivity, update firmware, and run calibration. You’ll need a flat 3×3‑m clear area, a suspension rig, and easy access to the emergency stop.
What You’ll Need: Tools, Space & Time
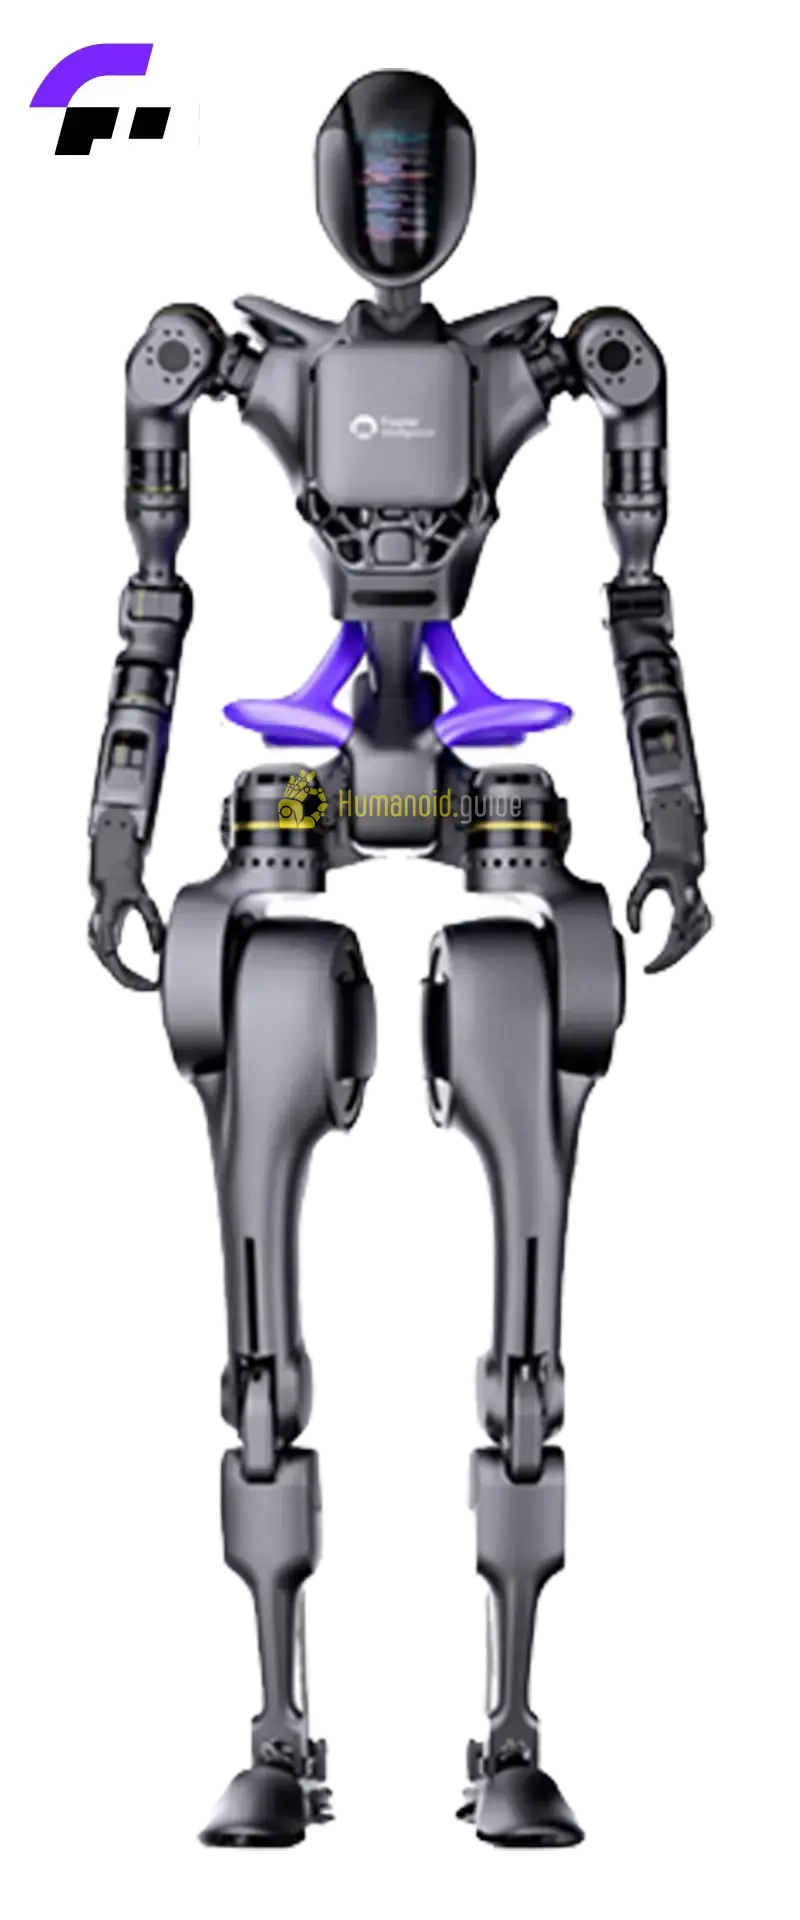
To set up the Fourier GR‑1 (165 cm tall, 55 kg, 40 degrees of freedom) at home you will need the following supplies and tools. All items are either included in the shipment or easily sourced.
Tools & supplies - Fourier GR‑1 robot (pre‑assembled) - 2‑hour lithium battery pack (proprietary, hot‑swappable on most versions) - Manufacturer‑supplied charging dock / power brick (refer to the manual for exact model) - Laptop or tablet (Windows / macOS / Linux) for configuration and monitoring - Ethernet cable (recommended) or a dedicated Wi‑Fi router if wireless is used - Suspension rig or adjustable stand capable of holding 60 kg – critical for first power‑on - Anti‑fatigue rubber floor mat (3 m × 3 m minimum) – protects both robot and floor - Safety mirror placed at one corner of the workspace to monitor rear posture - Heavy‑duty extension cord (if the charging station is far from a wall outlet) - Personal protective equipment: steel‑toe shoes, gloves during unboxing
Space requirements - Minimum clear floor area: 3 m × 3 m (9 m²), flat, non‑slip, indoors - Ceiling height at least 2 m to allow full upright standing and suspension - Exclusion zone of 1 m beyond the mat during any powered movement - Keep the area free of loose cables, pets, and small children
Time estimates (first‑time user) | Setup phase | Approximate duration | |-------------|-----------------------| | Unbox & inspection | 20 min | | Battery installation & charge | 1 – 1.5 h (if charging from empty) | | Power‑on & initial boot | 10 min | | Network configuration | 20 min | | App/remote binding | 10 min | | Firmware update & security | 30 min | | Calibration & first walk | 30 min (plus drying time if self‑levelling) | | Total | ~2 – 3 hours |
Before You Start: Safety & Space Requirements
> CRITICAL SAFETY > The GR‑1 weighs 55 kg and has a high centre of gravity. An un‑supported fall can destroy the robot’s joints and injure people. Before you connect power, prepare the workspace and plan your emergency stop.
- Suspension is mandatory on first boot. Hang the robot from a load‑rated strap or place it in a purpose‑built stand so its feet are just touching the mat. This prevents a sudden collapse.
- Emergency stop (e‑stop): the GR‑1 has a physical e‑stop button (usually on the back or the hip). Locate it and ensure you can reach it without stepping into the robot’s movement zone. The main battery disconnect (if accessible) serves as a secondary e‑stop.
- Floor surface: use a thick rubber mat (10 mm+), not carpet, because carpet fibres can snag feet and cause instability. Hardwood or concrete floors are acceptable only with a mat.
- Lighting: bright, even room lighting helps the robot’s depth cameras and any external tracking system.
- Exclusion zone: mark a 2 × 2 m box inside the mat area with coloured tape. Stay outside this box whenever the robot is standing.
- Fire safety: keep a CO₂ or dry‑powder fire extinguisher nearby (lithium batteries can ignite if severely damaged).
- Weather: humanoids are not designed for rain or dust; use only in a climate‑controlled indoor space (15 – 30 °C, <80 % humidity).
> Read the Fourier GR‑1 user manual’s safety chapter completely before proceeding. This guide supplements, not replaces, the official documentation.
Step 1 – Unboxing & Physical Inspection
- Move the crate close to the installation spot. The shipping crate is large (≈1.8 m × 0.8 m × 0.8 m) and heavy (robot + crate ≈80 kg). Use a pallet jack or two persons.
- Open the crate slowly, removing all foam blocks and packing materials. Keep the foam pieces in case you need to transport the robot later.
- Identify all components against the packing list (usually: robot body, battery charger, battery pack(s), documentation, a remote control or tablet). Contact Fourier immediately if anything is missing or damaged.
- Visually inspect the robot:
- All limbs straight, no visible cracks or loose fasteners.
- Connector ports on the back/torso are clean and undamaged.
- Camera lenses (front head, side) are scratch‑free.
- Do NOT power on yet. If you found damage, photograph it and contact support.
Step 2 – Battery Installation & Charging
- Locate the battery compartment — usually a slide‑out tray on the back of the pelvis or lower back. Consult your manual for the exact release mechanism.
- Insert the battery until it clicks firmly. The GR‑1 uses a hot‑swappable design, so you may hear a latch.
- Connect the charger to the robot’s charging port (or place the robot on the docking station if supplied). Verify the charger’s LED turns solid green/blue when the connection is good.
- Charge for at least 1.5 hours (a full 0–100% cycle takes roughly 2 hours). The robot’s status LED may blink while charging and become steady when full.
- Battery specification: ~2 h runtime (nominal load), proprietary chemistry; do not use third‑party chargers.
Tip: if you have an extra battery, charge it simultaneously so you can hot‑swap later.
Step 3 – Powering On & First Boot
- Suspend the robot first. Attach the overhead strap to the lifting eye (top of head or shoulders) and take up the slack so the robot’s feet barely touch the mat.
- Press and hold the power button (typically on the back, a recessed button near the battery) for 3–5 seconds. You’ll hear internal fans spin up, and status LEDs will sequence.
- Observe the boot sequence. After 60–90 seconds the robot should assume a “neutral” stance — limbs stiff but not moving. If the robot slumps or falls, immediately cut power and check the suspension.
- Watch the status indicator light.
- Solid green: boot complete, ready for network connection.
- Flashing yellow: initialisation/calibration pending.
- Solid red: error — consult the manual or contact support.
Do not unbuckle the suspension until after calibration and the first successful stand test (Step 8).
Step 4 – Network Configuration (Wi‑Fi vs Ethernet)
The GR‑1 may support both wired Ethernet and Wi‑Fi. Wired is recommended for the initial setup because it is more reliable during firmware updates and SDK use.
- Default network settings: consult the official manual or the quick‑start card. Fourier typically provides a dedicated subnet (e.g., 10.0.0.x) and a static IP for the robot’s onboard computer. You will need to set your laptop’s IP to a free address on that same subnet.
- Procedure:
- Connect the robot’s Ethernet port to your laptop directly (or via a switch, if you must share the connection).
- On your PC, set a static IP in the same range (e.g.,
10.0.0.100/ 255.255.255.0) — avoid the robot’s IP and any reserved addresses shown in the manual. - Verify connectivity:
ping [robot IP from manual]. If you get replies, the link is up. - For Wi‑Fi, the robot can be configured to connect to your 2.4 GHz home network. Use the companion app or a web interface at the robot’s IP to enter the SSID and password. After Wi‑Fi is configured, assign a static lease in your router to avoid IP changes.
| Connectivity | Speed / latency | Stability | Good for |
|---|---|---|---|
| Ethernet (direct) | Gigabit, <1 ms | Very high | Firmware updates, SDK development, real‑time control |
| Wi‑Fi (2.4 GHz) | ~50 Mbps, 2–5 ms | Medium | Basic app control, occasional monitoring |
| Wi‑Fi (5 GHz) | ~300 Mbps, 1–3 ms | Medium‑high | Telemetry streaming, video preview |
If you cannot find the network documentation, contact Fourier support directly — do not guess static IPs.
Step 5 – App / Remote Control Binding
Fourier provides a companion app (iOS/Android) for basic control and status monitoring. Some configurations also include a dedicated remote-control tablet.
- Download the app from the official app store (search “Fourier Robotics” or scan the QR code in the manual).
- Enable Bluetooth or connect to the same Wi‑Fi as the robot.
- Follow the in‑app pairing process – usually by scanning a QR code shown on the robot’s chest screen (if present) or by manually entering the robot’s serial number.
- Once bound, you should see battery status, joint temperatures, and a basic joystick for walking.
- Test the emergency stop in the app — this should immediately cut motor power.
If your robot came with a physical remote, pair it by holding the designated pairing button on the remote while the robot is in pairing mode (consult the manual).
Step 6 – Firmware Update & Security Hardening
Keeping firmware up‑to‑date is the single most important security measure. The GR‑1 is a complex networked device; an unpatched system is vulnerable to remote exploits.
- Check the current firmware version via the app or by accessing the robot’s local web interface. Compare it with the latest release on Fourier’s official support portal (login required).
- Download the firmware update file and use the built‑in update tool (often a “System Update” button in the app or a USB drive method). Follow the manufacturer’s steps precisely — interrupting a firmware write can brick the robot.
- After updating, harden the robot:
- Change all default passwords (SSH, web interface, app pairing code) to strong, unique credentials.
- Disable any wireless interfaces (Bluetooth, Wi‑Fi, BLE) that you are not actively using.
- If the robot is not being used for development, keep it offline (air‑gapped) and transfer data via USB.
- Segment your home network: place the robot on a separate VLAN or guest network to isolate it from your personal devices.
- Regularly check Fourier’s security advisories and apply patches within 7 days.
Note: at the time of writing, no publicly known CVEs specifically target the Fourier GR‑1. However, general best‑practice security for embedded Linux systems applies — and the GR‑1 runs a custom Linux build on its onboard computer.
Step 7 – SDK / ROS2 Setup (Advanced)
Fourier offers a software development kit (SDK) for academic and commercial partners. The SDK provides Python and C++ APIs, as well as ROS2 integration (middleware likely to be DDS‑based).
Prerequisites - Ubuntu 20.04 or 22.04 workstation (ROS2 Humble / Iron is typical; check Fourier’s docs for exact versions) - SDK access credentials (apply via Fourier’s developer portal) - Ethernet connection to the robot
Typical installation (generic pattern — always refer to the official Fourier SDK manual) ``bash # Clone the SDK repository (provided by support) git clone https://git.fourierintelligence.com/robotsdk.git cd robotsdk mkdir build && cd build cmake .. -DCMAKE_INSTALL_PREFIX=/opt/fourier make -j$(nproc) sudo make install ``
Python bindings: ``bash cd ../python pip3 install -e . ``
ROS2 workspace overlay: ``bash mkdir -p ~/fourier_ws/src cd ~/fourier_ws/src git clone ``
Important: the exact repository URLs, build flags, and DDS configuration (e.g., CycloneDDS vs. Fast‑DDS) are proprietary. Contact Fourier for your robot’s specific documentation. The GR‑1 has 40 actuated degrees of freedom; the SDK exposes low‑level joint commands and high‑level whole‑body controllers.
Step 8 – Calibration & First Movement
- Keep the robot suspended. Run the factory calibration routine from the app or remote. The routine may command the robot to move each joint through its full range of motion — this can take 5–10 minutes.
- Verify calibration: after the routine, the robot should report “calibration OK” in the app. If a joint shows an error, re‑run calibration or check for physical obstructions.
- First stand test (supervised):
- With the suspension still taut, give the “stand” command. Watch that the robot rises smoothly and holds an upright pose.
- Gradually release the suspension strap until the robot is fully self‑supporting. Keep your hand on the strap in case it begins to tip.
- First walk:
- Command a slow walk (0.2 m/s) for two steps forward and two steps backward.
- Observe the ZMP (zero‑moment point) feedback in the app if available. The robot should plant feet firmly without ankle rolling.
- If the robot is unstable, increase the floor mat’s friction, check foot sole condition, and re‑calibrate.
- Post‑walk checks: look for loose fasteners, unusual heat in any motor, or abnormal noises. Power down and perform a quick visual inspection.
Once you have successfully walked the robot unaided, you can fully remove the suspension and move to the next phase.
Defining Success: Minimum / Full / Advanced
| Tier | Definition |
|---|---|
| Minimum viable | Robot powers on, connects to the app/remote, stands in place (with suspension if needed), and responds to basic stop/start commands. |
| Full operational | Network configured, firmware updated, calibration passed, robot walks reliably at 0.5 m/s on a flat mat without external support. |
| Advanced | SDK/ROS2 installed, custom control policy runs, autonomous movements or teleoperation demonstrated. |
Common Setup Mistakes & Fixes
Use this decision tree when you encounter trouble. Each common mistake is paired with its root cause and fix.
| Symptom | Root cause | Fix |
|---|---|---|
| Robot completely unresponsive, no LEDs | Battery not seated or deeply discharged | Remove battery, inspect contacts, re‑insert until click. Charge for ≥30 min before retry. |
| Boot sequence starts but robot collapses | Suspension not tight enough or missing | Immediately engage e‑stop. Re‑suspend the robot fully so its feet are unloaded before power‑on. |
| Cannot ping robot | PC IP not on correct subnet / Ethernet cable unplugged | Set your laptop to a static IP in the robot’s subnet (from the manual). Use the correct Ethernet port (not the debug port). |
| App cannot discover the robot | Bluetooth off or robot not in pairing mode | Enable Bluetooth on the phone; restart the robot and initiate discovery mode as described in the manual. |
| Firmware update fails / robot bricked | Incomplete update (power loss, wrong file) | Contact Fourier support; do not attempt to re‑flash unless you have a recovery image. |
| Robot stands but tips over when walking | Floor too slippery / calibration incomplete | Re‑calibrate; add a rubber mat with more grip; reduce walking speed to 0.1 m/s initially. |
| SDK examples won’t build | Wrong OS version or missing DDS | Verify you have the exact Ubuntu and ROS2 version specified by Fourier; build CycloneDDS if required. |
| Joints overheat after a few minutes | High ambient temperature or payload too heavy | Operate in a cooler room; reduce payload to well within the 50 kg limit; check ventilation. |
| Safety stop triggers without reason | Reflective surface confusing depth cameras | Cover mirrors or windows in the workspace; re‑calibrate the perception system. |
| No audio feedback from the robot | Speaker disabled in software | Check the app’s audio settings; if the robot has an internal buzzer for e‑stop, ensure the physical volume wheel is turned up. |
If the problem persists, always consult the official Fourier support channel — this guide is community‑verified for common home‑setup issues, not for hardware faults.
Коментари