

Setting up the Fourier GR‑2 at home takes about 90 minutes and four phases: unbox and inspect, install and charge the swappable 2‑hour battery, connect over a wired network (set your PC to a static IP on the robot’s subnet per the manual), then update to the latest firmware and run calibration. You need at least 3 m × 3 m of clear, flat floor, a suspension rig for first boot, and the e‑stop within reach before power‑on.
What You’ll Need: Tools, Space & Time
Tools & supplies - Fourier GR‑2 robot (shipped in a flight case) - Swappable battery pack (included, 2‑hour runtime) - Manufacturer‑provided charger / docking station - Ethernet cable (Cat6/Cat7 recommended) and a laptop with an Ethernet port (or USB‑to‑Ethernet adapter) - Suspension rig or sturdy overhead lift capable of holding 70 kg (the robot must be supported during first calibration) - Anti‑fatigue rubber mat (optional but helps prevent slipping) - Emergency‑stop button (integrated; know its location)
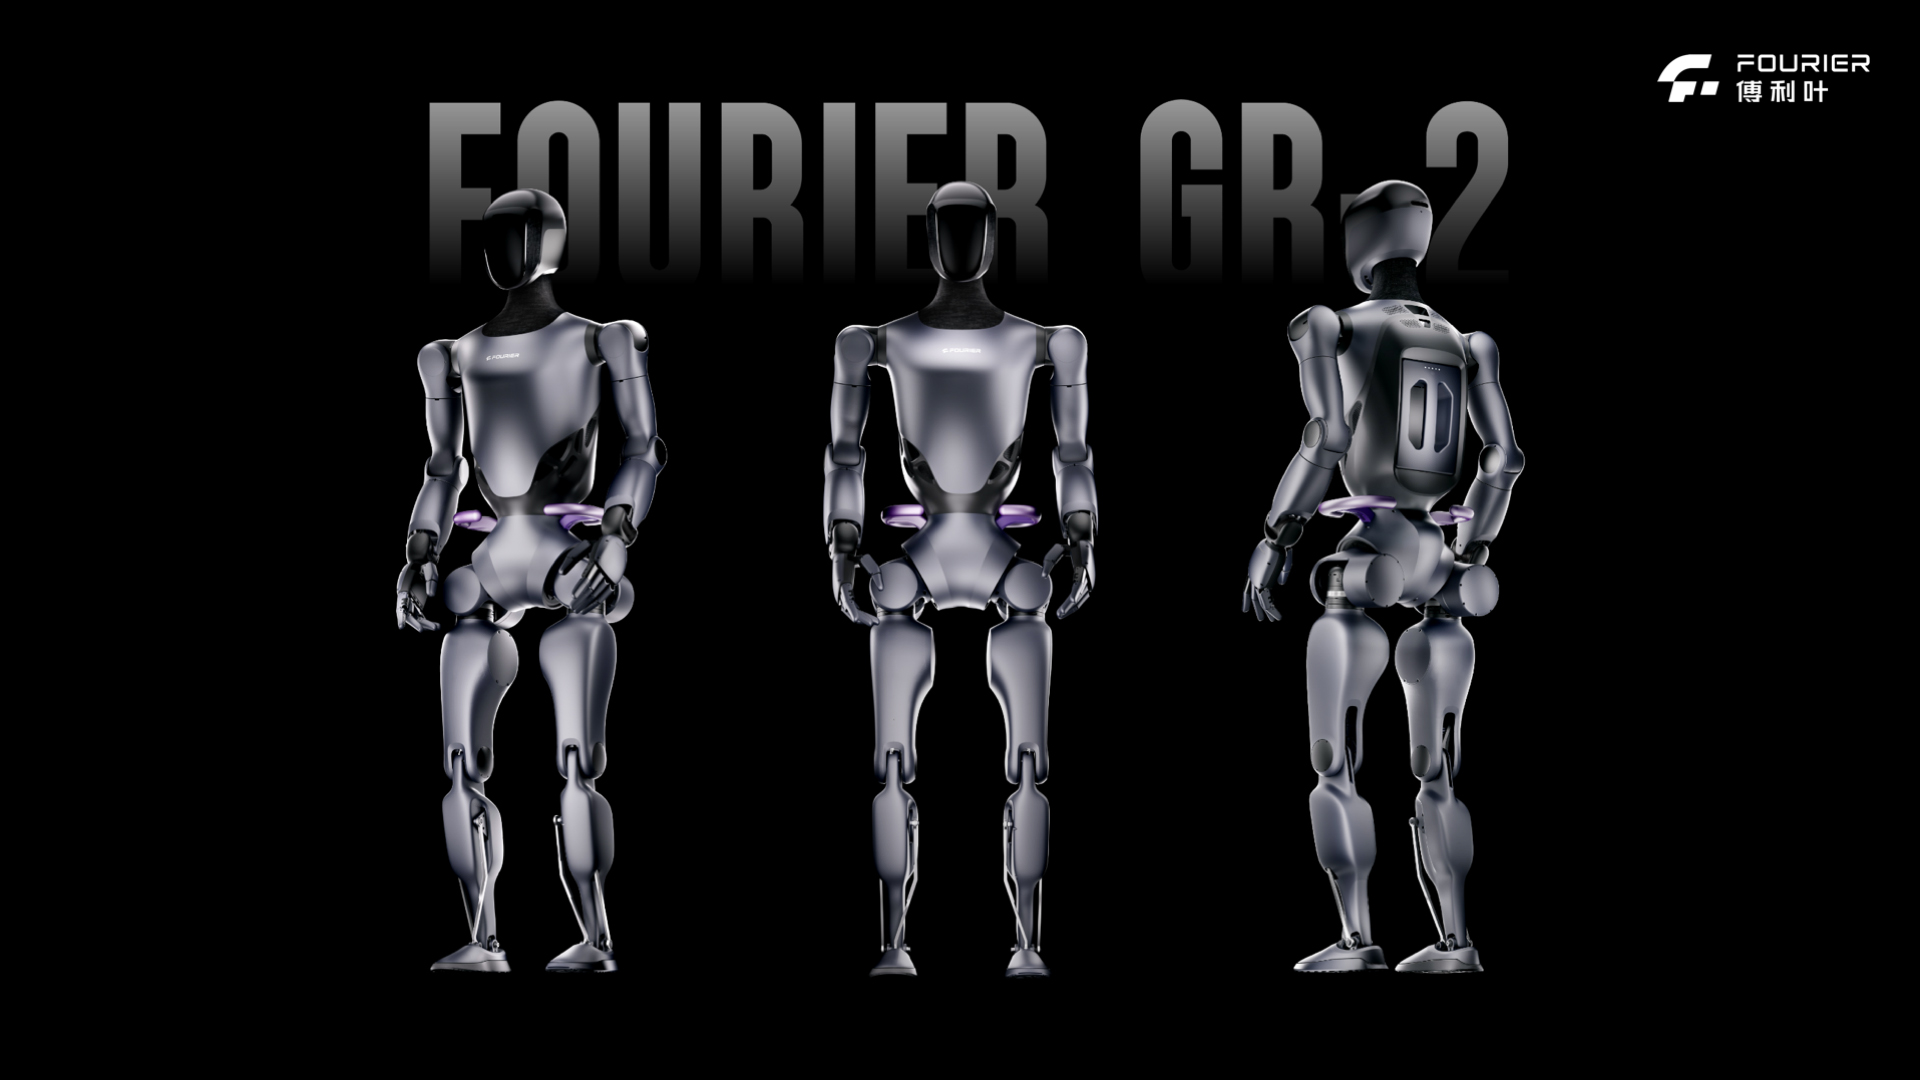
Minimum room size 3 m × 3 m of clear, hard, flat, non‑slip floor. The GR‑2 stands 175 cm tall and weighs 63 kg — it needs space to move without hitting walls or furniture. Overhead clearance of at least 2.2 m is recommended.
Setup time by phase
| Phase | Estimated time (first‑timer) |
|---|---|
| Unboxing & visual inspection | 15 minutes |
| Battery install & top‑off charge | 30 minutes (battery may ship partially charged) |
| Suspension rig / safety setup | 20 minutes |
| Network & PC configuration (Ethernet) | 15 minutes |
| App/remote binding & firmware update | 20 minutes (plus download time) |
| SDK / ROS2 installation (optional) | 30–45 minutes |
| Calibration & first movements | 30 minutes |
| Total (minimum viable) | ~90 minutes |
Before You Start: Safety & Space Requirements
> [CRITICAL] The Fourier GR‑2 is a 63 kg industrial‑grade humanoid with 53 degrees of freedom and peak joint torque of 380 N·m. It can cause serious injury if it falls or makes unintended movements. Always follow these safety rules.
- Establish an exclusion zone of at least 1.5 m around the robot’s maximum reach. Mark it with tape on the floor. No person or pet may enter while the robot is powered on and standing.
- Locate the emergency‑stop button (usually on the back of the robot or the controller). Keep the e‑stop within arm’s reach during all powered operations.
- Use a suspension rig for the first boot and all calibration steps. The robot must be securely supported from above to prevent a fall if motors de‑power or the robot loses balance. The rig must be rated for at least 70 kg and allow the robot’s feet to just touch the floor.
- Floor surface must be hard, level, and non‑slip. Avoid thick carpeting, which can impede foot movement and cause tripping. A tight‑weave rubber mat is ideal.
- Remove loose objects (cables, small furniture) from the setup area.
- Keep the robot offline until after the firmware update and security hardening (see Step 6). Disable any wireless interfaces that are not actively needed.
- Never leave the robot powered on and unattended.
Step 1 — Unboxing & Physical Inspection
- Open the flight case on a clear floor. The GR‑2 ships in a semi‑folded transport configuration — do not attempt to unfold it manually.
- Remove the accessories tray first: charger, cable set, and the remote control (if included). Set them aside.
- Carefully lift the robot using the lifting handles (two persons, the robot weighs 63 kg). Place it on a padded surface near the suspension rig.
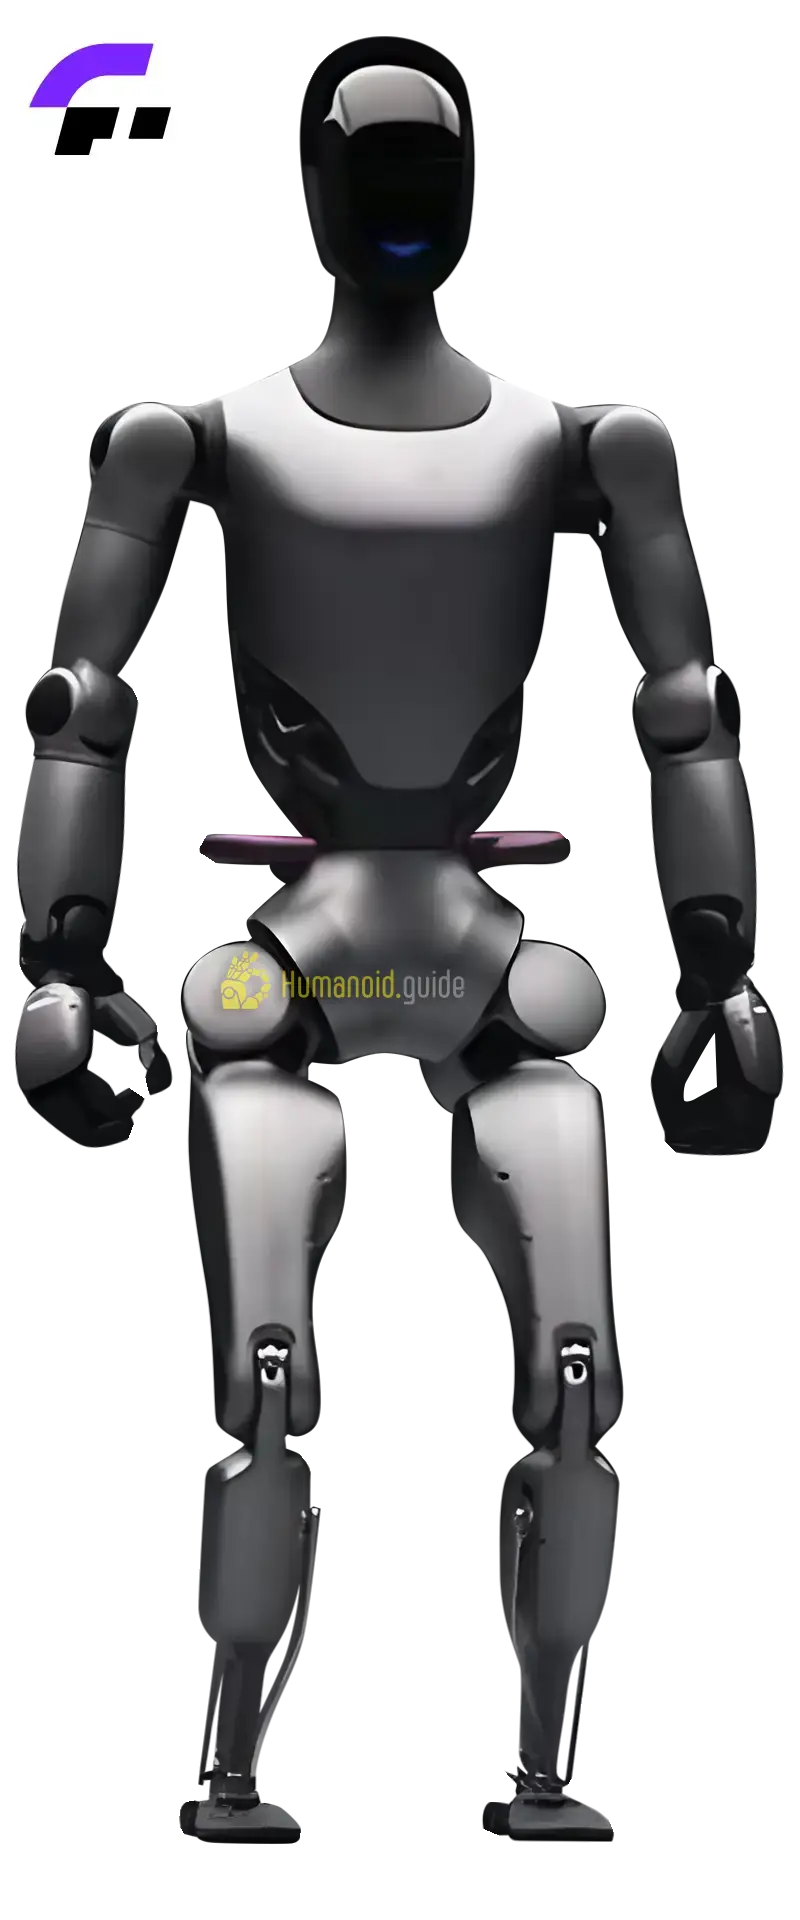
- Inspect for shipping damage — check all joints, limbs, and the hands (24‑DOF). Ensure all protective covers are in place.
- Check the power‑off state: the battery should not be installed. Look for a red transport lock; confirm that no buttons are lit.
Step 2 — Battery Installation & Charging
The GR‑2 uses a swappable, hot‑swap‑capable lithium‑ion battery pack.
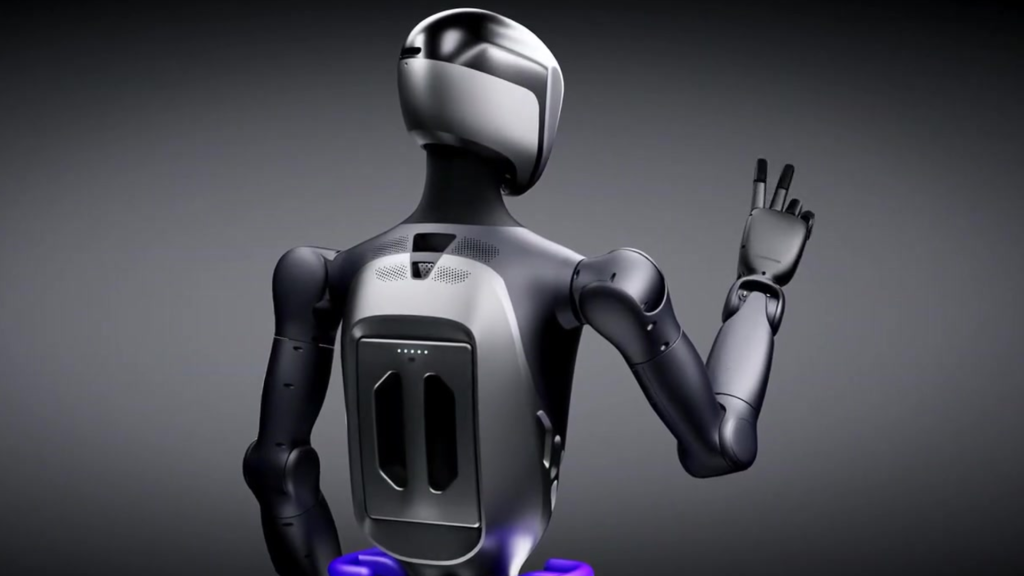
- Locate the battery bay (typically on the back of the robot’s torso).
- Slide the battery pack in until you hear an audible click. The release latch should be flush with the robot’s surface.
- Connect the charger to the robot’s charging port (or place the robot on the optional docking station, if provided). The battery status LEDs will illuminate.
- Charge to full — a full charge takes about 90 minutes with the supplied charger. The runtime is approximately 2 hours under mixed operation. Do not power on the robot until the battery is completely charged.
Step 3 — Powering On & First Boot
> Before you begin, make sure the robot is suspended securely and the e‑stop is in the OFF (pressed) position.
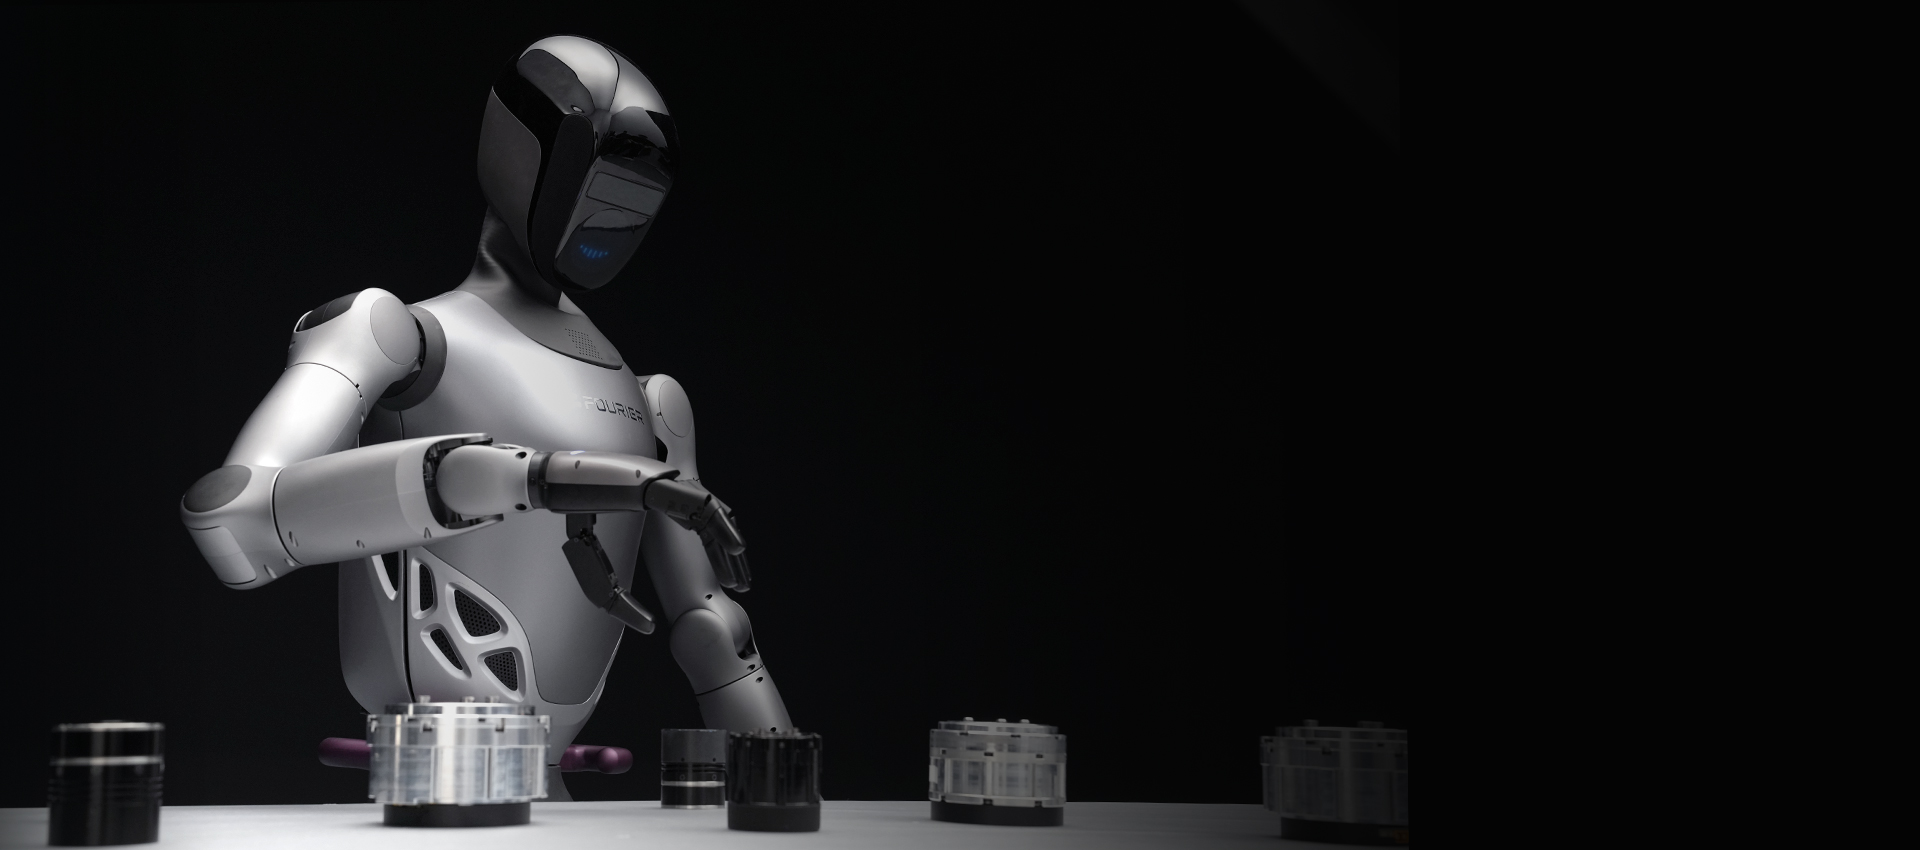
- Press and hold the power button (located near the battery bay) for about 3 seconds until the status ring blinks blue.
- Wait for the boot chime and self‑test sequence. The robot will initialize its joints; this can take 30–60 seconds. Keep clear.
- Check the safety status LED — it should turn solid green when the robot is in a safe, stationary state.
- If any error LED flashes red (e.g., amber flashing), pull the e‑stop, power off, and consult the diagnostic guide.
Because exact button combos vary with firmware versions, refer to Fourier’s latest startup guide. Do not release the suspension until all joints are confirmed locked.
Step 4 — Network Configuration (Ethernet Recommended)
The GR‑2’s onboard computer runs a Linux‑based OS (details available in the manufacturer’s software manual). For a reliable setup, use a wired Ethernet connection.
- Connect an Ethernet cable between the robot’s Gigabit Ethernet port and your laptop (a direct connection is possible if you set a static IP on both sides; a switch is more convenient).
- Check the robot’s default IP — Fourier typically ships with a static IP like
192.168.10.1or similar; consult the network configuration sheet included in the case. (If no sheet, attach a monitor and keyboard to the robot’s maintenance port to read the network settings.) - Set your PC’s Ethernet interface to a static IP on the same subnet, e.g.,
192.168.10.100(avoiding the robot’s IP and any broadcast/gateway addresses). Subnet mask255.255.255.0. - Test connectivity: ping the robot’s IP from your PC.
| Connection | Recommended? | Use case |
|---|---|---|
| Wired Ethernet (direct or switch) | Yes | SDK development, teleoperation, calibration — lowest latency |
| WiFi (robot as client) | Only for monitoring | May be used for lightweight remote dashboard; bandwidth limited; often disabled for safety |
| Bluetooth / dedicated RF remote | For emergency stop | Always on; separate channel for safety override |
Once connected, confirm the robot’s hostname or IP responds before proceeding to the next step.
Step 5 — App / Remote Control Binding
Fourier provides a control application (available for Windows/Linux) and an optional physical remote. Binding allows command‑level access.
- Launch the Fourier Control Center on your laptop (download from the support portal using the serial number).
- Scan for robots — the app should discover the GR‑2 on the same subnet. Select it and enter the default pairing PIN (typically
0000or1234; change it immediately). - Pair the physical remote (if supplied): press the pairing button on the remote and on the robot’s torso simultaneously for 5 seconds. A solid link LED will appear.
- Verify basic commands — the remote’s e‑stop must be functional; test that the robot’s damped‑mode or ready‑mode signals respond (per the manual, as button assignments vary with firmware).
After binding, keep the remote within line‑of‑sight and undisturbed.
Step 6 — Firmware Update & Security Hardening
No specific firmware version can be referenced here because Fourier does not publish a public changelog for the GR‑2. Always use the latest firmware available from Fourier’s enterprise support portal.
- Log in to the Fourier support portal using your registered account (linked to the robot’s serial number).
- Download the latest firmware image and the update utility.
- Transfer the firmware to the robot via the Ethernet connection (using
scpor the Update tool). - Run the update as instructed — this typically involves a reboot into a recovery mode and a self‑verify sequence. Do not disturb power during the update.
- Security hardening (generic steps):
- Change all default credentials (OS login, app PIN, remote‑pairing PIN).
- Disable any unused network services (SSH if not needed, WiFi provisioning, Bluetooth discovery).
- If the robot is internet‑connected, place it behind a firewall and restrict outbound traffic.
- Segregate the robot’s network from your home/office LAN using a dedicated VLAN or a separate physical switch.
- Because the GR‑2 is not from the Unitree family, the UniPwn vulnerability does not apply; however, always review Fourier’s security advisories.
Step 7 — SDK / ROS2 Setup (Advanced)
The Fourier GR‑2 is an open‑platform research robot. It supports the NVIDIA Isaac Lab simulation framework, ROS (generally ROS 2), and the MuJoCo physics engine. Actual SDK repositories and install commands are provided by Fourier after purchase; the following describes a typical setup workflow.
Prerequisites - Ubuntu 22.04 LTS (or as recommended by Fourier) - NVIDIA driver (for Isaac Lab with GPU) - ROS 2 Humble (or the distribution paired with your robot’s OS) - Python 3.10+
Generic installation steps (verify with Fourier’s documentation):
# 1. Install ROS 2 Humble (desktop)
sudo apt update && sudo apt install ros-humble-desktop python3-colcon-common-extensions

# 2. Create a workspace
mkdir -p ~/gr2_ws/src
cd ~/gr2_ws

# 3. Clone Fourier’s ROS 2 packages (repository URL provided by Fourier)
git clone https://github.com/FourierIntelligence/gr2_ros2.git src/gr2_ros2   # example

# 4. Install dependencies
rosdep update && rosdep install --from-paths src --ignore-src -r -y

# 5. Build
colcon build --symlink-install
source install/setup.bash
For Isaac Lab integration, follow the NVIDIA Isaac Lab documentation after installing the Fourier‑provided URDFs and meshes in the appropriate asset path. MuJoCo models can be loaded similarly.
Testing the SDK connection
# Ping the robot from your PC
ping 192.168.10.1

# Launch a minimal bringup (if provided)
ros2 launch gr2_bringup robot_control.launch.py
If the robot does not respond, check that the network configuration matches and that the low‑level safety controller is idle (no emergency stop engaged). For real‑time control, you may need to configure a real‑time kernel — consult Fourier’s developer notes.
Step 8 — Calibration & First Movement
Calibration aligns all joint sensors and the IMU. This step must be performed with the robot securely suspended.
- Initiate calibration via the Fourier Control Center or the remote menu.
- The robot will move each joint through its full range of motion — keep clear.
- After calibration, place the robot’s feet flat on the floor but keep the suspension load‑bearing.
- Execute a low‑amplitude “air‑walk” (feet lightly touching the ground) to verify that all motors respond correctly and no error‑codes appear.
- Only when the calibration report is green may you attempt free standing. Reduce suspension tension gradually while monitoring the robot’s balance.
- First steps: using the remote or the SDK, send a forward walk command at the lowest speed. Stay near the e‑stop.
Defining Success: Minimum / Full / Advanced
| Tier | Definition |
|---|---|
| Minimum viable | Robot powers on, connects to the control app, and responds to basic motion commands while suspended. |
| Full operational | Robot is networked, firmware is current, calibration passes, and it can walk steadily on a flat floor under remote control. |
| Advanced | SDK / ROS 2 is installed, custom research code runs, and the robot can perform autonomous tasks or teleoperation with external sensors. |
Common Setup Mistakes & Fixes (Troubleshooting)
| # | Mistake | Root cause / symptom | Fix |
|---|---|---|---|
| 1 | Wrong subnet on PC | PC not on the same IP network as the robot; cannot ping. | Set your PC’s Ethernet to a static IP in the robot’s subnet (e.g., 192.168.10.100). |
| 2 | Motor fault at boot | Robot was powered on without suspension, causing a joint back‑drive error. | Always suspend the robot before first boot; reset and restart. |
| 3 | App fails to discover robot | Firewall blocking UDP discovery or different subnets. | Temporarily disable firewall; ensure both devices are on the same flat network. |
| 4 | Remote won’t pair | Old firmware or incorrect button sequence. | Update firmware; hold the pairing button for at least 5 seconds; refer to the manual’s latest remote section. |
| 5 | Low battery during calibration | Battery was not fully charged; calibration aborts. | Charge to 100% before beginning calibration. |
| 6 | Suspension rig not rated | Rig sags or slips, causing robot instability. | Use a rig with at least 70 kg capacity and a locking hoist. |
| 7 | Default credentials left unchanged | Security risk; robot accessible to anyone. | Change all passwords and pairing PINs immediately after Step 5. |
| 8 | Using WiFi for real‑time control | High latency or packet loss causes jerky motion. | Switch to a dedicated Ethernet connection. |
| 9 | Foot slipping on smooth floor | Hard/smooth floor offers no traction; robot stumbles. | Place an anti‑fatigue rubber mat under the robot’s walking area. |
| 10 | Forgetting e‑stop test | E‑stop button not verified functional before movement. | Test the e‑stop after each restart; verify that the robot freezes instantly. |
| 11 | SDK workspace build fails | Missing dependencies or wrong ROS 2 distro. | Double‑check that all system dependencies are installed; source the ROS 2 setup file before building. |
Коментари