

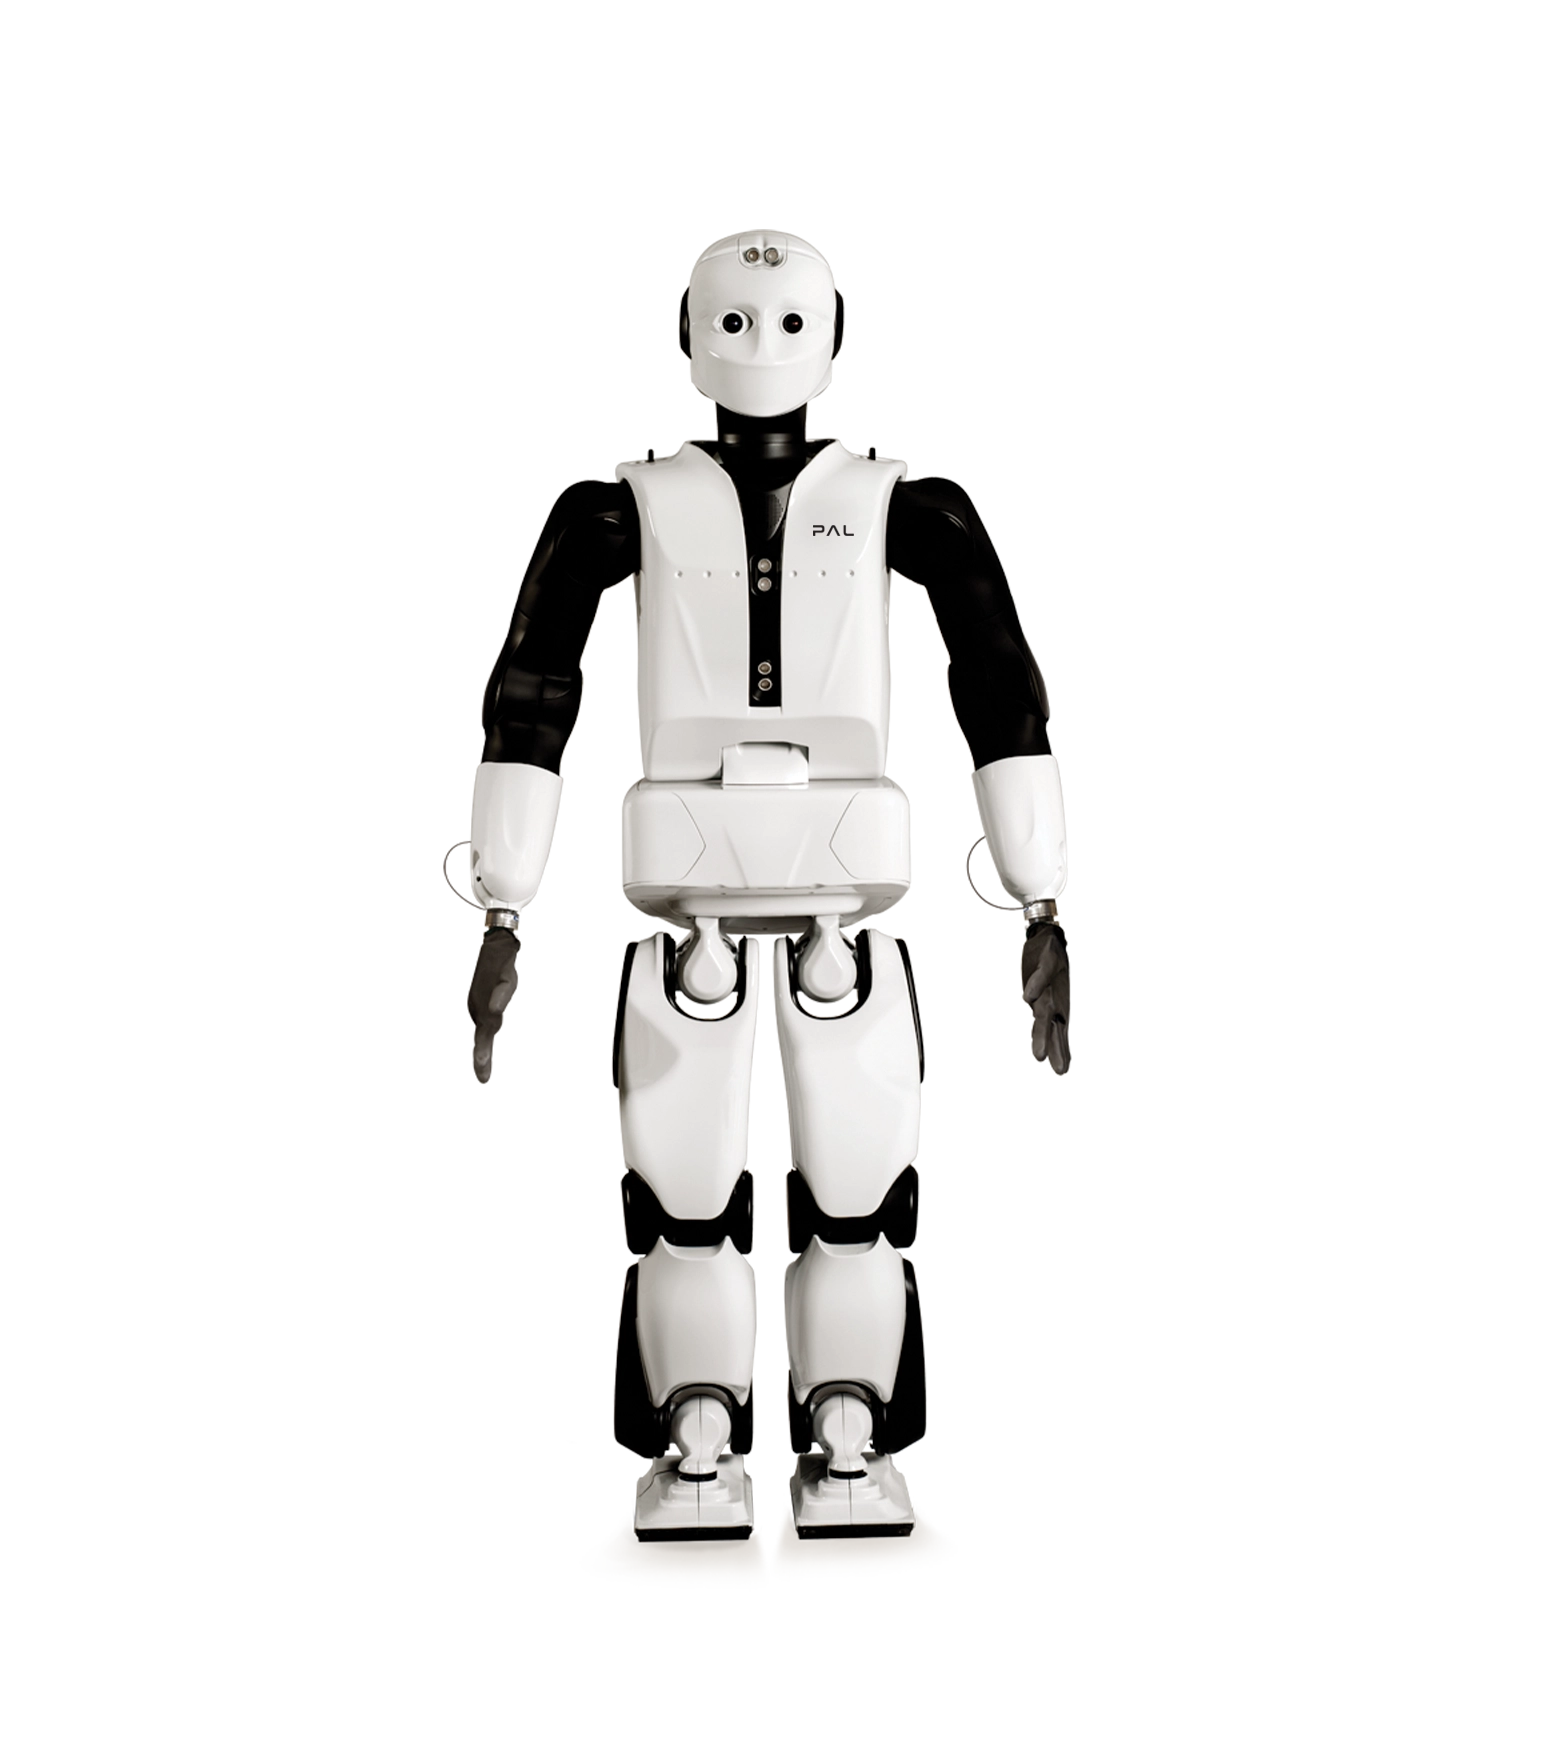
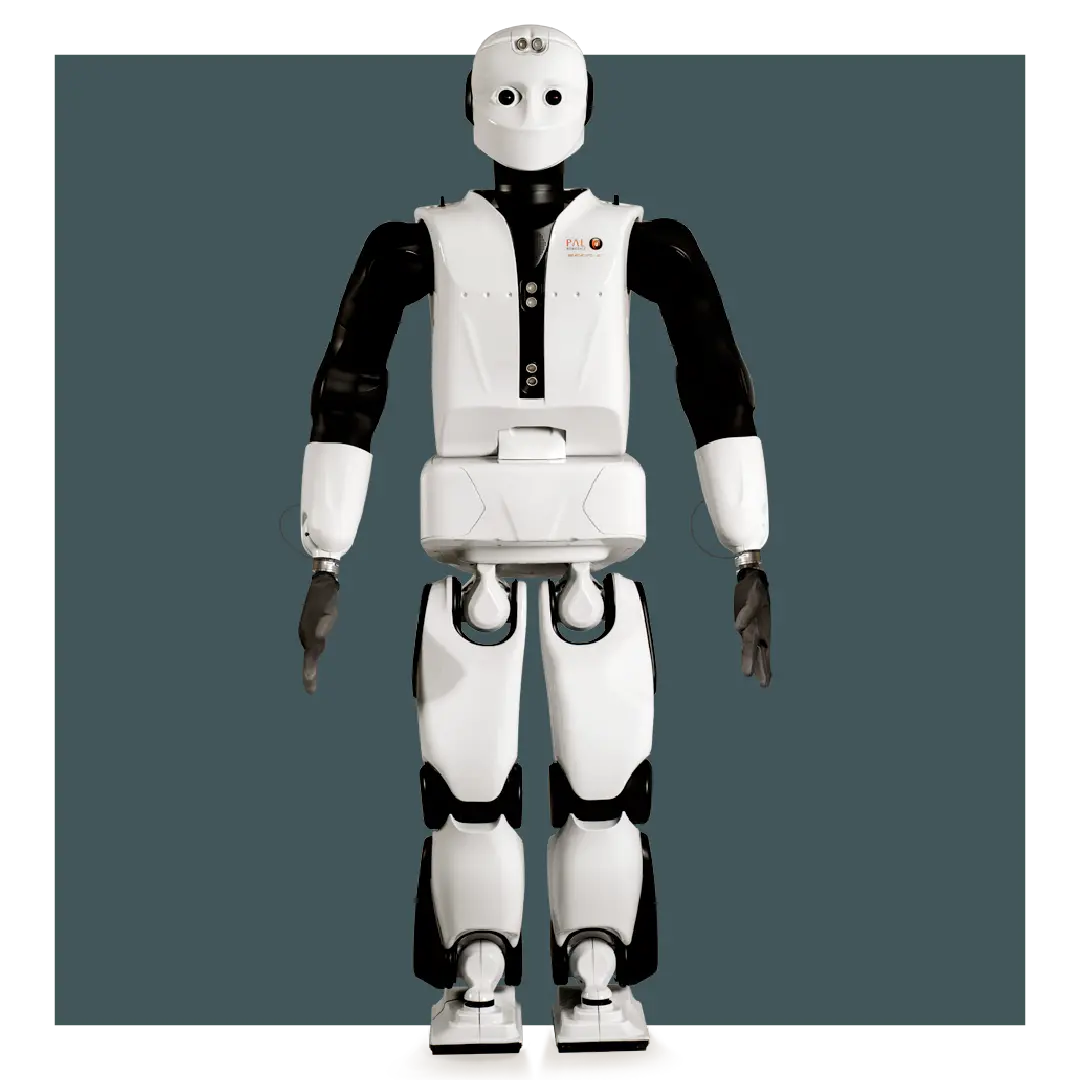
Setting up the PAL Robotics REEM-C takes about 4 hours and four phases: unbox and inspect, install and charge the battery, connect over Ethernet (assign a static IP per PAL’s documentation), then run system calibration and the first walk test. You need at least a 3×3 m clear flat floor, an emergency stop within reach, and a solid suspension point or stand‑by assistant for initial power‑on. At 80 kg and 165 cm tall, the REEM-C demands a safety‑first lab environment.
What You'll Need: Tools, Space & Time
The REEM‑C ships in a heavy custom crate; assembly is minimal. Before you start, gather:
Tools & Equipment - Laptop with Ethernet port (or USB‑C‑to‑Ethernet adapter) - Cat 6 Ethernet cable (at least 3 m) - A sturdy suspension rig, ceiling hoist, or two assistants to steady the robot during first boot (it does not stand on its own until calibrated) - Anti‑fatigue rubber matting for the test area (recommended to protect the feet and reduce slip) - The supplied power supply/charger (details in the crate) - The provided touch‑screen tablet or handheld controller (usually already paired) - Basic hand tools (hex keys, torque wrench) – often included - Personal protective equipment: safety shoes, eye protection
Space Requirements - Minimum clear floor area: 3 m × 3 m (9 m²), with a ceiling height of at least 2.2 m - The floor must be level, hard, and non‑slip; thick carpet or uneven surfaces cause instability - Remove all tripping hazards and reflective surfaces that could confuse LiDAR or vision sensors - Install temporary safety barriers (e.g., tape or light barricades) to delineate the exclusion zone
Time Estimates per Phase
| Phase | Estimated Time |
|---|---|
| Unbox & inspect | 30 – 45 min |
| Battery install & charge | 1.5 – 2 h (depending on initial charge state) |
| Power‑on & boot | 10 min |
| Network configuration | 20 min |
| Tablet/controller binding | 10 min |
| Firmware & security | 30 – 60 min |
| SDK/ROS setup (optional) | 1 – 2 h |
| Calibration & first walk | 30 – 45 min |
> Total first‑time setup: approximately 4 hours for a user with basic Linux/ROS experience.
Before You Start: Safety & Space Requirements
- Never power on the robot without a suspension rig or two spotters until calibration is complete.
- The robot has 44 degrees of freedom; keep hands, clothing, and cables away from joints during movement.
- Maintain an exclusion zone of 1.5 m around the robot when it is powered.
- Locate and test the physical emergency‑stop button (on the back of the torso) before every session.
- Do not operate the REEM‑C in a residential home with pets, children, or untrained bystanders. This robot is designed for research laboratories.
Additional Safety Notes - The REEM‑C runs Ubuntu with ROS; during boot the motors may twitch – keep the robot supported. - The robot can walk at up to 2.88 km/h. For indoor use, limit speed to 1 km/h until you are confident. - Keep the charging area dry and away from the walking zone. - If you smell burning or hear unusual grinding, hit the emergency stop immediately and disconnect the battery.
Step 1 – Unboxing & Physical Inspection
- Place the crate in a spacious area. Open the lid and remove the foam packing.
- Lift the REEM‑C with a crane or four people using the dedicated lifting points (see the manual shipped with the robot). Never lift by the arms or head.
- Lay out all accessories: charger, tablet/controller, cables, manuals, and any optional tools.
- Visually inspect the robot for shipping damage:
- Check all joint covers, the head, hands, and feet.
- Ensure the battery contacts are clean and straight.
- Verify that the LiDAR (if equipped) and camera lenses are free of protective film and dust.
- Compare the contents against the packing list. Photograph any damage and report it to PAL Robotics immediately.
Step 2 – Battery Installation & Charging
The REEM‑C uses a high‑capacity lithium‑ion battery pack that provides up to 6 hours of runtime.
- Locate the battery compartment on the back of the robot. Unlock the retention latch and slide the battery pack in until it clicks securely.
- Connect the charger to a grounded AC outlet and then to the robot’s charging port (usually on the lower back or hip area).
- The charging status LED should turn solid orange. A full charge from empty takes approximately 2 hours (exact time depends on the supplied charger; consult your unit’s documentation).
- Once the LED turns green, disconnect the charger first from the wall, then from the robot.
- Never leave the charger connected while the robot is powered on – it may interfere with motor calibration.
> Note: If you received a spare battery, charge it using the external dock before swapping.
Step 3 – Powering On & First Boot
- Double‑check that the robot is still supported (suspension rig or spotters holding it upright).
- Ensure all limbs are free to move and the emergency stop is not pressed.
- Press and hold the power button (located on the upper back, beneath the neck) for 3 seconds. Release when the button backlight illuminates.
- The onboard computer will boot Ubuntu. This process takes about 90 seconds. You will hear fans spin up; status LEDs on the head may blink.
- During boot, the joints may go through a brief self‑test and may move slightly – keep the robot steady.
- Once the boot is complete, the tablet/controller should show a connection option. If not, proceed to network configuration first.
Power‑off procedure: Always shut down via the tablet’s “Shut Down” command or by pressing the power button once (soft shutdown). Never remove the battery while the OS is running; you risk corrupting the file system.
Step 4 – Network Configuration (Ethernet)
REEM‑C is designed to communicate over a wired Ethernet connection for development; WiFi is not standard. The robot’s internal PC runs Ubuntu and uses a pre‑configured static IP address as instructed by PAL Robotics (typically 192.168.1.x range; check your unit’s documentation).
- Connect an Ethernet cable from the robot’s network port (often on the hip or lower back) to your laptop or a dedicated router.
- On your laptop, set a static IP in the same subnet. For example, if the robot is
192.168.1.100, give your laptop192.168.1.200, subnet mask255.255.255.0. - Confirm connectivity: open a terminal and ping the robot’s IP. If you see replies, the physical link is good.
- For advanced setups (external access, multiple robots), place the robot behind a router that can assign IPs via DHCP permanently, but keep the robot’s own IP static to avoid confusion.
| Method | Pros | Cons |
|---|---|---|
| Direct laptop‑to‑robot | Simple, no extra hardware | Only one device can talk to the robot |
| Via a dedicated router | Multiple developers can access; internet access possible | Requires extra equipment and configuration |
| WiFi adapter (if supported by your unit) | Cable‑free | Latency and throughput issues; may not be available |
> Warning: Do not expose the robot directly to the public internet without a firewall. Security hardening is covered in Step 6.
Step 5 – Remote Control / Tablet Binding
Every REEM‑C is shipped with a touch‑screen tablet or a handheld remote controller that runs a dedicated PAL‑provided application.
- Power on the tablet/controller and open the REEM‑C control app.
- On the robot, enable discovery mode: this is typically activated via a small button near the power button or through an on‑screen menu on the head display (if present). The robot’s network name or Bluetooth ID will appear.
- Select the REEM‑C in the app. If prompted, enter the pairing PIN (found in the printed quick‑start card).
- After pairing, the app should display battery status, joint angles, and sensor streams. Test the emergency‑stop button on the app: it should cut motor power instantly.
- If your unit uses a wireless controller instead of a tablet, follow the same steps; binding may require pressing a physical syncing button on the robot’s torso.

Step 6 – Firmware Update & Security Hardening
PAL Robotics periodically releases firmware images for the REEM‑C’s low‑level motor controllers and embedded systems. Updates are distributed through the customer support portal; you need an active support contract.
Firmware Update Procedure (generic – always follow PAL’s instructions) 1. Download the latest firmware package from the PAL customer portal onto a USB drive. 2. With the robot powered off, insert the USB into the port marked “UPDATE” (check your robot’s documentation). 3. Power on the robot while holding the update button (usually a recessed button near the IO panel). 4. The robot will boot into update mode; status LEDs will flash rapidly. Do not interrupt power. 5. After completion (5–10 minutes), the robot will shut down automatically. Remove the USB. 6. Power on normally and verify the new firmware version via the tablet app or by running cat /etc/REEMC/version (if available).
Security Hardening - Immediately change any default passwords on the onboard Ubuntu system (e.g., default user reem or pal). Use strong, unique passwords. - Disable Bluetooth and WiFi if not in use (most REEM‑C units do not have WiFi hardware, but check). - Close all non‑essential network ports. Keep only SSH (port 22), ROS master (11311), and any required remote‑control ports open. - If the robot will ever be reachable from the internet, place it behind a VPN or firewall appliance. - Keep a copy of the original factory image stored safely off‑robot in case recovery is needed. - Data protection: The REEM‑C stores logs and possibly camera data; consider encryption for sensitive deployments.
Step 7 – SDK / ROS Setup (Advanced)
REEM‑C is a full‑fledged ROS robot. PAL Robotics provides a complete ROS package stack, usually pre‑installed on the robot’s onboard computer. To set up your own development machine:
- Operating System: Install Ubuntu (version matching the robot’s release; typically Ubuntu 18.04 or 20.04 – check with PAL). The robot comes with ROS Melodic (18.04) or Noetic (20.04) pre‑configured.
- Install ROS: Follow the official ROS installation guide. Then install PAL’s custom packages:
   sudo apt update
   sudo apt install ros-<distro>-reemc-bringup ros-<distro>-reemc-controller
(The exact package names will be in your welcome documentation. PAL provides a private apt repository – you’ll need to add its GPG key and source list.) 3. Build from source (optional): Clone the PAL Robotics GitHub repositories (access granted with a license): ``bash mkdir -p ~/reemc_ws/src && cd ~/reemc_ws/src git clone https://github.com/pal-robotics/reemc_robot.git # … other repos as specified cd ~/reemc_ws catkin_make ` 4. Network setup: Set the ROS_MASTER_URI on your development PC to point to the robot’s IP: `bash export ROS_MASTER_URI=http://` 5. Test the connection: Run rostopic list on your PC. You should see topics like /reemc/joint_states, /camera/rgb/image_raw, etc. 6. Move the robot from code: Use PAL’s move‑group interfaces or the reemc_controller` action server to send walking commands. Refer to the provided tutorials.
> Without a support contract, you will not have access to the repository or firmware downloads. Make sure your institution’s license is active.
Step 8 – Calibration & First Movement
The REEM‑C needs an initial calibration to teach its IMU, encoders, and torque sensors the zero position. After calibration, you can command the robot to stand and walk.
- With the robot still suspended or held by spotters, start the calibration script from the tablet or via SSH:
roslaunch reemc_bringup calibrate.launchThe robot will move each joint through a small range of motion and record offsets. 2. Once calibration finishes, check the “calibration successful” message on the tablet. If you see any error, repeat the process, ensuring nothing obstructs any limb. 3. Slowly lower the robot so its feet are flat on the floor, but keep the suspension slack or have spotters ready. 4. From the tablet, send the “stand” command. The robot will rise into a stable bipedal posture. It may sway slightly as balance control engages. 5. After stand‑up is stable, try a simple walk command: “step forward 0.2 m”. Observe the gait. If the robot leans or stumbles, re‑run calibration and verify the floor is level. 6. Once satisfied, gradually increase the step distance to 0.5 m and then test turning.
Defining Success: Minimum / Full / Advanced
| Tier | Definition |
|---|---|
| Minimum viable | Robot powers on, connects to tablet, stands when commanded (with assist), and responds to basic stop/stand commands. |
| Full operational | Robot walks reliably in a controlled lab, calibration passes without errors, network is configured, and a developer can tele‑operate from the tablet. |
| Advanced | ROS SDK installed on a separate PC, custom control code can send walking trajectories, and the robot integrates with external sensors or perception nodes. |
Common Setup Mistakes & Fixes
| # | Mistake | Symptom | Fix |
|---|---|---|---|
| 1 | Incorrect network subnet | Cannot ping the robot from laptop | Set laptop IP to the same subnet as the robot (see documentation). |
| 2 | Robot not supported during first boot | Robot collapses as motors power on | Always use a ceiling hoist or two spotters until calibration is complete. |
| 3 | ROS_MASTER_URI wrong | rostopic list empty or “unable to communicate” | Export ROS_MASTER_URI=http:// , and ensure your ROS_IP matches your own PC. |
| 4 | Charger still connected while powering on | Motors do not engage, warning on tablet | Unplug charger, then cycle power. |
| 5 | Skipped calibration | Robot sways or falls when trying to stand | Run calibrate.launch with robot suspended; repeat until “success.” |
| 6 | Floor too slippery or uneven | Foot slip, loss of balance | Use rubber matting and choose a level concrete floor. |
| 7 | Forgot to change default passwords | Unauthorized access possible | Change all default OS user passwords immediately; disable remote root login. |
| 8 | Firmware update interrupted | Bricked motor controller | Contact PAL support – recovery usually requires a JTAG programmer. |
| 9 | Battery not fully inserted | No power LED, robot dead | Remove and reinsert battery until it clicks. |
| 10 | Using a non‑PAL provided ROS package | Version conflicts, robot unresponsive | Use only the officially supplied ROS stack and APT repository from PAL. |
Коментари