

Setting up the Pudu BellaBot at home takes about 1–2 hours and covers unboxing, charging the swappable 12–24 h battery, connecting to Wi‑Fi via the Pudu app, updating firmware, mapping your space, and testing autonomous delivery. The robot is 1290 mm tall, 55 kg, has 0 degrees of freedom, and carries up to 40 kg on four trays. You’ll need a clear 2 m × 2 m area for mapping, with the app on a smartphone, and standard tools for tray removal. New units cost $8,000–$15,000; used listings may appear on BotMarket.
What You’ll Need: Tools, Space & Time
| Phase | Estimated Time |
|---|---|
| Unboxing & inspection | 15 min |
| Battery charge | 2–4 h (fast charge ~1 h) |
| Network & app pairing | 20 min |
| Firmware update | 15 min |
| Mapping & calibration | 30–45 min |
| First delivery test | 10 min |
| Total | 1.5–2 h (excl. charge) |
Tools & supplies - Pudu BellaBot with swappable battery (included) - 100–240 V AC charger and cable (supplied) - Smartphone or tablet (iOS 14+ or Android 9+) with the PuduBot App installed - Wi‑Fi network (2.4 GHz or 5 GHz, WPA2 recommended) - A flat, dry indoor floor area of at least 2 m × 2 m free of obstacles for initial mapping - Soft cloth for cleaning trays; optional: non‑slip matting
Before You Start: Safety & Space Requirements
- Floor surface: hard, smooth (wood, tile, linoleum); thick carpets may confuse the cliff sensors.
- Exclusion zone: mark a clear area with visible tape or cones during mapping, especially near stairs or drop‑offs.
- Lighting: normal indoor illumination; avoid direct sunlight into the depth cameras.
- Temperature: 0 °C to 40 °C; battery charges fastest at 15–25 °C.
- Power: the charger draws up to 300 W; plug directly into a wall outlet, not an extension cord if possible.
Step 1 — Unboxing & Physical Inspection
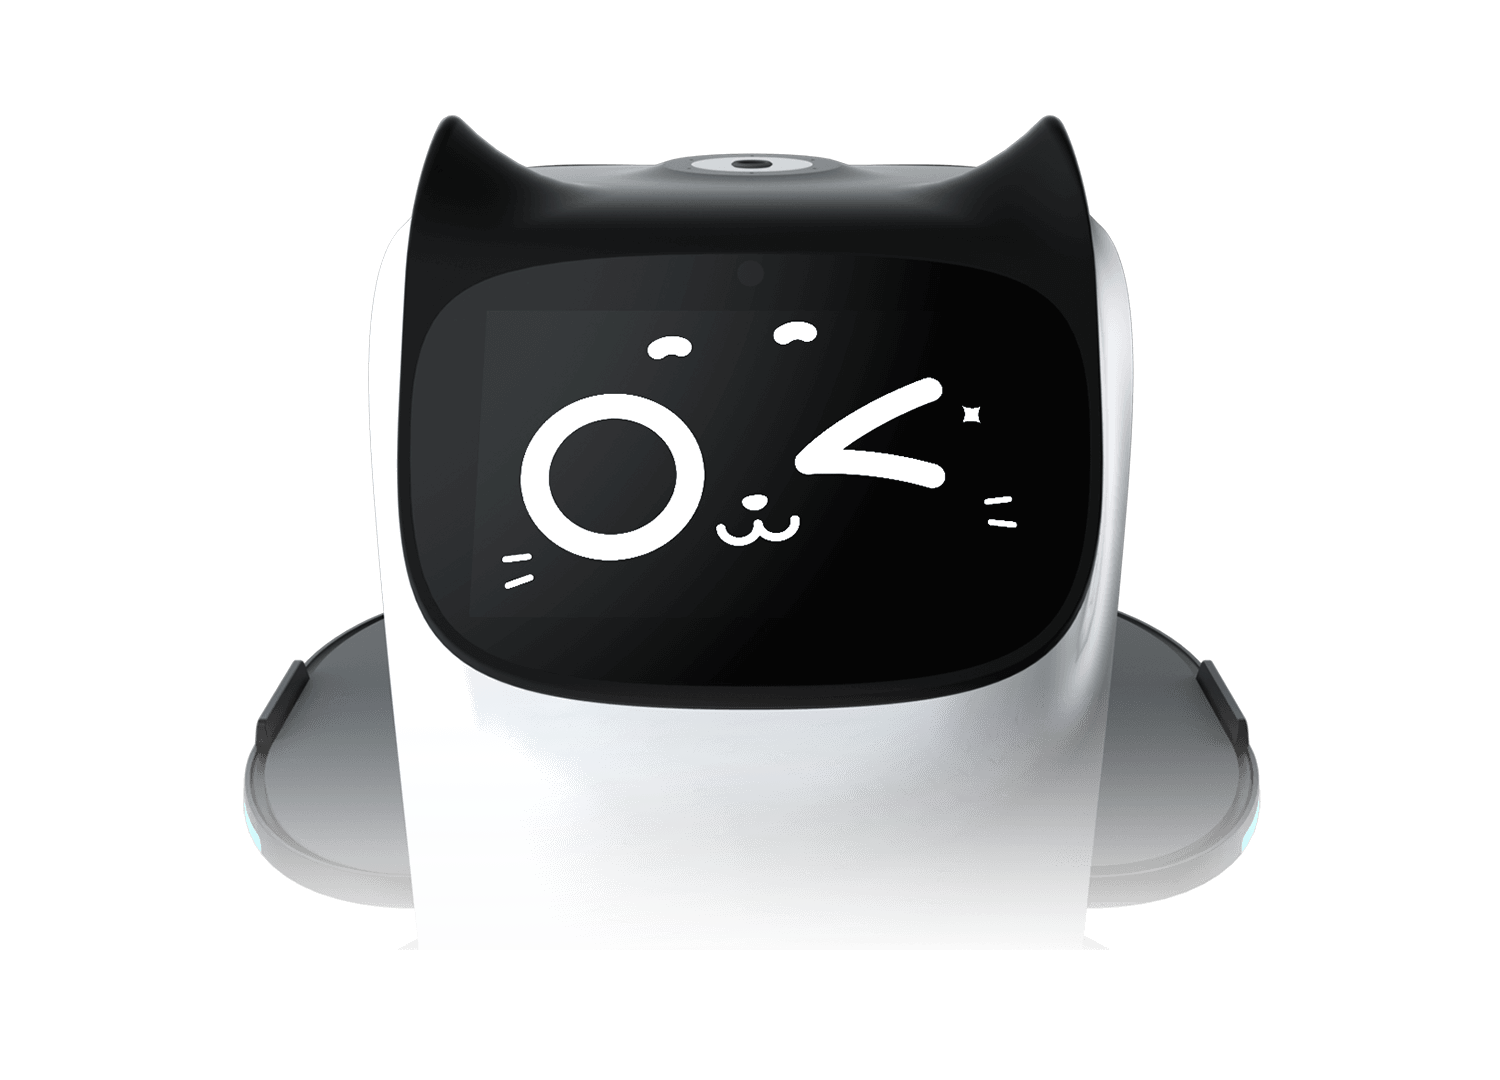
- Cut the straps and lift the lid of the shipping crate. The robot is secured with foam blocks.
- Remove the top foam to reveal the BellaBot, then carefully lift it out (two people recommended – 55 kg).
- Check the accessory box for:
- Battery pack (if separate)
- Charger and power cord
- Four food‑safe plastic trays (already installed on newer units)
- Quick‑start guide
- Inspect the robot body for any shipping damage: scratches on the plastic shell, loose tray‑locking levers, or cracked sensors. If anything is damaged, contact Pudu support before powering on.
- Remove the protective film from the touchscreen and the depth cameras.
Step 2 — Battery Installation & Charging
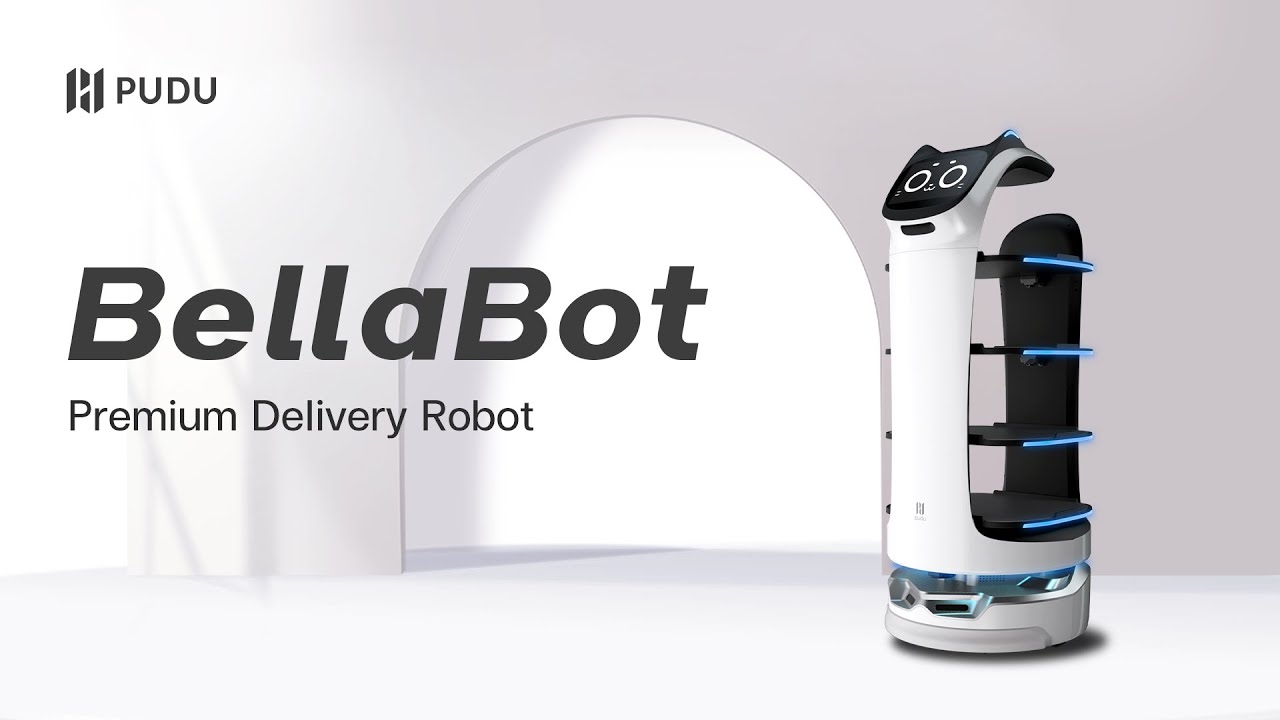
The BellaBot uses a 12 V, 40 Ah swappable lithium‑iron‑phosphate battery that lasts 12–24 hours in normal operation (≈11 h under continuous full‑speed delivery).
- If the battery is not pre‑installed, slide it into the slot at the robot’s rear until you hear a click.
- Connect the charger to the charging port on the robot (right side panel). Plug the AC cable into the wall.
- The battery indicator LEDs will blink orange during charge; they turn solid green when full. A full charge from empty takes 4 hours with the standard charger, or 1 hour with the optional 600 W fast charger (sold separately).
- While charging, you can optionally remove the trays (press the lever on each tray’s underside) to clean them or to access the charging port more easily.
Step 3 — Powering On & First Boot
- Locate the power button under the robot’s chin (below the touchscreen).
- Press and hold for 3 seconds until the status ring around the button lights up blue.
- The touchscreen will display the Pudu logo, then the home screen. Boot takes about 90 seconds.
- During first boot the robot performs a self‑check of all motors and sensors. The screen will show a progress bar. If any error appears, note the code and consult the Pudu service manual.
- When the home screen shows battery and Wi‑Fi status, the robot is ready for network setup.
Step 4 — Network Configuration (Wi‑Fi)
BellaBot communicates over Wi‑Fi with the Pudu app; Ethernet is not available on the consumer model.
- On the BellaBot’s touchscreen, swipe down from the top to open the settings panel. Tap Network.
- Select your home Wi‑Fi network and enter the password using the on‑screen keyboard.
- The robot supports both 2.4 GHz and 5 GHz bands. A 5 GHz connection reduces latency for real‑time control, but 2.4 GHz may give better range.
- Once connected, the Wi‑Fi icon turns solid white. The robot’s local IP address (assigned by your router) appears below the network name; note it for later if you plan to use the REST API (advanced).
- Verify connectivity by opening the browser on the robot’s screen (hidden in the “Debug” menu) and loading a simple webpage, or simply proceed to the app pairing – the app will report if the robot is unreachable.
Step 5 — App / Remote Control Binding
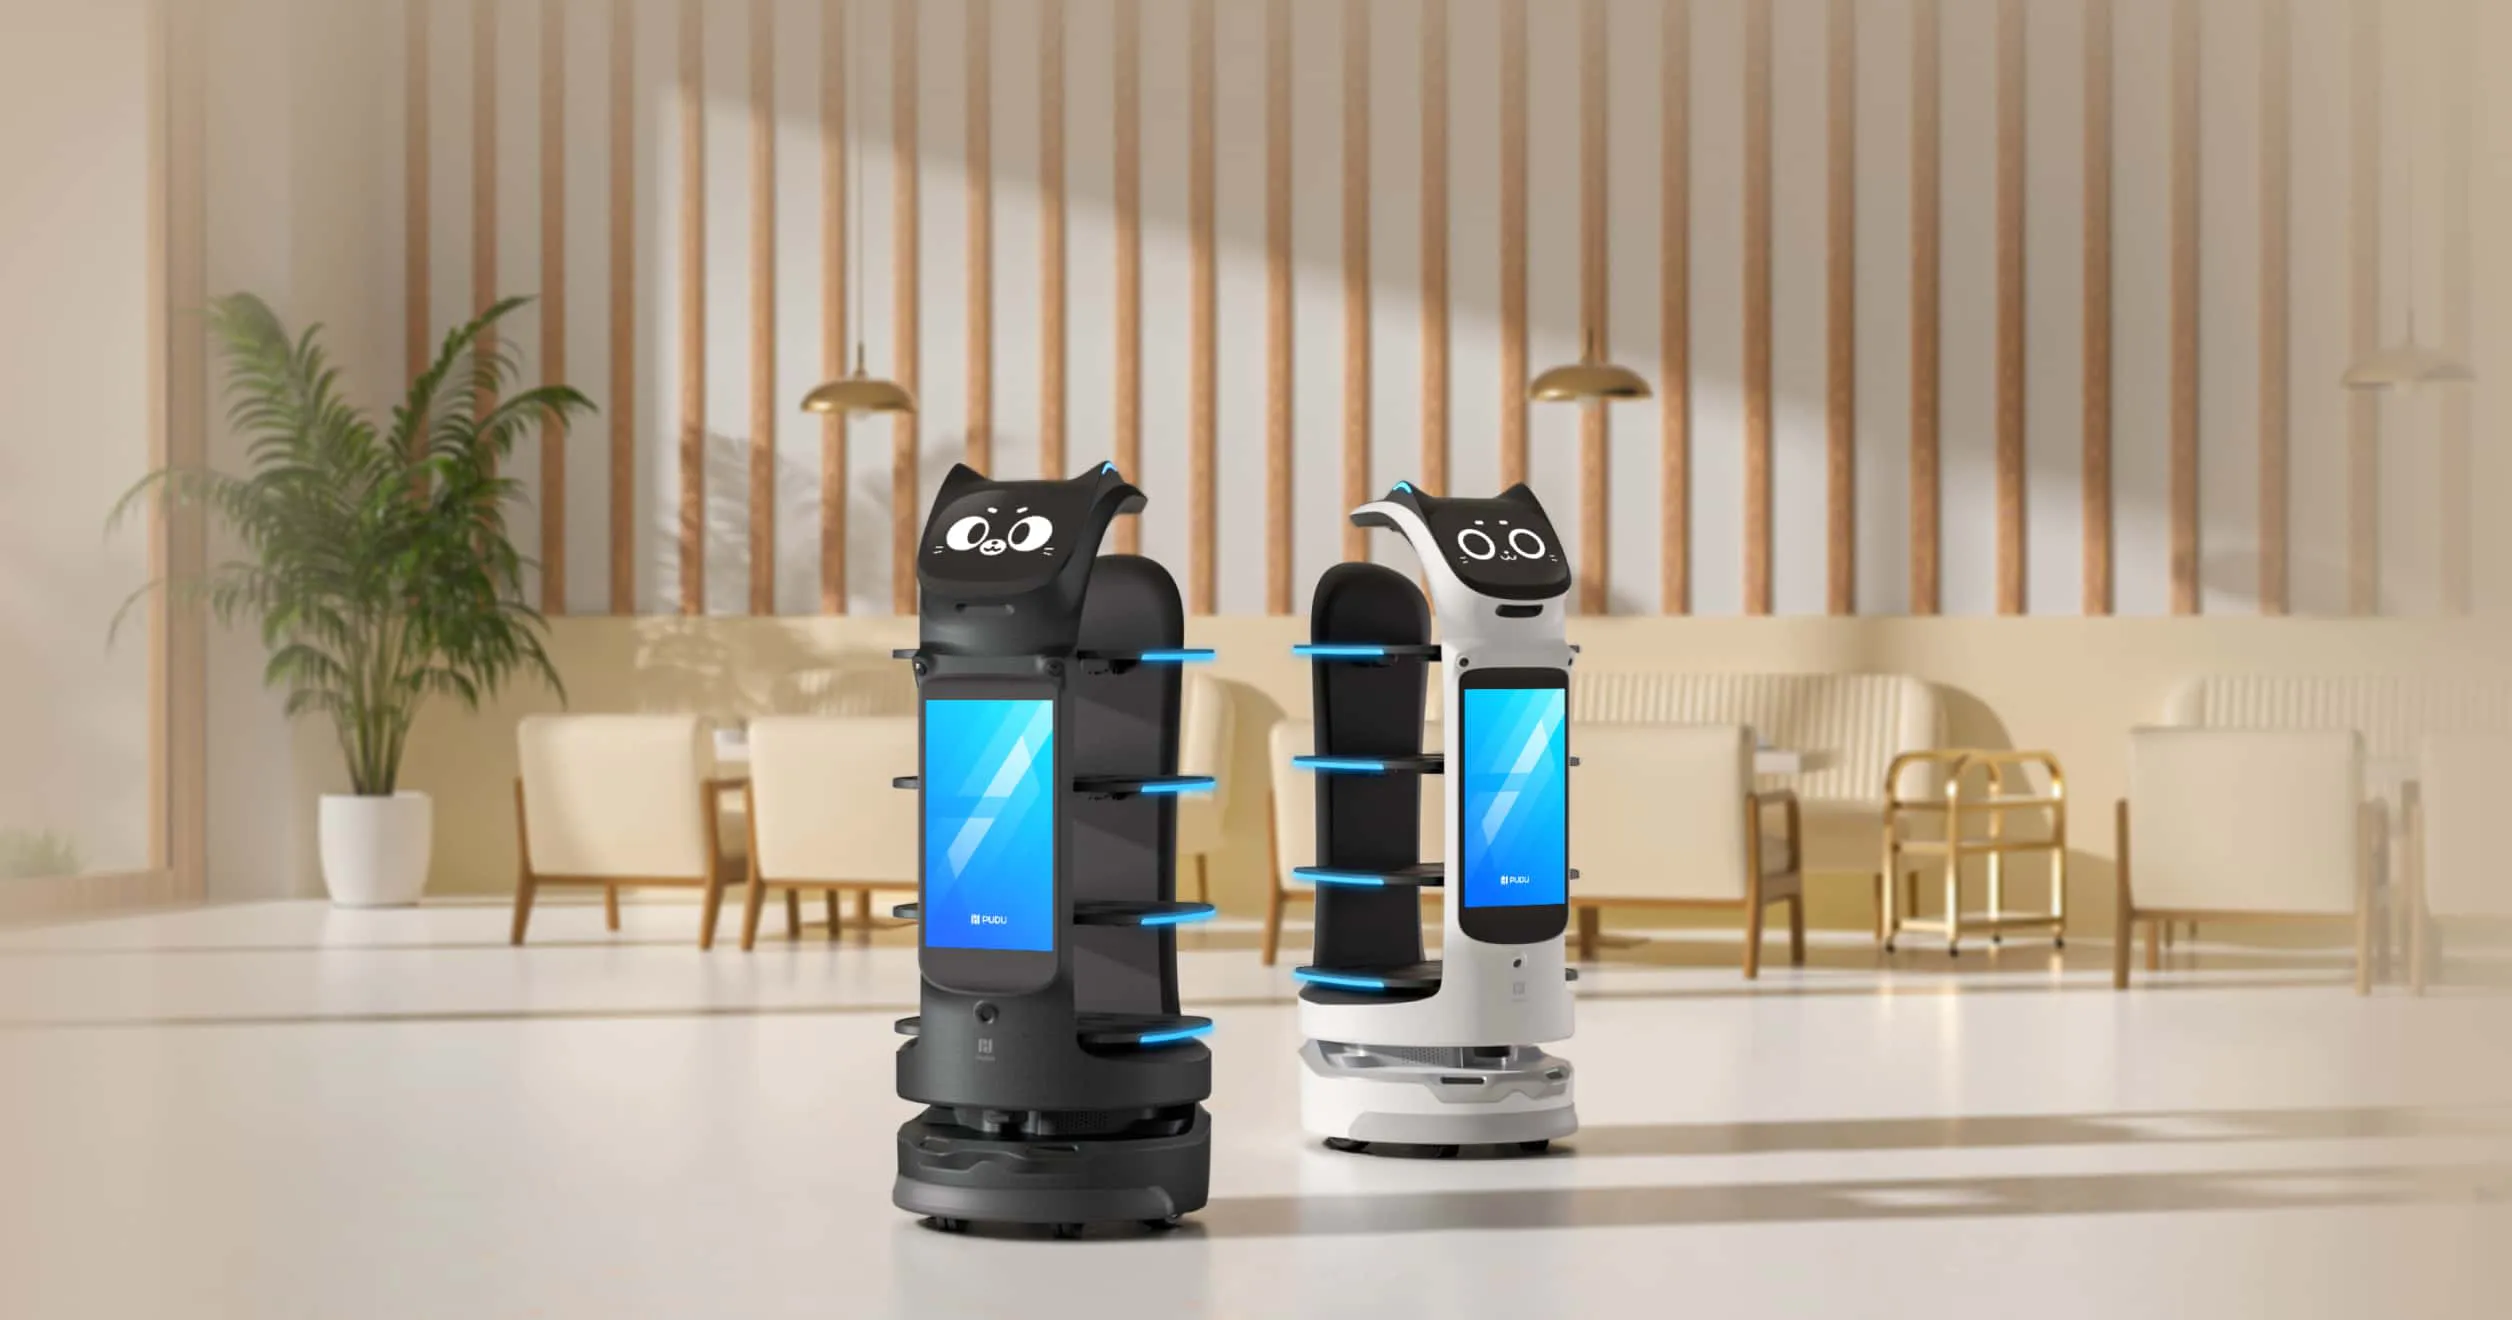
- Install the PuduBot app from the Apple App Store or Google Play Store. Create a Pudu account (requires email verification).
- Launch the app and tap Add Robot. Ensure your phone is on the same Wi‑Fi network as the BellaBot.
- The app will scan for nearby robots. When “BellaBot‑XXXX” appears, select it. The robot’s screen will display a 6‑digit pairing code.
- Enter that code in the app. After a few seconds the robot appears as “Online” with a battery percentage. You can now:
- Manually drive the robot using a virtual joystick
- Create delivery routes and set waypoints
- Customise the facial expressions and voice prompts
- View real‑time sensor data
If pairing fails, reboot both the robot and your phone, make sure Bluetooth is enabled on the phone (used for initial discovery), and try again.
Step 6 — Firmware Update & Security Hardening
Pudu regularly releases firmware updates that improve navigation, add tray‑management features, and patch security gaps.
- In the Pudu app, go to Robot Settings → Firmware Update. The app will check for a newer version.
- If an update is available, tap Download. The robot’s screen shows download progress. When complete, tap Install. The BellaBot will reboot several times; do not interrupt power.
- Security hardening:
- Change the default device password (factory code “0000”) from Robot Settings → Security. Choose a unique 6‑digit PIN.
- Disable developer mode (if enabled) when not actively debugging.
- In your router’s admin panel, consider placing the BellaBot on a separate VLAN or guest network to isolate it from your primary devices.
- Keep the robot’s Wi‑Fi access point hidden: the BellaBot can create an ad‑hoc network for setup; turn off that feature after first pairing via App Settings → Direct Wi‑Fi.
- There is no known remote‑exploitation vulnerability akin to UniPwn on Unitree robots; still, Pudu bots have been targeted by physical USB attacks at trade shows. Disable the USB port (under “Peripheral Access”) to prevent unauthorised data loading.
Step 7 — Advanced Setup: Mapping & API
While the BellaBot does not ship with a public SDK like the Unitree G1, it offers a REST API for fleet management, suitable for home automation enthusiasts who want to trigger deliveries via voice assistants or Node‑RED.
Mapping the environment 1. Place the robot in the centre of the area you want to map. In the app, go to Navigation → Create Map. 2. The BellaBot will drive in an expanding spiral, using its 3D depth cameras and laser scanner to build a point‑cloud map. 3. Walk behind it to clear any temporary obstacles. The app shows a live occupancy grid. Once the map stabilises (usually after 10–15 minutes), tap Finish. 4. Edit the map: add virtual walls (no‑go lines), rename rooms, and mark delivery points. 5. For home use, map at least the kitchen, living room, and hallway. The robot will autonomously plan paths between any two points.
REST API basics - API documentation is available at the Pudu Developer Portal (you must register and obtain an API key). - Example call to send a delivery command: ``bash curl -X POST https://api.pudurobotics.com/v1/delivery \ -H "Authorization: Bearer YOUR_API_KEY" \ -H "Content-Type: application/json" \ -d '{"robot":"BellaBot-01","from":"#kitchen","to":"#livingroom","tray":1}' `` - The robot requires a stable internet connection for cloud API commands; it will proceed only if safety checks pass.
Because the API is cloud‑based, ensure your home firewall allows outbound HTTPS. Latency is usually under 300 ms. For private, offline control, some home‑lab users install a local Mosquitto MQTT broker and forward commands via the pudu_mqtt_bridge community project (not officially supported).
Step 8 — Calibration & First Movement

Calibration for the BellaBot is fully automatic; you only need to confirm the process.
- After mapping, the app will prompt “Calibrate IMU & Cameras”. Tap Start. The robot will perform a short spin (about 360°) and auto‑adjust its gyroscope and camera alignments.
- If any tray was removed, re‑attach them now and ensure they are locked.
- Set a home position (where the robot will wait after deliveries). Use the app to drive the robot to the desired spot, then press Set Home.
- Test manual control: use the virtual joystick to drive the robot forward, backward, and sideways.
- Run a first delivery test:
- Load a small item (e.g., a cup) on a tray.
- In the app, create a new delivery: from “#kitchen” to “#livingroom”, assign Tray 1.
- The robot will navigate autonomously, announce arrival with a meow or custom voice prompt, and wait for the tray to be emptied.
- Confirm successful delivery by pressing the Arrived button on the robot’s screen or via the app.
If the robot hesitates or aborts the route, check for virtual walls that might be blocking the path, or clean the cliff sensors on its underside.
Defining Success: Minimum / Full / Advanced
| Tier | Definition |
|---|---|
| Minimum viable | Robot powers on, pairs with the app, responds to manual joystick control, and rolls without error |
| Full operational | Mapping completed, virtual walls set, robot autonomously navigates between programmed points, trays function, voice prompts work |
| Advanced | Cloud API integrated, deliveries triggered by voice/home assistant, custom voice/facial animations loaded, network isolated and USB port locked |
Common Setup Mistakes & Fixes
| Symptom | Root Cause | Fix |
|---|---|---|
| Robot won’t connect to Wi‑Fi | Password length >31 characters or special characters not supported by the touchscreen keyboard | Use a simpler WPA2 password (8–31 chars, alphanumeric) |
| App cannot find robot | Phone on different Wi‑Fi band (e.g., phone on 5 GHz, robot on 2.4 GHz) | Ensure both are on the same SSID; some routers separate bands — connect manually to the same band |
| Robot bumping into walls | LiDAR lens dirty or partially obstructed | Clean the black window around the robot’s waist with a microfiber cloth |
| Delivery fails with “Path blocked” | Virtual wall drawn too close to a doorway or furniture | Edit map to move virtual walls at least 30 cm from any physical obstacle |
| Battery drains quickly (<6 h) | Battery capacity degraded or power‑save mode disabled | Enable “Eco Mode” in the app; if still low, battery is worn — order a replacement from Pudu (approx. $900) |
| Robot does not speak the custom prompt | Audio file format not .wav 16‑bit 16 kHz mono | Convert the file with Audacity and re‑upload |
| Touchscreen unresponsive after firmware update | Update interrupted | Press and hold the power button for 15 s to force power‑off, then restart. If the problem persists, reflash firmware via USB (procedure on Pudu support portal) |
| Robot cannot detect cliffs | Cliff sensors are dirty or covered by a rug fringe | Clean the two IR sensors under the front bumper; remove any tape left from shipping |
| Can’t remove tray | Tray locking lever jammed by food debris | Gently pry the lever with a flat screwdriver while pressing the release button |
| Robot joins the wrong Wi‑Fi network after a power cycle | Saved network list has an open network with priority | In the app, delete unused saved networks, leaving only your home SSID |
Kommentit