

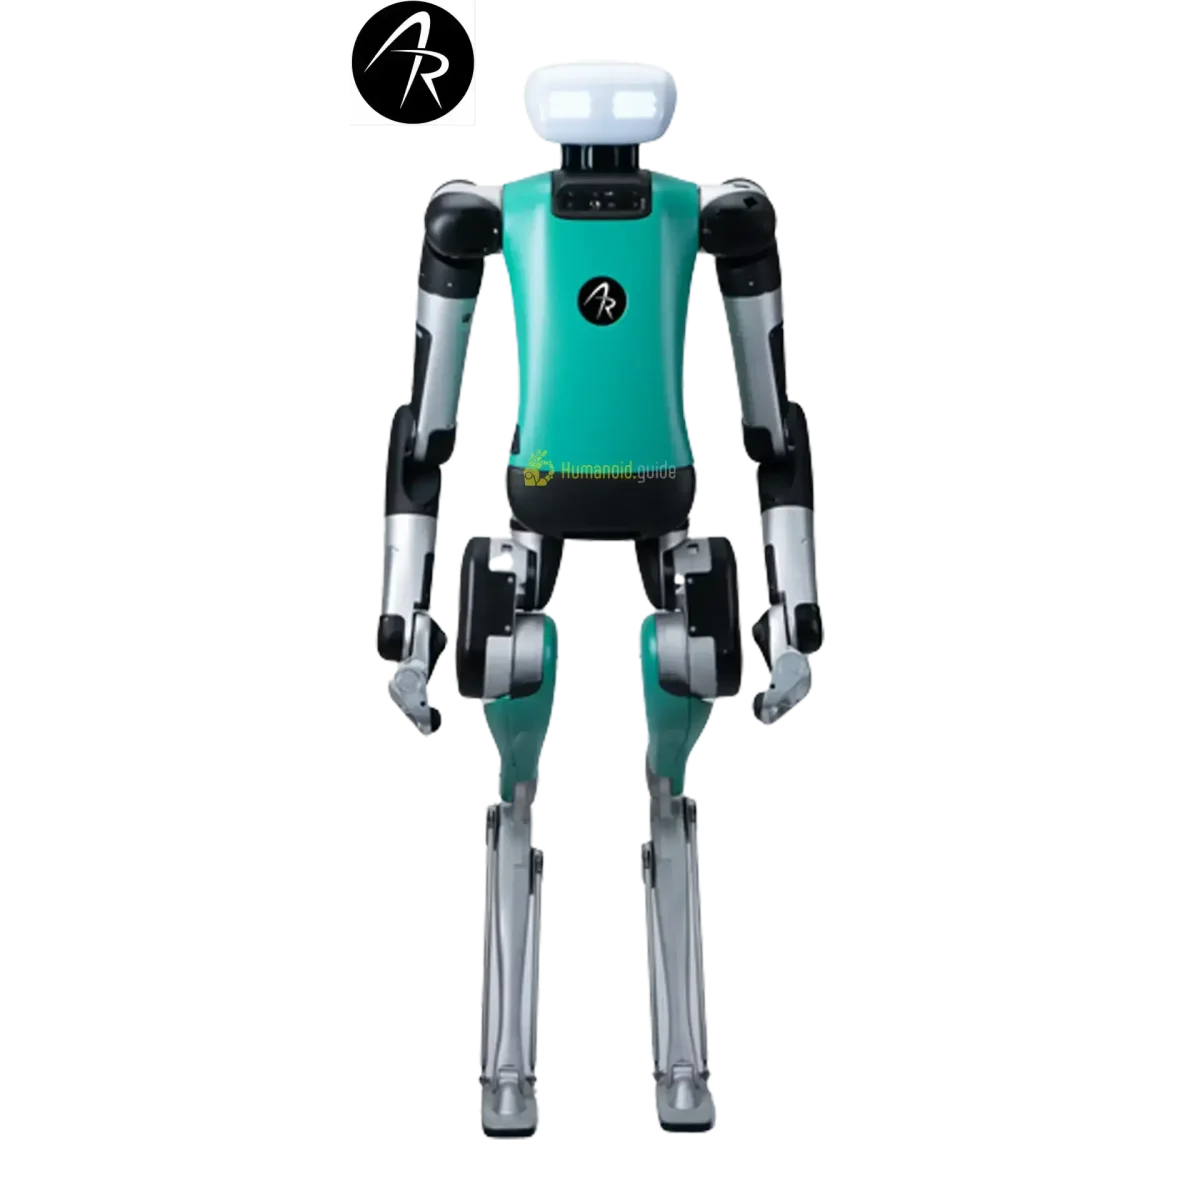
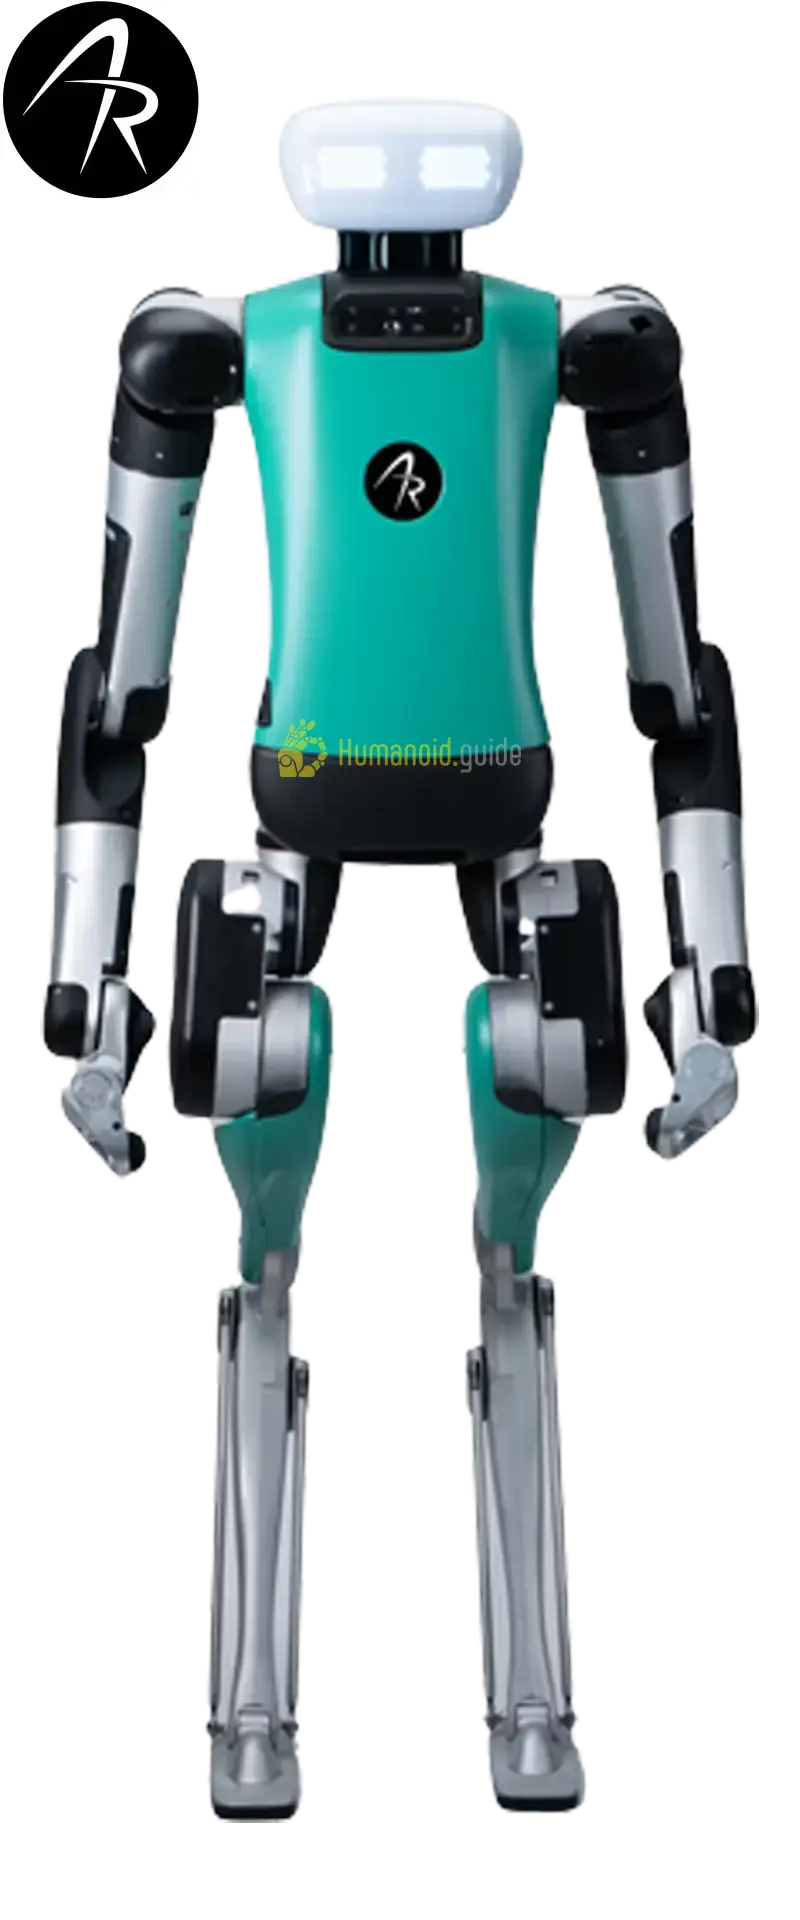
Setting up the Agility Robotics Digit at home takes about two hours and five phases: unbox and inspect, charge the integrated 8‑hour battery, connect over a dedicated Ethernet network (consult Agility for the IP scheme), update to the latest available firmware, and run calibration. You need at least 3 m × 3 m of clear, flat, non‑slip floor and a lifting rig or partner to suspend the robot before first power‑on. Digit is a 175 cm, 65 kg industrial humanoid with 28 degrees of freedom and 16 kg payload; the new price is $250,000.
- What You’ll Need: Tools, Space & Time
- Before You Start: Safety & Space Requirements
- Step 1 – Unboxing & Physical Inspection
- Step 2 – Battery Installation & Charging (battery is internal – skip installation, only charging)
- Step 3 – Powering On & First Boot
- Step 4 – Network Configuration (Ethernet vs WiFi)
- Step 5 – App / Remote Control Binding
- Step 6 – Firmware Update & Security Hardening
- Step 7 – SDK / ROS2 Setup (Advanced)
- Step 8 – Calibration & First Movement
- Defining Success: Minimum / Full / Advanced
- Common Setup Mistakes & Fixes
- Frequently Asked Questions
- About the Author / How We Tested
What You’ll Need: Tools, Space & Time
To set up Digit safely you will need:
- Digit robot (new or pre‑owned, obtained directly from Agility Robotics or a certified reseller)
- Dedicated Ethernet switch and cabling (Cat 6 or higher) for the control network
- Laptop or PC with an Ethernet port and administrative access for network configuration
- Heavy‑duty lifting rig, engine hoist, or two assistants – Digit weighs 65 kg and must be suspended during first power‑on and calibration
- Stout nylon lifting straps rated for at least 100 kg
- Overhead anchor point (ceiling‑mounted eye bolt, steel beam, or a portable gantry) that holds the robot securely in a standing‑suspended posture
- Anti‑fatigue / non‑slip rubber floor mat covering the entire setup area
- Extension cord with integrated surge protection for the charging dock (Agility‑supplied)
- Safety mirror or webcam to monitor the robot from outside the exclusion zone
Minimum room size: 3 m × 3 m of unobstructed flat floor with a 2.5 m ceiling clearance. Position the anchor point directly above the centre of the mat.
Estimated time per phase (first‑time setup):
| Phase | Estimated Duration |
|---|---|
| Unboxing & physical inspection | 15 minutes |
| Charging (starting from factory charge) | 1‑2 hours (robot can be suspended during charge) |
| Network & control binding | 20 minutes |
| Firmware update | 15 minutes |
| Calibration & first movement | 20 minutes |
| Total | ~2 hours (excluding full charge time) |
> Note: Digit ships with an internal battery that is not user‑removable. There is no separate “battery installation” step; you simply connect the charging dock.
Before You Start: Safety & Space Requirements
[CRITICAL] Digit is a 65 kg industrial humanoid robot that generates significant kinetic energy when walking. It must never be powered on while standing freely on its feet until calibration is complete.
- Exclusion zone: Define a 2 m‑radius zone around the robot marked with tape or barriers. No person or pet may enter during powered operation.
- Emergency stop: Digit’s e‑stop is a large red button on its back (or on the remote pendant). The operator must have the e‑stop in hand and be outside the zone during first movement.
- Suspension: Before first boot, suspend Digit using the lifting rig so that its feet touch the mat with zero load but the robot cannot fall. All initial calibration is done while suspended.
- Floor surface: Only use a firm, level, non‑slip surface. Carpet, tile, or polished concrete are acceptable if covered by a rubber mat. No uneven floors.
- Ventilation: Ensure good airflow; Digit’s fans may run loudly during updates.
Step 1 – Unboxing & Physical Inspection
- Place the shipping crate in the centre of the prepared area with enough room to open all sides.
- Remove the lid and any foam‑in‑place packing.
- With two people, carefully lift Digit out of the crate and lower it onto the rubber mat, resting it face‑up or in its shipping posture (see Agility’s unboxing video).
- Inspect for visible damage: look at the legs, arms, sensor housing (head), and the battery‑charging contacts on the back. Check that all 28 joints move freely by hand; they should not be locked.
- Confirm the e‑stop button is depressed (off) and the main power switch is in the off position.
- Attach the lifting straps around the torso at the designated lift points (labelled on Digit’s shoulder structure). Hoist the robot so it hangs vertically with its feet 5‑10 cm above the mat.
Step 2 – Battery Installation & Charging
Digit’s integrated battery is not removable by the user.
- Leave the robot suspended.
- Locate the charging dock and place it under the robot’s back, aligning the contacts.
- Connect the dock to the surge‑protected extension cord and plug into a grounded AC outlet.
- A charging LED on the dock will illuminate amber; when it turns green, the battery is full (up to 8 hours runtime). Initial charge from 30 % may take up to 2 hours.
- Keep the robot suspended and the charger connected until firmware update and calibration are finished.
Step 3 – Powering On & First Boot
- Verify e‑stop is pressed (off).
- Toggle the main power switch to on (located inside the chest behind a small cover). The sensor‑head LEDs will cycle.
- After 30‑60 seconds the robot emits a low hum – the system has booted into its safe‑off state.
- Do not release the e‑stop yet.
Button / remote sequence Digit’s control interface is a rugged Android tablet (the “Digit Client”) supplied by Agility. No onboard button combos exist for user setup; all commands come from the tablet.
Step 4 – Network Configuration (Ethernet vs WiFi)
Digit must be connected to a dedicated, air‑gapped LAN. WiFi is not recommended for control traffic.
- Power off Digit and dock it safely.
- Using an Ethernet cable, connect Digit’s Ethernet port (on the back) to a managed switch on a private subnet (e.g., 10.0.0.x/24). Do not connect this switch to the internet unless instructed by Agility.
- Connect your setup laptop to the same switch and assign it a static IP on the same subnet (e.g., 10.0.0.10). Do not use DHCP – the robot expects a fixed address range. Consult Agility’s Digit V4 Network Configuration Guide for the exact IP the robot listens on.
- Power on Digit. On your laptop, ping the robot’s IP to confirm connectivity.
- Launch the Digit Client tablet app; it will auto‑discover the robot via mDNS on the same subnet.
Network comparison:
| Feature | Ethernet (recommended) | WiFi |
|---|---|---|
| Latency | <1 ms | 10‑20 ms (unreliable for motion control) |
| Packet loss | Zero on a clean switch | Risk of drops → safety stop |
| Setup complexity | Medium – needs static IP | High – requires SSID/security injection |
| Supported by Agility | Yes, mandatory for commissioning | Only for telemetry, not control |
Step 5 – App / Remote Control Binding
- On the Digit Client tablet, log in with the credentials provided in your welcome packet from Agility.
- The tablet will display “Digit Found – Connect?”. Tap Connect.
- You will be prompted to bind an e‑stop pendant (if supplied). Press the pair button on the pendant and confirm on screen.
- Once bound, the tablet shows the robot’s status: firmware version, battery, and joint temperatures.
- Leave the tablet in the safe‑off screen; do not engage motion yet.
Step 6 – Firmware Update & Security Hardening
Agility delivers Digit with the firmware version that passed factory QA. Check for updates:
- In the Digit Client, tap Settings → About → Check for Updates.
- If an update is available, the tablet downloads it from the robot’s internal server (no internet needed). Follow the on‑screen prompts to install. The robot will reboot several times – keep it suspended.
- Security hardening: Digit’s control network must be physically isolated from other networks. Do not bridge the Ethernet port to a LAN with internet access unless Agility’s remote support specifically instructs you. There are no known unit‑specific CVEs for Digit; however, always disable any unused wireless interfaces (the tablet’s WiFi and Bluetooth) while the robot is active.
> Note: Agility Robotics does not publish CVE numbers for Digit as of this writing. Firmware updates include critical safety patches and should be applied immediately.
Step 7 – SDK / ROS2 Setup (Advanced)
Digit is not an open‑source platform. A public ROS 2 interface is not officially supported, though some research partners have created internal bridges.
- Official API: Agility provides a REST‑based API and a Python client library for fleet management and basic command‑line interaction. Contact your Agility account representative to obtain the SDK and documentation.
- For advanced control (low‑level joint commands), you must work through Agility’s application engineering program.
- Installation example (if SDK is available):
pip install digit-sdkThen configure the network IP in ~/.digit/config.yaml. Refer to the provided README.md.
- ROS 2 integration: Third‑party works exist at
github.com/agilityrobotics/digit_ros2(research only, not officially supported). Use at your own risk; it may not reflect the latest firmware.
Step 8 – Calibration & First Movement
Calibration is performed entirely while the robot hangs.
- In the Digit Client, navigate to Commissioning → Calibrate.
- The robot will slowly move every joint through its range of motion. Wait until all status indicators turn green.
- Once calibration passes, choose Commissioning → Low‑Power Walk Test.
- With the robot still suspended, press and hold the e‑stop button in (to keep it off), then pull the e‑stop out to enable power. Immediately re‑engage the e‑stop if you see any erratic motion.
- On the tablet, tap Walk Forward. Digit’s legs will move in a suspended walking pattern. Check for smooth motion.
- After the walk test passes, lower the robot slowly until its feet touch the mat with full weight, but keep the straps slightly taut. Have an assistant ready to catch it if needed.
- Release the straps. With the e‑stop in hand, command a single step forward. Digit should walk one stride and stop.
- If stable, you may proceed to full untethered walking inside the exclusion zone.
Defining Success: Minimum / Full / Advanced
| Tier | Definition |
|---|---|
| Minimum viable | Robot powers on, connects to tablet, passes calibration, and walks one suspended step. |
| Full operational | Networked to control laptop, latest firmware installed, walks freely within exclusion zone, e‑stop tested. |
| Advanced | Custom integration via Agility’s API or (research) ROS bridge, autonomous behaviour or fleet‑managed pick‑and‑place tested. |
Common Setup Mistakes & Fixes
| Symptom | Root cause | Fix |
|---|---|---|
| Robot does not power on | Main power switch not toggled, or e‑stop pressed | Toggle switch ON; ensure e‑stop is pulled out AFTER boot |
| Tablet cannot discover Digit | PC and Digit on different subnet or no mDNS | Set static IP in same /24; enable IP multicast |
| Calibration fails – joint error | Strap tension prevents free movement, or floor surface uneven | Loosen straps; place robot on absolutely level rubber mat |
| Walk test halts immediately | Safety contact detected (floor touch) or e‑stop triggered | Ensure robot is fully suspended; e‑stop is disengaged before commanding |
| Robot falls when lowered | Suspension straps released before legs take weight | Lower slowly until feet bear full load; keep straps taut as backup |
| Battery runs out in <8 hours | High payload or aggressive walking profile | Default walk‑mode consumes less; check payload vs spec maximum 16 kg |
| Network ping fails after boot | Ethernet cable not fully inserted or wrong NIC | Reseat cable; check laptop Ethernet port active; use known good Cat 6 |
| Tablet shows “Firmware mismatch” | Tablet app out of date | Update Digit Client app via Agility’s customer portal |
| Robot’s fans run constantly loud | Thermal compensation during high ambient temperature | Ensure room temp below 30 °C; no blockage of airflow |
| Cannot access SDK/API | License not enabled or wrong account | Contact Agility support to activate developer access |
Komentar