

Setting up the EngineAI SE01 at home takes about 3 hours: unbox and inspect, charge the 2‑hour battery (2‑3 h charging), connect via Ethernet (set your PC to the same subnet as the robot’s default IP – typically 192.168.1.x), then update to the latest firmware and run a standing calibration. You need a clear, flat 3 m × 3 m area and an emergency‑stop within reach before first power‑on. The robot stands 1.70 m tall and weighs 55 kg – use a spotter or suspension harness during initial movement.
What You’ll Need: Tools, Space & Time
Tools & supplies
- PC (Windows, macOS, or Linux) with an Ethernet port and a web browser
- Ethernet cable (Cat5e or better)
- EngineAI SE01 charger (included; 24 V / 10 A typical)
- Suspension harness or sturdy overhead rig (optional but highly recommended)
- Anti‑fatigue rubber mat for the floor
- Spotter (another person) for the first movement
Space & environment
- Minimum floor area: 3 m × 3 m of clear, flat, non‑slip indoor surface
- Ceiling height: allow at least 2.2 m above the floor – the robot stands 1.70 m tall but will raise arms during calibration
- Temperature: 0–35 °C; avoid direct sunlight and high humidity
- Floor surface: hardwood, concrete, or low‑pile carpet – no thick rugs or uneven tiles
Setup‑time estimates (first‑time user)
| Phase | Estimated time |
|---|---|
| Unboxing & inspection | 15 min |
| Battery install & charge | 2–3 h (charge time) |
| Network & IP configuration | 15 min |
| App/remote binding | 10 min |
| Firmware update | 15 min |
| Calibration & first stand | 10 min |
| First walking test | 5 min |
| Total active time (excl. charge) | ~1 h 10 min |
| Total elapsed (incl. charge) | ~3 h |
Before You Start: Safety & Space Requirements
⚠ Critical safety rules – read before unboxing
- Exclusion zone: mark a 1.5 m radius around the robot with tape or cones. No one enters that zone while the robot is powered on, except the operator with the emergency‑stop.
- Emergency‑stop: the SE01 has a prominent red e‑stop button on its chest. Keep it visible and press it immediately if the robot begins to fall or move unexpectedly.
- First‑boot support: a 55 kg humanoid robot falls hard. For the first power‑on, either suspend the robot from a ceiling‑mounted harness, use a custom‑made stand, or have two spotters restraining it with straps until calibration completes.
- Floor: use a non‑slip rubber mat. Hard floors increase the risk of a slip during sharp manoeuvres.
- Power source: plug the charger into a grounded outlet with a surge protector. Do not use an extension cord longer than 3 m.
The EngineAI SE01 does not have an ISO‑certified collaborative rating, so treat it like a piece of heavy lab equipment. Never leave it powered on unattended.
Step 1 – Unboxing & Physical Inspection
- Place the shipping crate on a stable, level floor. Remove the outer straps.
- Open the crate lid and lift out the protective foam. You should see:
- The SE01 robot body, laying flat
- The battery pack (packed separately)
- The charger and power cable
- A quick‑start guide (paper or QR code)
- Inspect visually: check for any cracked plastic, bent joints, or loose cables. Look at the knee and hip actuators – the 12 degrees of freedom are spread across legs, torso, and head.
- Save the crate: if you ever need to ship the robot back for service, the original packaging is essential.
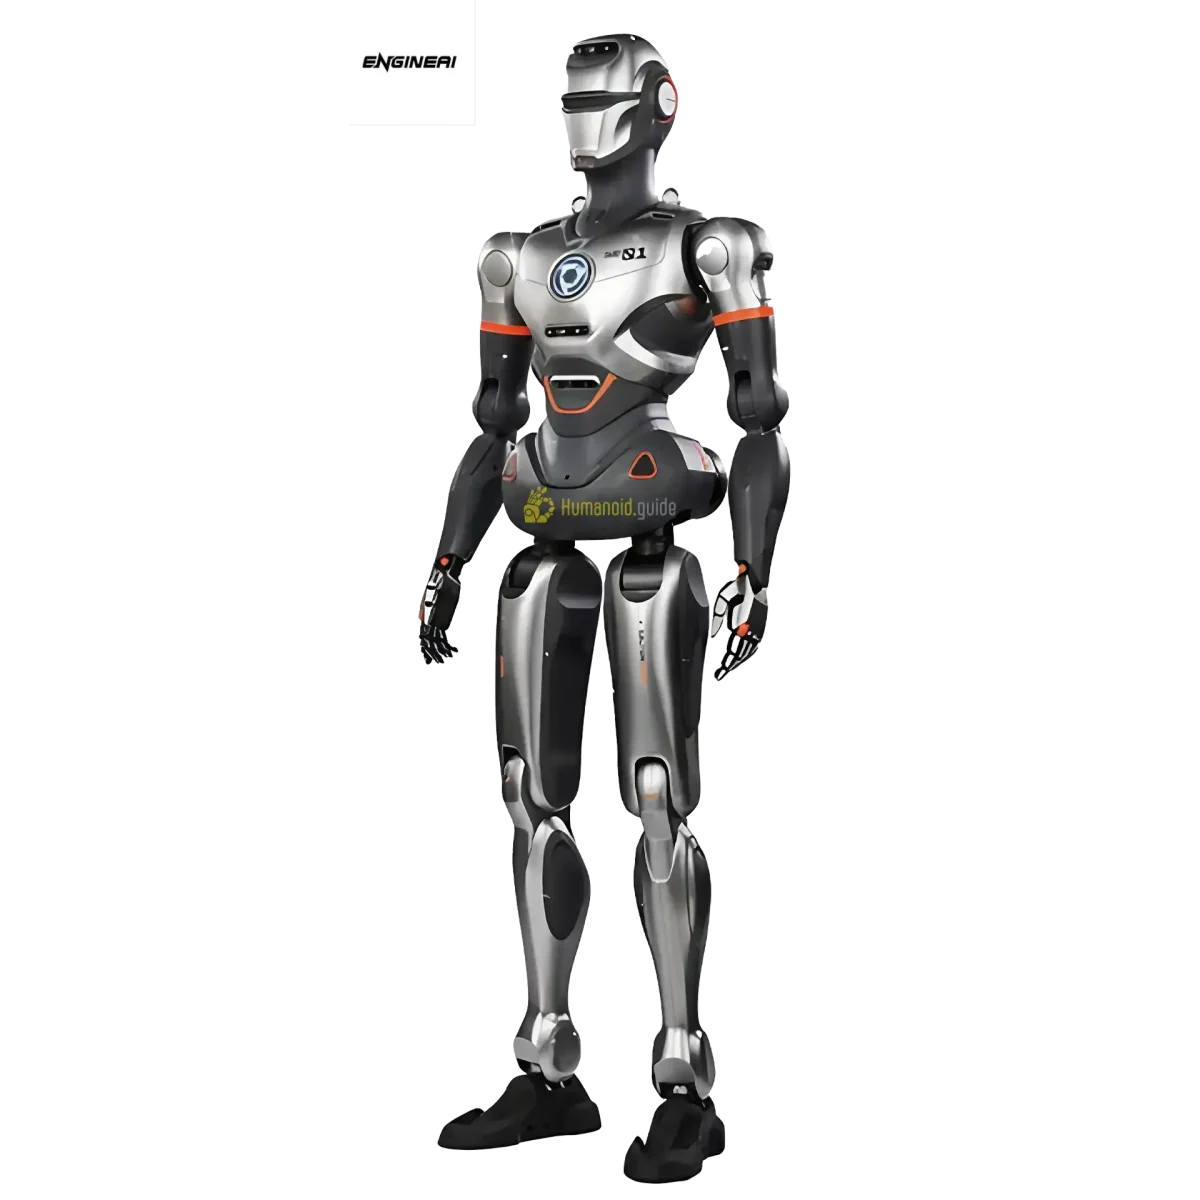
- With the help of a second person, carefully lift the robot upright (avoid twisting the legs). Place it on the prepared floor mat, leaning it gently against a wall with a pillow behind its back for temporary support – but do not let its full weight rest on the arms.
 ")
")
Step 2 – Battery Installation & Charging
- Locate the battery compartment on the robot’s back (between the shoulders). The SE01 uses a 48 V / 25 Ah lithium‑ion pack.
- Slide the battery into the rails until it clicks. There is no orientation error – it only fits one way.
- Plug the charger into the robot’s charging port (on the lower back, protected by a rubber flap). The LED on the charger will glow red while charging and turn green when full.
- First charge: let it reach 100 % (≈2.5 hours from empty). Do not attempt to power on the robot with a partially charged battery; the calibration sequence expects a stable voltage.
Battery warnings: - Never remove the battery while the robot is powered on. - Store the battery at 40–60 % charge if the robot will sit unused for more than a week.
Step 3 – Powering On & First Boot
- Ensure the robot is safely supported – either suspended or held by two spotters.
- Press and hold the power button (on the chest, below the e‑stop) for 3 seconds. The robot’s head will light up blue, and the cooling fan will spin.
- Wait for the boot sequence (≈1 minute). The robot’s joints will stay limp (damping mode) until a control command is sent.
- Do not give any movement command yet – proceed directly to network configuration while the robot remains stationary.
If the robot fails to boot: - Check the battery is fully seated. - Try the power cycle once more, waiting 10 seconds between attempts.
Step 4 – Network Configuration (Ethernet & Wi‑Fi)
The SE01 comes with a Gigabit Ethernet port on the back of its head unit (under a rubber seal). By default, the robot runs a DHCP server; you can also set a static IP from the maintenance panel.
Option A – Wired (recommended for first setup) 1. Connect one end of the Ethernet cable to the robot’s port, the other end to your PC. 2. On your PC, set the Ethernet interface to obtain an IP address automatically (DHCP). The robot will assign your PC an address in the range 192.168.100.xxx. 3. Open a terminal and ping 192.168.100.1 (the robot’s default gateway). A successful reply confirms connectivity.
Option B – Static IP (if DHCP fails) 1. Look up the robot’s pre‑configured IP in the quick‑start guide. Common values: 192.168.1.10 or 10.0.0.2. 2. Set your PC’s Ethernet adapter to a static IP in the same subnet, e.g.: - IP: 192.168.1.100 - Netmask: 255.255.255.0 - Gateway: leave blank or use the robot’s IP 3. Test with ping .
Wi‑Fi setup (after initial Ethernet connection) - Access the robot’s web configuration panel by navigating to http:// in a browser. - Enter the “Network” tab, scan for your home Wi‑Fi SSID, and provide the password. The robot will then be available over Wi‑Fi on the same subnet.
| Feature | Ethernet | Wi‑Fi |
|---|---|---|
| Latency | < 1 ms | 5–20 ms |
| Bandwidth | 1 Gbps | Up to 150 Mbps (Wi‑Fi 5) |
| Reliability | Very high | Subject to interference |
| SDK use | Recommended | Adequate for telemetry |
| Cable needed | Yes | No |
Step 5 – App / Remote Control Binding
- Download the EngineAI Control app from the iOS App Store or Google Play (scan the QR code in the quick‑start guide).
- Ensure your phone/tablet is on the same Wi‑Fi network as the robot, or connect via Bluetooth if the robot’s Bluetooth beacon is active.
- Open the app and tap Add Device. The SE01 should appear as “SE01‑
”. Select it and enter the default PIN 0000(change later). - Once bound, the app shows a live status panel: battery, joint states, and a joystick for manual control.
If you have the optional physical remote control, press the pair button on the remote while the robot is in discovery mode (indicated by a flashing blue light on the chest). Both app and remote can be used simultaneously.
Step 6 – Firmware Update & Security Hardening
1. Check current firmware
In the EngineAI Control app, navigate to Settings → System Info. The firmware version appears as SE01‑vX.X.X. This guide was last verified on firmware 1.3 (early 2026).
2. Update procedure
- Download the latest firmware image from the EngineAI Customer Portal (requires registration).
- Copy the
.binfile to a FAT32‑formatted USB drive (max 16 GB). - Insert the USB drive into the robot’s service port (on the hip) and restart the robot. The bootloader will detect the update and begin flashing automatically – the head LED will blink green during the process. Do not power off.
- After completion, the robot will reboot and the app will show the new version.
3. Security hardening
While the EngineAI SE01 has not been affected by any public CVEs as of this writing, the following steps reduce your attack surface:
- Change default credentials: replace the PIN
0000and any SSH/login passwords immediately. Access the robot’s web panel → Security to set a strong password. - Disable Bluetooth discovery when not pairing new devices.
- Disable Wi‑Fi hotspot if the robot is not being used as an access point.
- Keep the robot behind a firewall – only expose its IP to your local network.
- Subscribe to EngineAI’s security bulletin for future CVE notifications.
Step 7 – SDK / ROS2 Setup (Advanced)
EngineAI provides a Python‑based SDK with ROS2 (Foxy/Humble) wrappers for the SE01. The repository is hosted on EngineAI’s official GitHub (link in the documentation).
Prerequisites: - Ubuntu 22.04 (recommended) or macOS/Windows with WSL2 - Python 3.8+ - ROS2 Humble (or Foxy) - Ethernet connection to the robot
Installation (typical): ``bash git clone https://github.com/EngineAI-Robotics/se01_sdk.git cd se01_sdk pip3 install -r requirements.txt pip3 install -e . ` `bash sudo apt update sudo apt install ros-humble-ros-base source /opt/ros/humble/setup.bash colcon build --packages-select se01_control source install/setup.bash ``
SDK communication: The SE01 uses a DDS middleware (CycloneDDS), and the default domain ID is 0. Verify that your network interface is the one connected to the robot (e.g., enp2s0). If the robot does not respond, check: - The robot is not in “debug” mode (the green status LED must be solid). - Your PC’s firewall is not blocking UDP traffic. - You sourced the ROS2 workspace before running any node.
Basic test: run the se01_demo_walk.py script to make the robot take two steps. Always place the robot in a suspended/spotter‑supported state before executing movement commands from the SDK.
If the above commands differ from your actual SDK, consult the official EngineAI SE01 Development Guide – the software stack is evolving rapidly and exact steps may have changed.
Step 8 – Calibration & First Movement
- With the robot still supported (harness or spotters), open the EngineAI Control app and go to Calibration.
- The robot will slowly move each leg actuator to its zero position. You’ll hear soft whirring. Do not touch the joints.
- Once calibration passes (app shows “Calibration OK”), you can proceed to the Stand command.
- Tap Stand. The robot will rise to its full 1.70 m height. Keep spotters ready; the feet may shift slightly as the balance controller engages.
- If the robot stands steadily for 10 seconds without tipping, you can remove the harness or have spotters step back.
- Use the app’s joystick to command slow forward/backward movement. Limit the speed to 20 % for the first walk. The SE01 achieves a maximum of 4 km/h; at home, keep it under 2 km/h.
First‑walk checklist: - Floor clear, no cables or small objects - Battery > 80 % - Exclusion zone marked and clear - Emergency‑stop tested before movement
Defining Success: Minimum / Full / Advanced
| Tier | Definition |
|---|---|
| Minimum viable | Robot powers on, connects to the app, stands with support, and responds to basic joystick commands (e.g., gentle forward). |
| Full operational | Network and firmware configured, calibration passes, robot walks unsupported in a clear space with stable balance. App and physical remote work reliably. |
| Advanced | SDK/ROS2 environment installed, custom Python node sends movement commands, telemetry data flows to PC, and autonomous behaviours (e.g., pre‑programmed patrol) execute without intervention. |
Common Setup Mistakes & Fixes
| # | Mistake | Symptom | Fix |
|---|---|---|---|
| 1 | Battery not fully seated | No power, no LED | Remove and reinsert until audible click. |
| 2 | First boot without support | Robot tips over immediately | Suspend or use two spotters; never power on a free‑standing humanoid on its first run. |
| 3 | Wrong subnet on PC | Cannot ping robot | Verify your PC’s IP is in the same subnet as the robot’s (e.g., 192.168.100.x). |
| 4 | Forgot to update firmware | Old calibration parameters cause drift | Update to the latest firmware before calibration. |
| 5 | Calibration on uneven floor | Robot stands crooked | Move to a truly flat surface; re‑calibrate. |
| 6 | Skipping security step | Unchanged default PIN 0000 | Change via web panel → Security immediately. |
| 7 | SDK node uses wrong network interface | CycloneDDS discovery fails | Set export CYCLONEDDS_URI=file://$HOME/cyclone.xml with correct interface name. |
| 8 | Running SDK with robot in debug mode | No response to movement commands | Ensure the robot is in “normal” mode (solid green LED). |
| 9 | Trying Wi‑Fi for first SDK test | Packet loss, dropped commands | Use wired Ethernet until the setup is validated. |
| 10 | Leaving Bluetooth discovery on indefinitely | Unauthorised pairing risk | Disable Bluetooth when not actively pairing. |
Mga Komento