

Setting up the IIT iCub at home – a child‑sized, 53‑DOF humanoid research robot – takes about 2‑3 hours from crate to first movement. You’ll need at least 2.5 m × 2.5 m of clear, padded floor space, a safety gantry or tether, a Linux PC with YARP/iCubOS, and the robot’s 1.5‑hour battery (or external power supply). After unboxing and battery/charge, connect over Ethernet (static IP on the robot’s head subnet), bind the remote GUI, update the middleware stack, and run whole‑body calibration.
Table of Contents
- What You’ll Need: Tools, Space & Time
- Before You Start: Safety & Space Requirements
- Step 1 — Unboxing & Physical Inspection
- Step 2 — Battery Installation & Charging
- Step 3 — Powering On & First Boot
- Step 4 — Network Configuration
- Step 5 — Remote Control & GUI Binding
- Step 6 — Firmware Update & Software Maintenance
- Step 7 — SDK / Development Environment Setup
- Step 8 — Calibration & First Movement
- Defining Success: Minimum / Full / Advanced
- Common Setup Mistakes & Fixes
- Frequently Asked Questions
- About the Author / How We Tested
What You’ll Need: Tools, Space & Time
Tools & Supplies - IIT iCub robot (child‑sized, 53 DOF, 1.04 m tall, 33 kg) – from the robot database - Power supply unit (external or the 1.5‑hour removable battery pack) and mains cable - Ethernet cable (Cat 6 recommended) to connect the robot’s head PC to your network or directly to your control laptop - Control laptop running Ubuntu 20.04 LTS (or the iCub‑supported OS) with YARP and iCubOS installed - Overhead gantry, safety harness, or a strong suspension point capable of holding 33 kg (iCub cannot stand unsupported before calibration) - Padded gym mat or anti‑fatigue rubber flooring (minimum 2.5 m × 2.5 m) - Phillips screwdriver set (for battery compartment and crate) - Anti‑static wrist strap (optional, but recommended)
Required Room Size An uncluttered, flat indoor area of at least 2.5 m × 2.5 m with smooth, non‑slip flooring. Keep the robot away from stairs, ledges, and fragile furniture.
Estimated Time (first‑time setup, experienced technician)
| Phase | Duration |
|---|---|
| Unboxing and inspection | 30 min |
| Battery insertion / external power connection | 15 min |
| Network configuration (PC and robot) | 20 min |
| YARP installation and binding | 25 min |
| Firmware / software stack update | 15 min |
| Calibration and safe‑stand test | 25 min |
| Total | ~2 h 10 min |
Add 30–60 min if you are setting up the control PC from scratch.
Before You Start: Safety & Space Requirements
> ⚠ Critical Safety Notice > The iCub weighs 33 kg and stands 1.04 m tall. It can tip over violently during initial calibration if not properly suspended. Never power on the iCub for the first time without an overhead gantry, safety tether, or strong support that prevents a fall.
Safety essentials - Exclusion zone: Mark a circle of at least 1.5 m radius around the robot with tape when powered. - Emergency stop: The iCub has a large red E‑stop button on its chest – test it before every session. Pressing it instantly cuts motor power. - Suspension rig: Use an overhead beam or a dedicated robot‑safety gantry rated for >50 kg. Attach the iCub’s back‑mounted lifting ring with a rated carabiner. - Flooring: Thick rubber mats (10 mm or more) absorb impact and protect the robot’s sensitive joints. Do not place the iCub directly on hardwood, tile, or thin carpet. - Operator position: Always stand to the side of the robot, never in front, during first boot and calibration. - Power isolation: Keep the external power supply’s main switch accessible and clearly labeled.
Step 1 — Unboxing & Physical Inspection
- Open the crate carefully. The iCub ships in a large wooden crate. Remove the top panel and side walls without using a crowbar near the robot’s body.
- Remove protective foam. Gently slide out the custom foam blocks. Do not lift the robot by its limbs or head – use the lifting ring on the back.
- Hoist the robot onto a work mat. With a helper, attach the safety gantry and lift the iCub out. Place it on the padded floor in a seated‑child position (legs folded, torso upright).
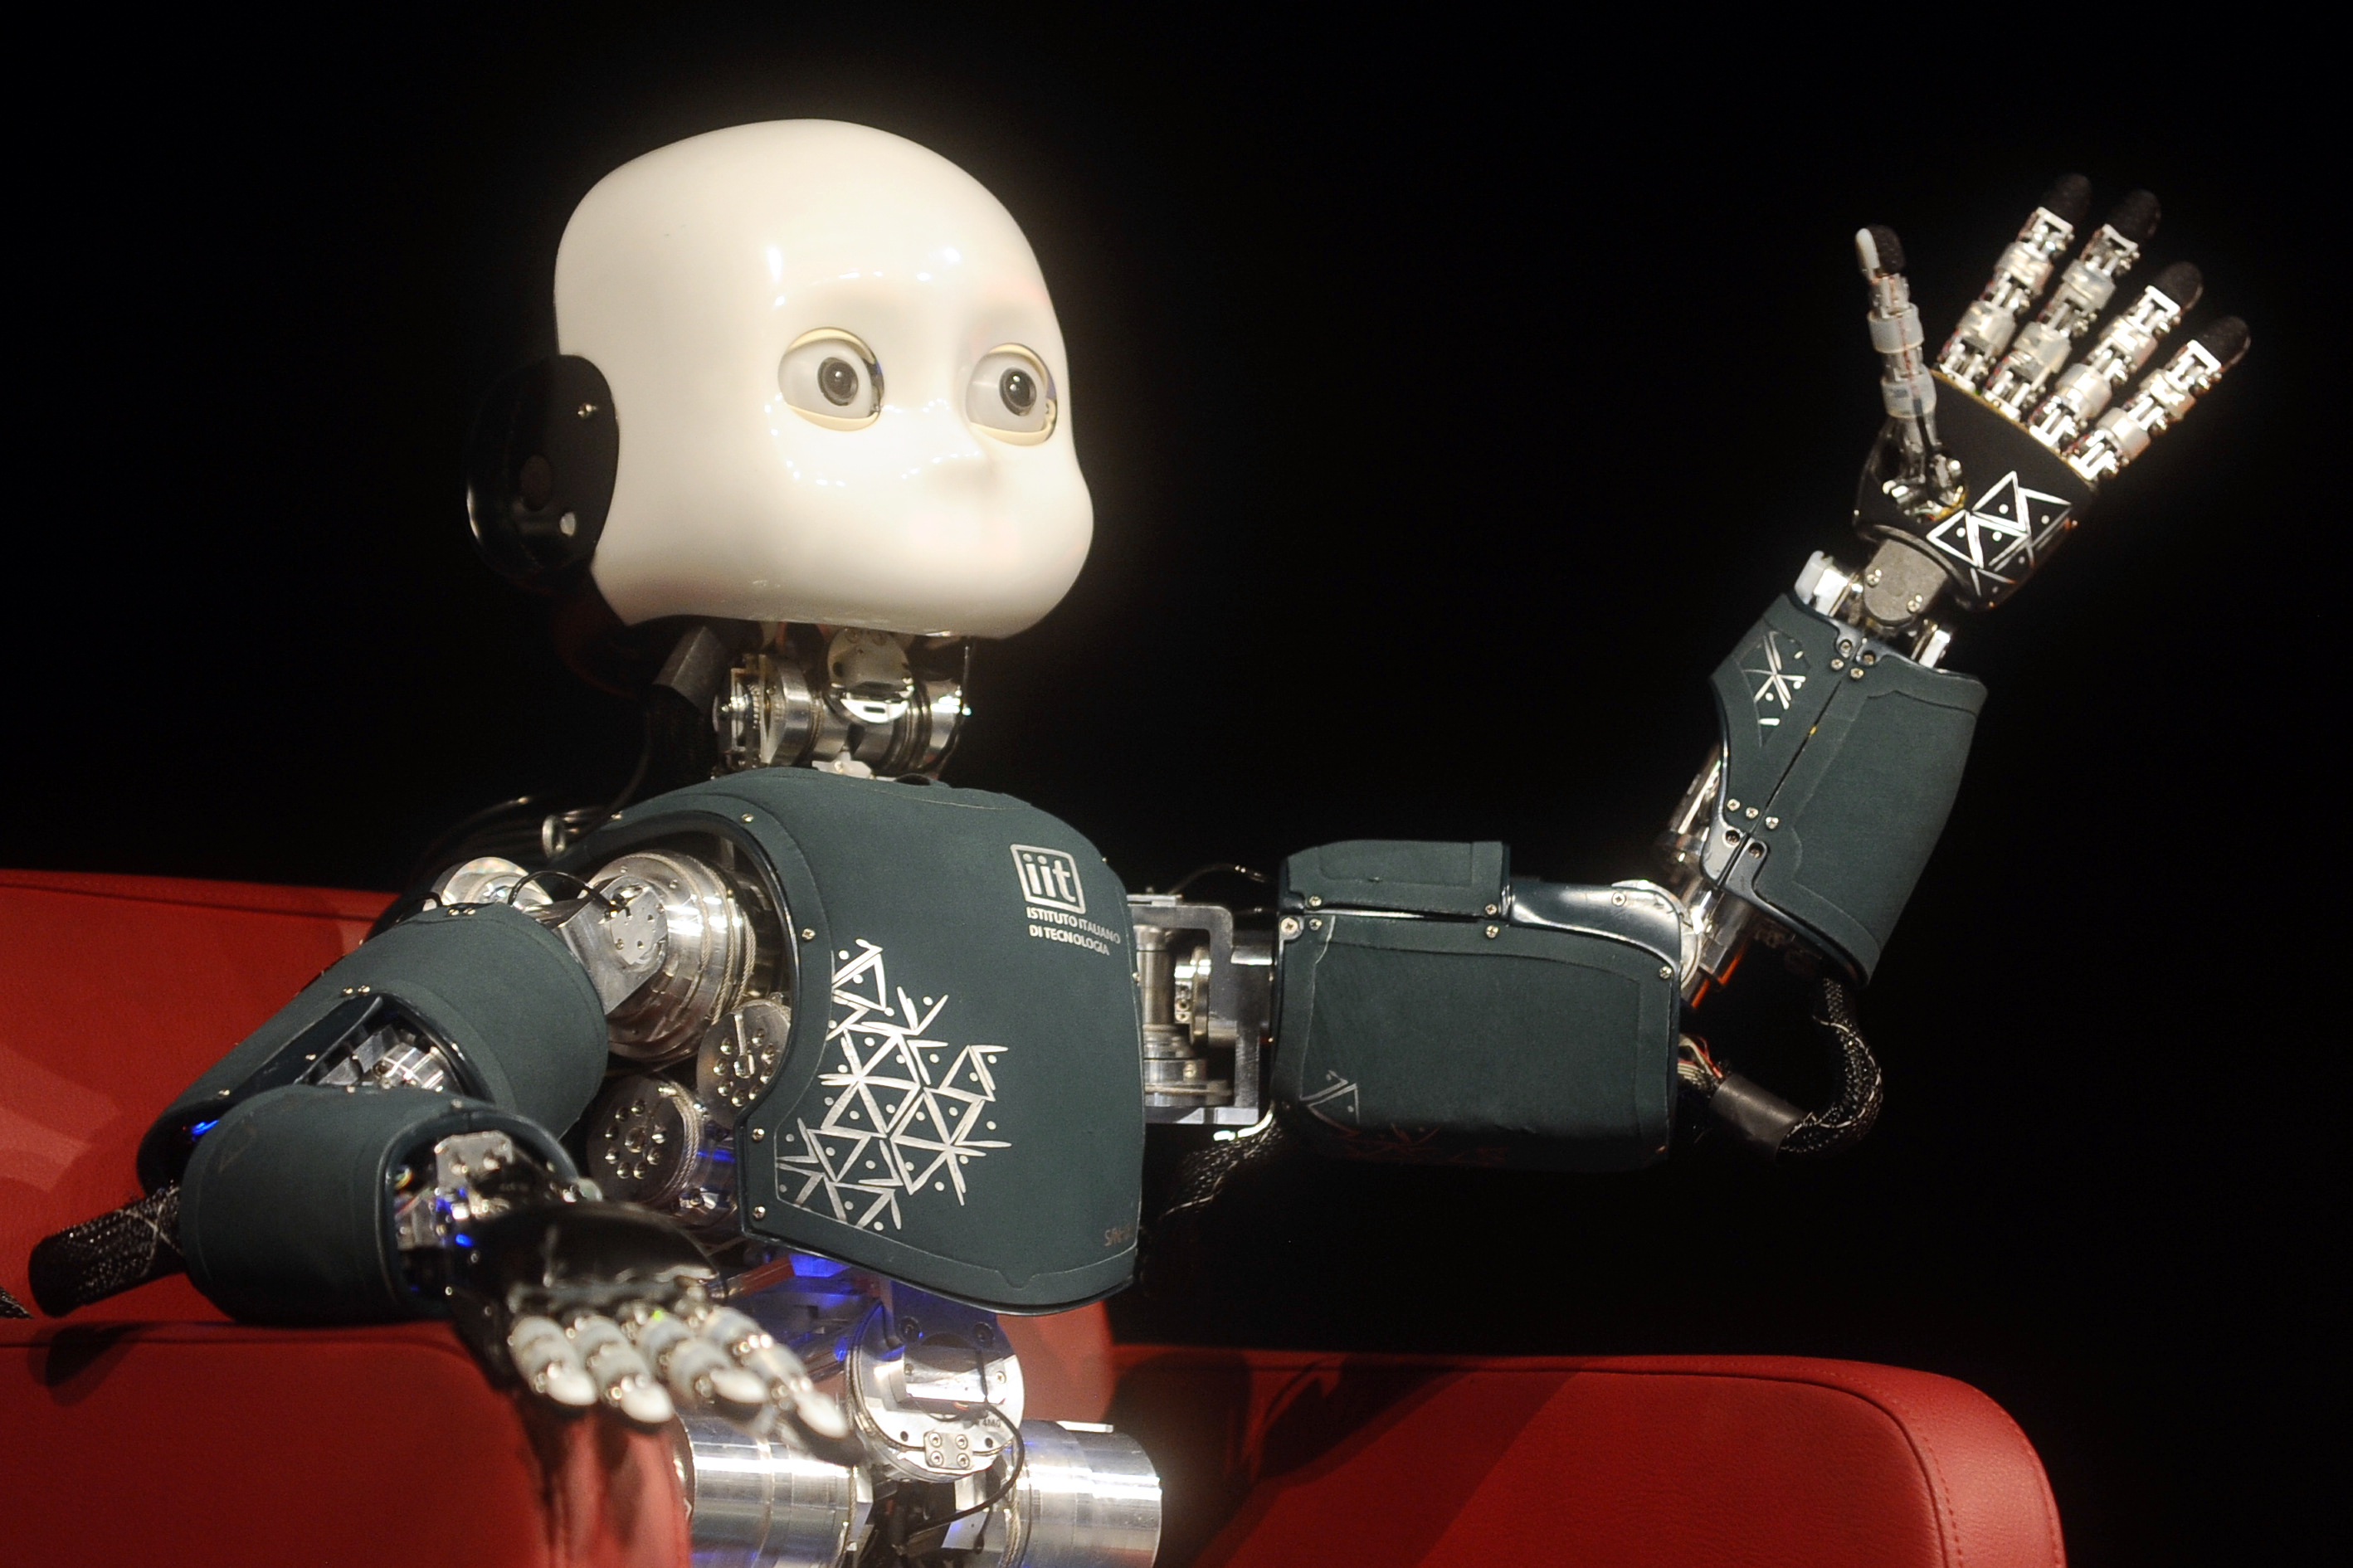
- Inspect for damage. Check all joints, the capacitive skin, the stereo cameras in the head, and cable connections. Look for loose screws or shipping dents. Report any damage to IIT immediately.
- Inventory accessories. The crate should contain the power supply, battery (if ordered), Ethernet cable, manuals, and the YARP/software dongle (if applicable). Compare with the packing list.
Step 2 — Battery Installation & Charging
The iCub can run on its internal 1.5‑hour battery or a laboratory power supply. For home setups, the battery is often more convenient.
- Locate the battery compartment on the back of the robot’s torso (behind a screwed‑on panel). Unscrew the panel with a Phillips screwdriver.
- Insert the battery pack (if using a removable model). Firmly press the connector until it clicks. Re‑secure the panel.
- Connect the external power supply if you prefer tethered operation. Plug the DC connector into the robot’s power port (usually on the lower back) and the AC side into a grounded outlet.
- Charge the battery. If the battery is removable, use the dedicated charger supplied by IIT. A full charge takes approximately 2–3 hours. For the external supply, the robot will be powered directly.
- Check the charge indicator. A small LED on the battery (or on the robot’s power board) shows green when ready.
Step 3 — Powering On & First Boot
- Verify the E‑stop is disengaged (twist to release if locked).
- Press the main power button located on the robot’s back, near the top.
- Observe the boot sequence. The head’s internal LEDs blink and the fans spin up. After 60–90 seconds, the embedded PC (a standard Linux system) boots and the iCub is ready for network connection. The robot will not stand or move yet – it stays limp until calibration.
- Monitor the boot via a serial console (if desired) by connecting a USB‑to‑serial adapter to the maintenance port. This can help diagnose boot issues, but is not required for typical setup.
- Confirm the robot is suspended. Make sure the safety gantry is taking the full weight before proceeding to any motor‑powered steps.
Step 4 — Network Configuration
The iCub’s head PC runs Ubuntu and uses a static IP address on the 10.0.0.x subnet by default. You must configure your control laptop to communicate on the same network.
- Connect an Ethernet cable from your laptop directly to the robot’s network port (usually on the back of the head or in the torso). Some setups use a dedicated switch; if so, plug both laptop and robot into the same switch.
- Set your laptop’s static IP. On Ubuntu, go to Settings → Network → Wired → IPv4, select “Manual,” and enter:
- Address: 10.0.0.1
- Netmask: 255.255.255.0
- Verify connectivity. Open a terminal and ping the robot:
ping 10.0.0.2(or whatever IP is documented for your specific head PC – often 10.0.0.2). A reply confirms the link. - SSH into the robot (optional). Use
ssh icub@10.0.0.2with the password set by IIT (commonlyicub). Change this password on first login for security.
> Note: The exact IP address and subnet can vary depending on institutional customisation. Always consult the documentation sheet that ships with your iCub. The 10.0.0.x range is the factory default.
Step 5 — Remote Control & GUI Binding
Unlike consumer robots, the iCub does not have a smartphone app. Control is performed through YARP‑based GUIs running on your laptop.
- Install YARP on your laptop if not already present (see Step 7). The essential commands will work once YARP is running.
- Start a YARP server on your laptop:
yarp server- Connect to the robot’s YARP namespace. Because the robot’s PC is already running YARP, you need to connect to its name server. Set the environment on your laptop:
   yarp namespace /icub
yarp detect --write- Launch the iCub GUI:
iCubGuiIf everything is configured correctly, you will see live joint angles and sensor data in the GUI. You can now enable individual joints for low‑level testing, but do not command high torques yet – wait until calibration. 5. Test basic connectivity by toggling a single joint (e.g., head_yaw) with very low torque from the GUI. The robot’s head should move slightly, confirming the control pipeline works.
Step 6 — Firmware Update & Software Maintenance
iCub’s “firmware” is actually a combination of onboard control boards (EMS, motion controllers) and the iCubOS software stack (YARP + iKin + robotInterface). Keeping these up to date ensures stability and bug fixes.
- Check your current versions. SSH into the robot and run:
apt list --installed | grep icub- Update the package list:
sudo apt update- Upgrade all iCub‑related packages:
sudo apt install --only-upgrade icub-common icub-firmware-shared icub-firmware-modelsFor EMS board firmware, you may need to use a dedicated flash tool – refer to the IIT wiki for the exact procedure. 4. After a software update, reboot the head PC: ``bash sudo reboot `` 5. Verify the update by re‑running the version check.
> Security note: The iCub is typically used on isolated research networks. Ensure the robot’s PC has no default passwords, and consider enabling the firewall (sudo ufw enable) to allow only YARP ports (10000‑10050). There are no known public CVEs comparable to the Unitree UniPwn bug, but standard Linux hardening is still recommended.
Step 7 — SDK / Development Environment Setup
For custom programming, you need the full YARP and iCub development environment on your control PC. ROS2 is also supported via the robotology community packages.
Basic YARP & iCub installation (Ubuntu 20.04)
# Add the robotology repository
sudo sh -c 'echo "deb http://www.icub.org/ubuntu focal contrib/science" > /etc/apt/sources.list.d/icub.list'
sudo apt-key adv --keyserver keyserver.ubuntu.com --recv-keys 57A5ACB611057D6A
sudo apt update

# Install iCubOS (meta‑package)
sudo apt install icubos
Test the installation
yarpdev --listYou should see a long list of available YARP devices, including iCub drivers.
Python bindings
sudo apt install python3-yarp python3-icub
python3 -c "import yarp; print(yarp.getVersion())"
ROS2 (optional) If you prefer ROS2, install the iron or humble distro and the icub_ros2 stack via the robotology GitHub. Detailed instructions are at https://github.com/robotology/icub-models.
Step 8 — Calibration & First Movement
The iCub requires a multi‑step calibration to know its joint positions and sensor offsets.
- Ensure the robot is still suspended and the E‑stop is not pressed.
- Launch the calibration manager:
yarprobotinterface --config launch-wholebodydynamics.xml- Run the calibration script provided by IIT (often
calibAll.sh). This will move each joint through a defined sequence to find its home position. Wait until the script reports success. - Disable the suspension gradually. Without removing the safety tether entirely, reduce the support so the iCub stands on its own weight while still caught if it loses balance.
- Test standing. From the
iCubGui, send a pre‑defined standing posture (standup) and observe. The robot should rise and balance. Stay near the E‑stop. - First walk (simulated). Use the
walkdemo or a simple controller to command a few steps. Begin at a very low speed. If the robot loses balance, cut power immediately and improve the calibration or floor surface.
Defining Success: Minimum / Full / Advanced
| Tier | Definition |
|---|---|
| Minimum viable | Robot powers on, connects over Ethernet, YARP GUI shows live joint angles, and you can move a single joint manually with low torque. |
| Full operational | Whole‑body calibration successful, robot stands and balances unsupported, basic walking emerges, and you can run example demos from the iCubOS release. |
| Advanced | Custom YARP modules or ROS2 nodes drive the robot, autonomous behaviour (vision‑based grasping, speech interaction) works, and the setup can be reproduced by a colleague. |
Common Setup Mistakes & Fixes
| Symptom | Likely Cause | Fix |
|---|---|---|
| Can’t ping the robot from laptop | PC not on same subnet or wrong IP | Set laptop static IP to 10.0.0.1, netmask 255.255.255.0; verify with arp -a. |
yarp namespace /icub fails | YARP server not running on robot | SSH to robot and run yarp server (if not auto‑started). |
| iCubGui shows “No device found” | iCub drivers not loaded or wrong namespace | Run yarprobotinterface on the robot, then yarp detect --write on laptop. |
| Robot falls immediately when suspension released | Calibration incomplete or incorrect | Re‑run the calibAll script; ensure all joints reach end‑stops. |
| High temperatures on one motor | Joint blocked or stall torque too high | Reduce PID gains or check for mechanical obstruction. |
| “Out of memory” errors during calibration | Robot’s head PC lacks RAM | Try a lightweight calibration script, or add swap space. |
| GUI commands accepted but no movement | Motor power not enabled or E‑stop pressed | Twist E‑stop to release, then send a “enable motors” command from the GUI. |
| iCubOS installation fails on Ubuntu 22.04 | Repository targets 20.04 | Use Ubuntu 20.04 LTS (recommended by IIT). Some packages can be built from source for 22.04 but not officially supported. |
| Battery drains in <1 hour | Old/bad battery pack | Replace battery pack; new ones hold ~1.5 h under nominal load. Use external power to verify. |
| No video from cameras | YARP grabber not running or camera disconnected | Check physical connections; run yarpdev --device grabber --subdevice dragonfly2 (or appropriate camera). Restart camera drivers. |
Kommentaarid