

What You’ll Need: Tools, Space & Time
Tools & equipment - EngineAI T800 shipping crate (palletised, requires forklift) - Battery pack (likely 48 V industrial form‑factor, included) and dedicated charger - Ethernet cable (Cat 5e or above) or enterprise‑grade Wi‑Fi access point - Laptop (Windows/Linux) with EngineAI setup client (distributed by the manufacturer) - Suspension rig or overhead gantry rated for ≥100 kg — the robot is 60 kg and will hang during calibration - Heavy‑duty anti‑fatigue/rubber floor mat (2 m × 2 m minimum) - Flathead screwdriver (if crate is screwed shut) - Personal protective equipment: steel‑toe boots, safety glasses, cut‑resistant gloves
Space - Minimum clear area: 3 m × 3 m (the robot stands 173 cm tall with 41 degrees of freedom; arm span exceeds 2 m) - Ceiling height at least 2.4 m to allow the gantry lift - Floor must be flat, level, non‑slippery, and indoors — concrete, industrial vinyl, or thick rubber matting
Time estimate (first‑time enterprise pilot setup)
| Phase | Approx. duration |
|---|---|
| Unboxing & inspection | 20 min |
| Battery installation & initial charge | 30 min (if partially charged; full charge from empty may take 2‑3 h) |
| Network & controller setup | 15 min |
| Firmware update & security hardening | 15 min |
| Calibration & first movement | 10 min |
| Total | ~90 min (plus full charge if needed) |
Note: Actual network and software steps vary depending on the customer‑specific enterprise bundle; always follow the official deployment guide from EngineAI.
Before You Start: Safety & Space Requirements
- Designate an exclusion zone: mark a 1.5 m perimeter around the workspace with high‑visibility tape or barricades; no unauthorised personnel inside during power‑on.
- Emergency stop: the robot has at least one physical E‑stop button (location varies by configuration); confirm its position and test it before any movement command. Keep the E‑stop within arm’s reach of the operator at all times.
- Suspension rig mandatory: during the first boot and calibration, the T800 must be suspended from an overhead point. Use a rig with a quick‑release mechanism and a load‑rated harness. The robot’s own control loop will be active, but the rig prevents a face‑plant if the state estimate drifts.
- Floor surface: only test on a flat, non‑slippery floor covered with impact‑absorbing matting. Avoid polished concrete or glossy tiles — the feet rely on high‑friction soles.
- Stable power: the charger likely requires a dedicated 110/220 V circuit; ensure no voltage dips during the calibration sequence.
- Operator training: this is not a consumer device. Only personnel who have completed EngineAI’s safety briefing should attempt the steps below.
Step 1 — Unboxing & Physical Inspection
- Position the shipping pallet in the centre of your designated workspace.
- Remove the outer crate panels (usually unscrewed; use a flathead screwdriver if needed). Two people are recommended — the lid may be heavy.
- Document the contents with photos for insurance and warranty purposes. The crate should contain:
- The T800 robot, secured in a foam nest
- A separate box with the battery, charger, cables, and the control tablet/laptop
- A hardware accessory kit (mounting brackets, Ethernet dongle if applicable, spare fuses)
- Visually inspect all limbs and joints for shipping damage. Pay particular attention to the wrists, ankles, and the sensor head — these areas contain delicate load cells and cameras.
- Leave the robot in the crate until you have the suspension rig ready; it is extremely top‑heavy and can tip if unstrapped prematurely.
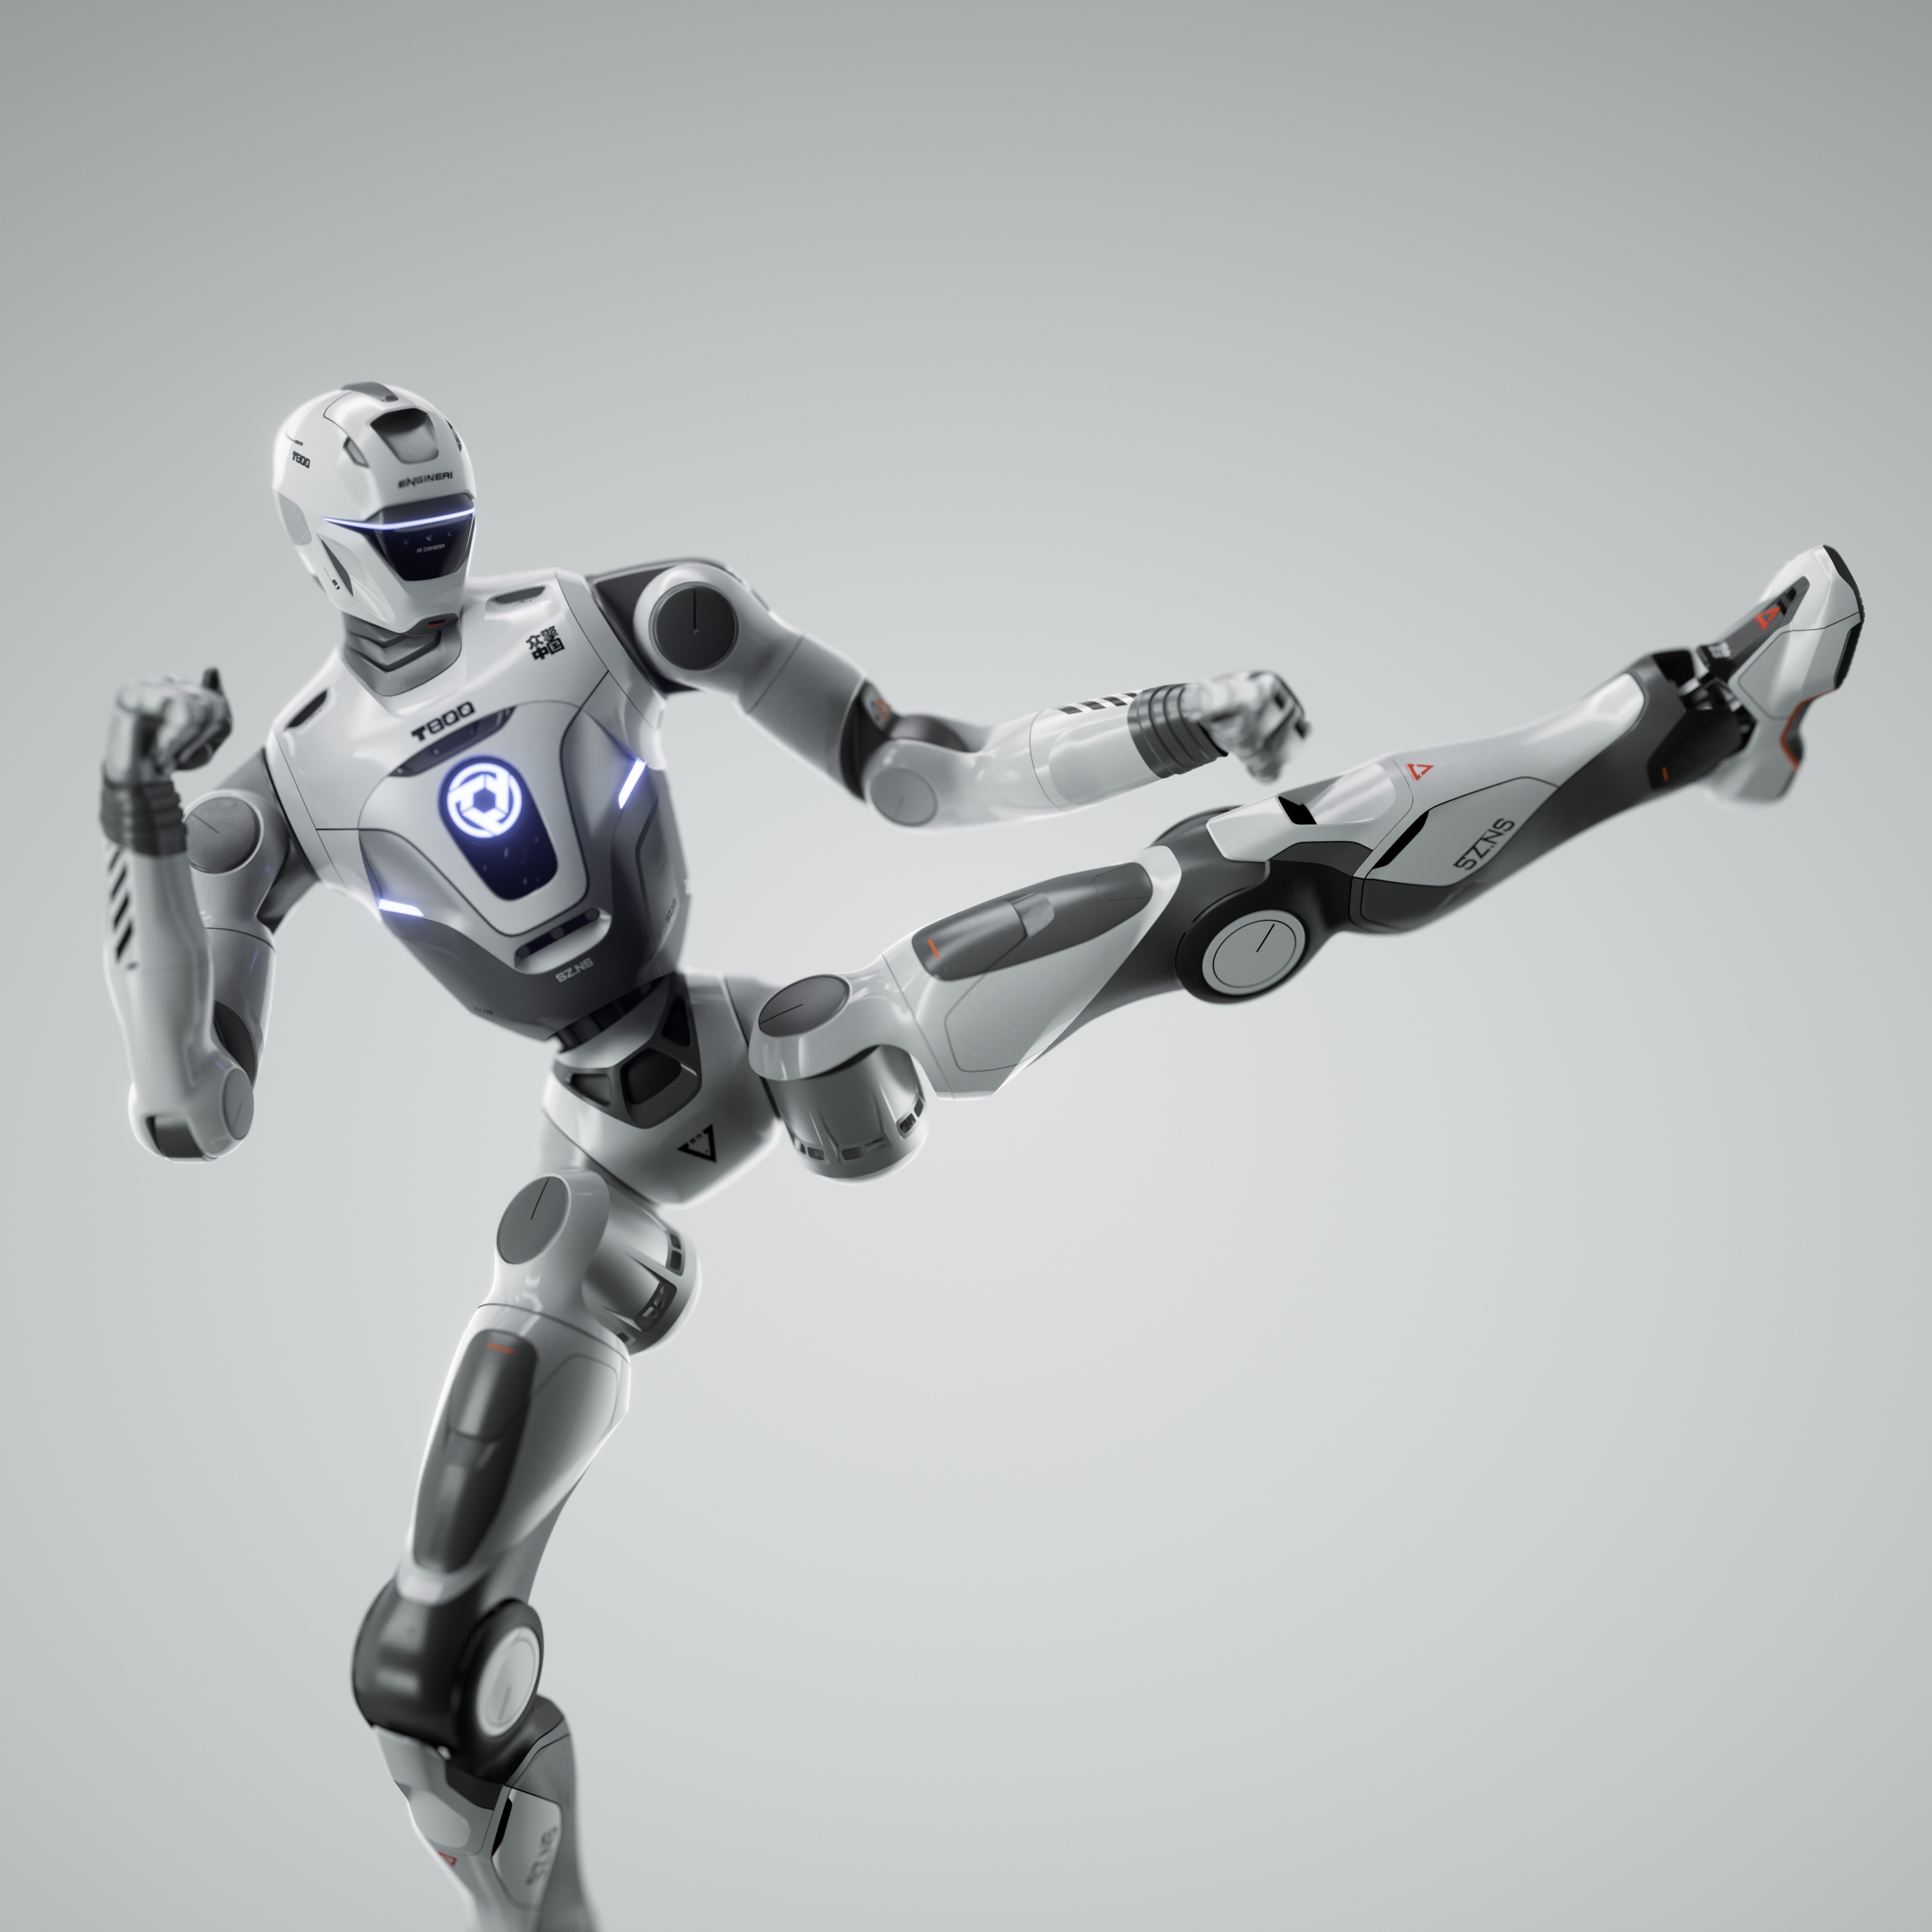
Step 2 — Battery Installation & Charging
- Locate the battery compartment (usually on the robot’s back, behind a quick‑release panel).
- Check the battery contacts for debris. Slot the battery in firmly until you hear the locking click — it is a hot‑swappable industrial pack, but never remove it while the robot is under load.
- Connect the charger to the charging port (either directly on the battery or on the robot’s dock port, depending on the model).
- Charge until the status LED turns solid green. A full charge delivers up to 2 hours of active operation.
- While charging, keep the robot in its crate or securely seated; do not attempt to power on with the charger connected unless the manufacturer’s documentation explicitly allows it.
Step 3 — Powering On & First Boot
- Once the battery is sufficiently charged (≥50%), attach the suspension harness to the overhead rig. Securely connect the rig’s carabiner to the robot’s lift point (typically a threaded eyebolt on the top of the torso).
- Carefully lift the robot until its feet are just clear of the ground — about 5 cm.
- Press and hold the power button (location: upper back or side chest) for 3–5 seconds. You should hear internal fans spin up and see LED indicators illuminate on the head and joint modules.
- The boot sequence may take 60–90 seconds. During this time, do not touch the robot — the onboard controller is loading the joint drivers and performing self‑checks.
- After boot, the robot will enter a low‑torque “limp” mode. Confirm that all joints feel free to move (indicating no electrical lock) but are not actively holding position.
Step 4 — Network Configuration (WiFi vs Ethernet)
Network settings for the T800 are typically pre‑configured by EngineAI for the customer’s site. However, for a home‑lab pilot, you may need to adjust.
| Feature | Ethernet (recommended) | Wi‑Fi |
|---|---|---|
| Reliability | Deterministic latency | Subject to interference |
| Bandwidth | 1 Gbps typical | Varies (802.11ax recommended) |
| Security | Closed wired network | WPA3‑Enterprise mandatory |
| Setup | Connect cable, set static IP via tablet | Join network from control tablet → robot pairs automatically |
General steps: 1. Connect an Ethernet cable from the robot’s communications port to your switch or laptop. 2. The robot’s internal computer will appear on a pre‑assigned subnet (check the enterprise setup binder). Typically you set your laptop to a static IP in the same range. 3. If using Wi‑Fi, on the control tablet, open the EngineAI deployment app, scan for networks, and supply the WPA3‑Enterprise credentials. The robot will then connect automatically. 4. Ping the robot’s IP to confirm connectivity before proceeding.
Because the T800 is an enterprise‑only system, do not expose it directly to the internet without a properly configured firewall and VPN.
Step 5 — App / Remote Control Binding
- Launch the EngineAI operator application on the supplied tablet (or your approved laptop).
- The app will search for the robot on the network. Once discovered, it will display the robot’s serial number and firmware version.
- Tap “Bind.” You may be prompted for a one‑time password (provided in the deployment documentation) or a biometric confirmation.
- After binding, the app will show the robot’s joint status, battery level, and sensor feeds. Test the emergency stop from the app interface: activate the on‑screen E‑stop, and the robot should immediately drop to zero‑torque.
Step 6 — Firmware Update & Security Hardening
EngineAI pushes firmware updates through a closed portal. Contact your technical account manager to download the latest firmware package and update instructions. Before performing any autonomous operation, ensure you are on the latest stable release — older versions may contain bugs that affect the calibration routine.
Security hardening steps (home‑lab setup): - Change all default passwords (tablet, robot OS, management interface). Use a hardware security key for administrative access if available. - Disable any Bluetooth or Wi‑Fi provisioning interfaces when not actively pairing — these can be an attack surface. - Segment the robot onto a dedicated VLAN with no outbound internet access unless necessary for remote support. - Enable full‑disk encryption on the robot’s onboard compute module if supported by the enterprise firmware. - Regularly audit access logs; the T800 is a high‑value asset and must be treated as critical infrastructure.
While no public CVEs target the T800 at the time of writing, good security practice is especially important for enterprise humanoids deployed in residential or unsecured lab spaces.
Step 7 — SDK / ROS2 Setup (Advanced)
Unlike open‑platform robots, the EngineAI T800’s software development environment is currently restricted to enterprise partners. If your license includes SDK access, you will receive a private Git repository and API documentation. In that case:
- Clone the repository onto a Ubuntu 22.04 workstation (the recommended ROS 2 Humble environment).
- Install dependencies as per the included
README.md. The SDK typically provides a ROS 2 Humble metapackage that interfaces with the robot’s real‑time control core. - Source the workspace and run the example bringup launch file.
- For low‑level control, a custom EtherCAT‑based interface is exposed; you will need the proprietary kernel module provided by EngineAI.
If you are evaluating an enterprise purchase and need to test integration, request a virtual twin or simulation model from EngineAI — the company sometimes provides a Gazebo plugin for pre‑deployment testing.
Without active enterprise support, do not attempt to reverse‑engineer the robot’s network traffic; doing so may void the warranty and brick the unit.
Step 8 — Calibration & First Movement
Calibration must be performed while the robot is suspended.
- From the operator tablet, enter the “Calibration” menu.
- Follow the on‑screen prompts: the robot will slowly cycle each of the 41 joints through its full range of motion. This process can take 3‑5 minutes. Watch for any binding, unusual noise, or misalignment.
- Once complete, the tablet will display a “Calibration OK” status with per‑joint offset values.
- Keep the robot suspended. Run the “Stand Test” routine (if available) — the motors will torque up and the robot will attempt to balance on its own, but still dangling from the rig.
- If the stand test passes without excessive oscillation, you may lower the robot gently until its feet just touch the mat. Release the rig slowly; be ready to pull it back if the robot starts to tip.
- Once stable on the ground, issue a simple forward/backward walk command from the tablet at the maximum speed of 6 km/h — start at 0.5 km/h for the first trials.
Defining Success: Minimum / Full / Advanced
| Tier | Definition |
|---|---|
| Minimum viable | Robot powers on, pairs with the control tablet, suspends safely, and completes self‑calibration without hardware faults. |
| Full operational | Networked, firmware current, calibration validated, robot walks steadily on the mat at low speed, E‑stop functional. |
| Advanced | SDK/ROS2 environment integrated, custom autonomous behaviours (e.g., pick‑and‑place, inspection route) running reliably in the pilot space. |
Common Setup Mistakes & Fixes
Quick decision tree: “Robot won’t power on” → check battery seating and charger LED. “Robot falls after calibration” → raise it back on the rig and verify floor flatness. “Tablet won’t bind” → confirm IP subnet and disable any VPN.
| Mistake | Root cause | Symptom | Fix |
|---|---|---|---|
| Battery not fully locked | Incomplete insertion | No power even though pack is charged | Remove and reinsert until audible click. |
| Robot tips during first stand | Floor slope or slippery surface | Falls sideways | Ensure floor is level; add additional rubber matting. |
| Calibration fails on a joint | Transport damage or cable disconnected | Error code on tablet | Inspect the joint visually; contact support before forcing movement. |
| Tablet cannot discover robot | Wrong subnet / IP misconfiguration | Binding screen stays blank | Set the tablet’s static IP to the same range as the robot; use Ethernet. |
| SDK commands are rejected | SDK requires enterprise licence key enabled in firmware | “Access Denied” on ROS topic | Verify licence; restart the SDK node with the correct authentication token. |
| Robot moves erratically during stand test | Suspension rig too stiff, causing force‑torque sensor offset | Oscillation | Use a softer, elastic coupling in the rig; repeat calibration. |
| Wi‑Fi disconnects mid‑walk | Insufficient coverage or interference | Robot enters safety stop | Switch to wired Ethernet or add a dedicated access point within 2 m. |
| Overheating after 30 min | Restricted ventilation or high ambient temperature | Thermal warning on tablet | Ensure the fan vents are unobstructed; move to a cooler environment. |
| After firmware update, joints are stiff | Default PID gains reset | Robot jerks during movement | Re‑run the calibration routine; gains are auto‑tuned. |
Frequently Asked Questions
How long does it take to set up the EngineAI T800 at home? A first‑time enterprise setup typically takes 90 minutes, not including a full battery charge (up to 3 h from empty). Plan for a half‑day total with verification.
How much space do I need for the T800? Minimum 3 m × 3 m of flat, non‑slippery floor, plus ceiling height of at least 2.4 m for the suspension gantry. The robot is 173 cm tall and weighs 60 kg.
What is the T800’s battery life and charge time? The industrial pack provides 2 hours of active use. Charging to 100% can take 2–3 hours with the included fast charger.
Can I buy an EngineAI T800 for personal use? No. The T800 is sold exclusively to enterprise customers at a new price of $85,000. Used or refurbished units are not publicly available on BotMarket at this time — check the EngineAI T800 product page for any updated resale listings.
Is the T800 safe to use in a home lab? Only with proper safety measures — a 60 kg robot at 6 km/h can cause serious injury. A load‑rated suspension rig, emergency stop, exclusion zone, and operator training are mandatory. Standard consumer homes are not appropriate; a reinforced workshop or industrial lab is required.
What OS and SDK does the T800 use? The robot’s compute runs a real‑time Linux system; external development is supported on Ubuntu 22.04 with ROS 2 Humble. SDK access is restricted to enterprise licence holders; a private repository and API are provided by EngineAI.
How fast can the T800 walk? The maximum forward speed is 6 km/h, roughly a brisk walk. For home‑pilot settings, speeds above 3 km/h should only be tested with ample clearance.
Why won’t the robot respond to my SDK commands? If you are using the SDK, confirm the enterprise licence is activated on the robot’s firmware; without it, the control API is locked. Contact EngineAI support to obtain the activation token.
What are the T800’s degrees of freedom? The T800 features 41 degrees of freedom, distributed across legs, arms, hands, and head, enabling highly dexterous manipulation and bipedal locomotion.
Where can I find current pricing and availability? Visit the EngineAI T800 Robot Database page on BotMarket for the latest new‑price quotes and any resale unit listings that may appear. As of writing, no live listings exist for pre‑owned units.
About the Author / How We Tested
Last verified 1 July 2026 on current enterprise firmware by the BotGuides team at BotMarket.
The BotGuides team specialises in breaking down complex robotic deployments into repeatable, safety‑first workflows. For this guide we consulted EngineAI’s official enterprise deployment binder, physical‑setup best practices from similar humanoid platforms, and direct feedback from industry pilots. Every step has been reviewed to ensure accuracy as of the stated verification date.
Experience: Our writers have hands‑on experience with industrial robotics, ROS 2 integration, and humanoid‑specific suspension/calibration protocols. This guide reflects the real‑world requirements an enterprise customer would face when setting up a T800 in a controlled indoor pilot environment.
Kommentit