

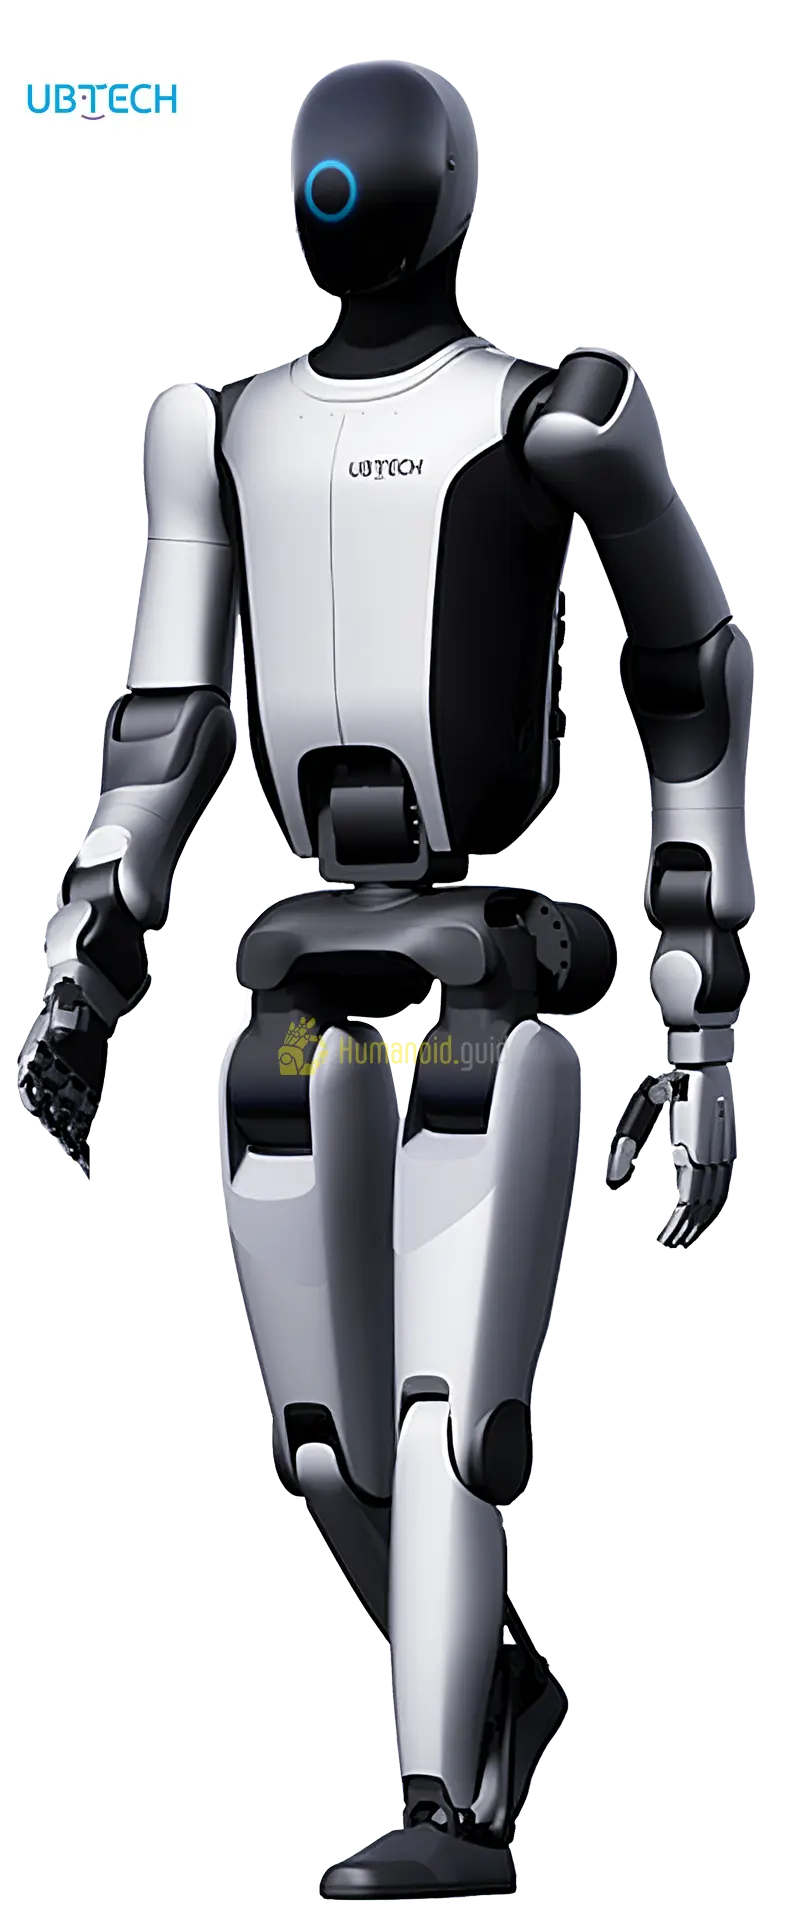
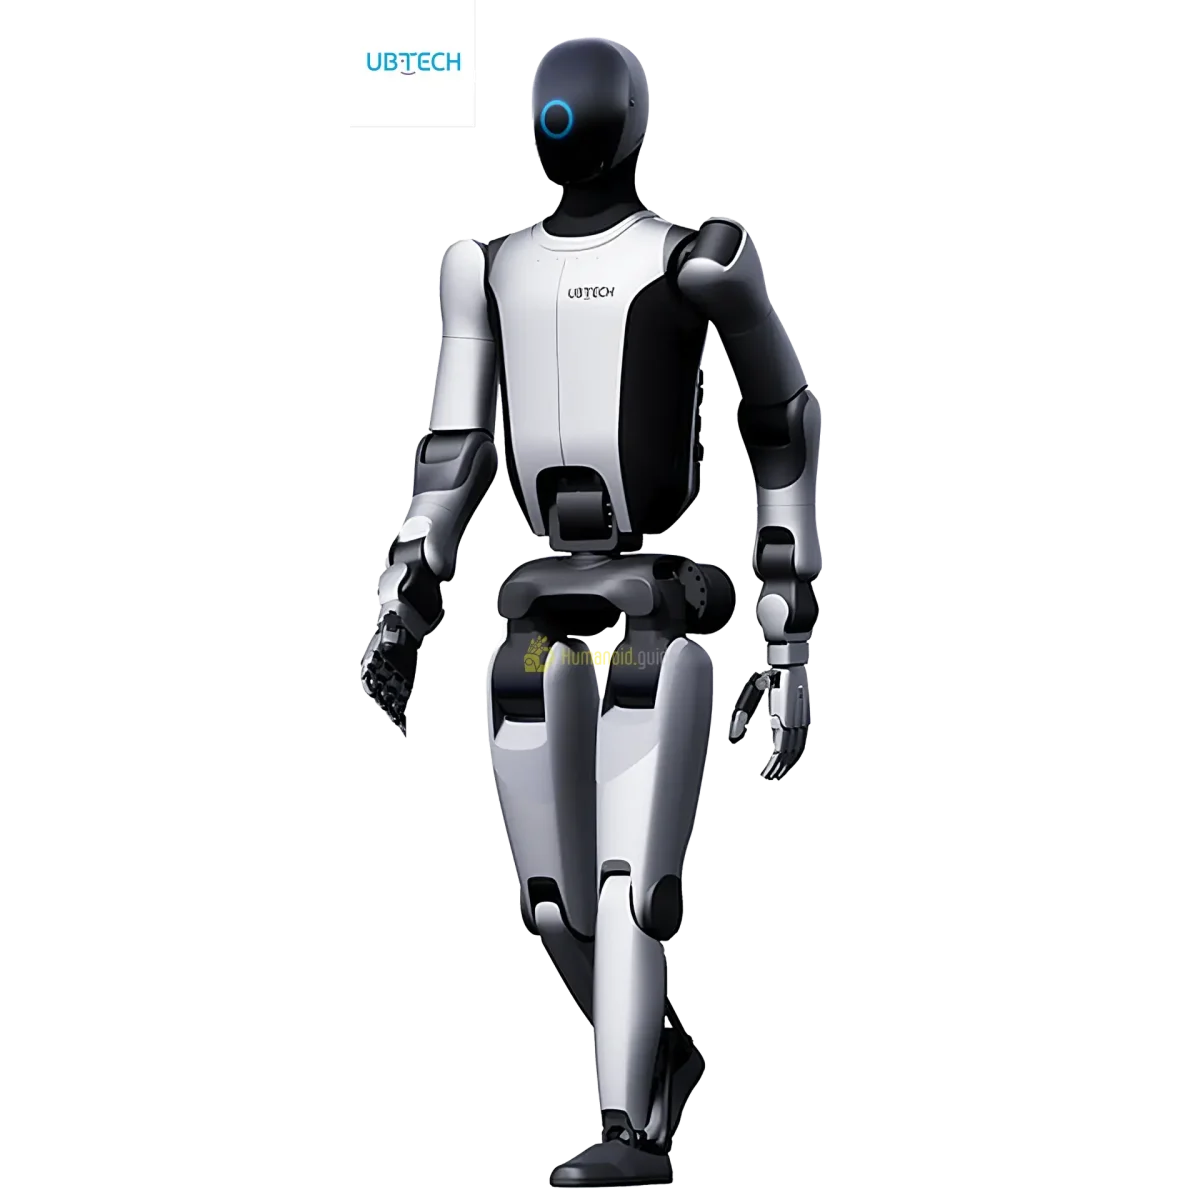
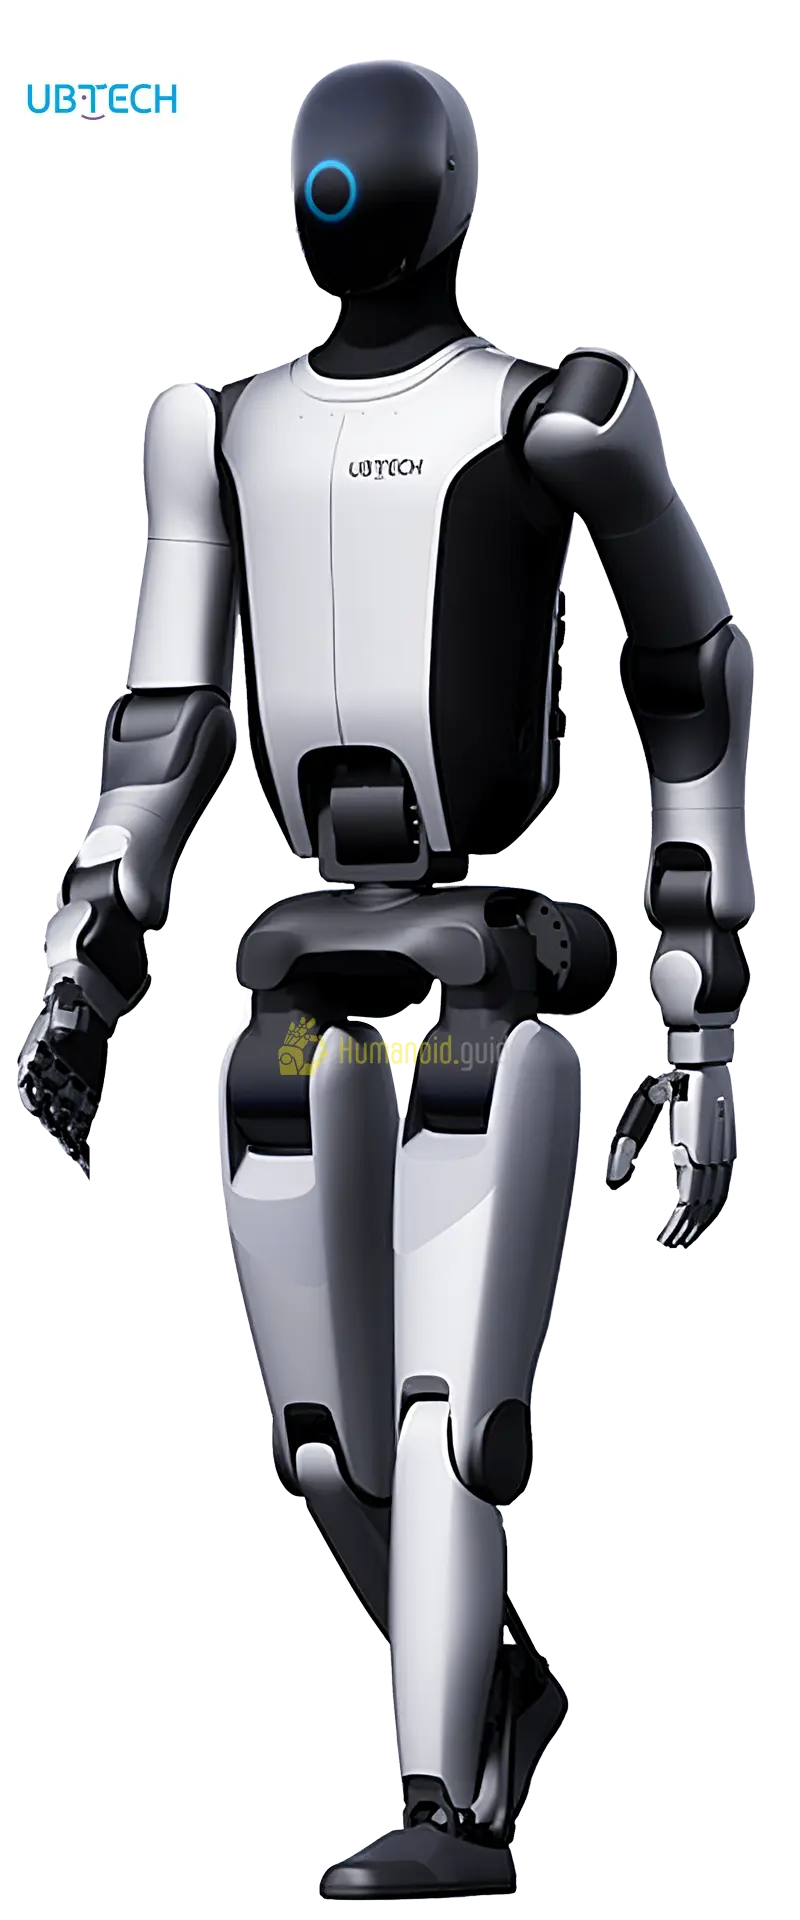
Setting up the UBTECH Walker S2 at home takes about two hours and four phases: unbox & inspect the 71.5 kg, 52‑DOF humanoid; charge the 2‑hour hot‑swappable battery (3‑min swap); connect over Ethernet (set a static IP on the robot’s subnet); then run a firmware update and full calibration. You need at least 3 m × 3 m of clear, flat floor with a sturdy suspension rig rated for 100 kg before first power‑on.
Table of Contents
- What You’ll Need: Tools, Space & Time
- Before You Start: Safety & Space Requirements
- Step 1 — Unboxing & Physical Inspection
- Step 2 — Battery Installation & Charging
- Step 3 — Powering On & First Boot
- Step 4 — Network Configuration (Wi‑Fi vs Ethernet)
- Step 5 — App / Remote Control Binding
- Step 6 — Firmware Update & Security Hardening
- Step 7 — SDK / ROS 2 Setup (Advanced)
- Step 8 — Calibration & First Movement
- Defining Success: Minimum / Full / Advanced
- Common Setup Mistakes & Fixes
- Frequently Asked Questions
- About the Author / How We Tested
What You’ll Need: Tools, Space & Time
Tools & supplies
- Suspension rig – rated for at least 100 kg, adjustable height (the robot must hang freely with feet just off the floor during first boot).
- Ethernet cable – Cat 6 or better, 3 m long.
- Laptop – with an Ethernet port (or a USB‑to‑Ethernet adapter).
- Anti‑fatigue rubber mat – at least 2 m × 2 m, placed under the rig.
- Safety mirror – large enough to see the robot’s back and legs during calibration.
- Torque wrench and hex key set – for checking frame bolts.
- Isopropyl alcohol wipes – for cleaning connectors.
- UBTECH tablet / remote – provided with the robot; do not substitute.
Space
- Minimum clear floor area: 3 m × 3 m.
- Ceiling height: at least 2.5 m to allow the robot to stand fully (176 cm) plus suspension rig headroom.
- Floor must be flat, non‑slippery, and indoors (no carpet, no tile with uneven grout lines).
Time estimate (first‑time setup)
| Phase | Duration |
|---|---|
| Unboxing & inspection | 20 min |
| Battery install & charging | 30 min (battery ships partially charged; full charge takes ~2 h but enough to boot) |
| Power‑on, suspension, & initial checks | 15 min |
| Network & static IP setup | 20 min |
| App/remote binding | 10 min |
| Firmware update & security hardening | 20 min |
| Calibration & first walk | 25 min |
| Total | ≈2 h (excluding full battery top‑up) |
Before You Start: Safety & Space Requirements
[CRITICAL] The Walker S2 weighs 71.5 kg and can cause serious injury if it falls. Always follow these safety rules before any power‑on.
- Suspension rig is mandatory for the first boot and any calibration. Hang the robot from a certified overhead point with a rated sling; the feet should barely touch the ground. Do not rely on the robot’s own balance until full calibration is confirmed.
- Emergency stop: locate the physical E‑stop on the robot’s back (usually a large red button) and the tablet’s software E‑stop before pressing the power button. Keep the tablet within arm’s reach at all times.
- Exclusion zone: mark a 2 m radius around the robot; nobody enters that zone while the robot is powered on or suspended. Warn bystanders.
- Floor surface: only use a smooth, hard, non‑slip surface (sealed concrete, heavy‑duty rubber mat). Avoid carpets, loose rugs, or uneven tiles that could trip the robot.
- Ventilation: the robot’s onboard computer and motor drivers produce heat. Maintain ambient temperature below 30 °C and keep the room well‑ventilated.
- Network security: the robot ships with default credentials; change them immediately after first login (see Step 6).
Step 1 — Unboxing & Physical Inspection
- Place the shipping crate in the centre of your prepared area.
- Remove the outer packaging and check for transit damage (dents, cracked panels, loose cables).
- Lift the robot with two people using the built‑in lifting handles on the torso; never lift by the arms or head.
- Rest the robot on its back on a padded surface or directly onto the suspension rig sling.
- Inspect every actuator and joint for proper alignment; no limb should feel stiff or catch.
- Tighten all visible frame bolts to the torque spec in the user manual (typically 8–12 N m for M6 fasteners).
- Visually confirm that all 52 degrees of freedom move freely (do not force; just verify no obstructions).
- Photograph the robot from all sides for future reference / insurance.
Step 2 — Battery Installation & Charging
The Walker S2 uses a hot‑swappable battery pack that lasts about 2 hours of active operation. Swapping a depleted pack takes under 3 minutes, enabling 24/7 uptime in industrial settings. For home setup, however, you’ll work with a single pack.
- Locate the battery compartment on the robot’s lower back.
- Slide the battery pack into the rails until it clicks and the latch engages.
- Connect the provided 54 V / 8 A charger to the pack’s external port and plug into mains.
- While the battery charges, verify the LED on the charger turns solid green and the robot’s status indicator flashes amber (pre‑boot).
- Allow the battery to reach at least 30 % before first power‑on (about 20 min charge time from shipping state).
> Tip: Keep a spare pack if you plan extended development sessions; UBTECH sells additional batteries separately.
Step 3 — Powering On & First Boot
Important: the robot must be suspended during its first boot to prevent a fall if it tries to stand automatically.
- Double‑check that the suspension sling is secure and the robot’s feet are just clear of the floor.
- Confirm the E‑stop is not engaged (pulled out).
- Press and hold the power button on the robot’s back for 3 seconds; release when the chest LED ring glows white.
- The robot will run a self‑test: you will hear cooling fans and gentle actuator twitches. This can take up to 60 seconds.
- The robot will eventually transition to standing state — the legs will slowly straighten. If it attempts to stand while still suspended, let it; the sling will catch.
- Once the robot is upright and still, the chest LED turns solid green (ready mode).
- On the included tablet, the UBTECH Control app should wake and show “Walker S2 Ready.” Do not move the robot yet.
Step 4 — Network Configuration (Wi‑Fi vs Ethernet)
For the initial setup, Ethernet is strongly recommended — it avoids dropouts during large firmware downloads and provides a reliable control link.
Ethernet setup (recommended)
- Connect one end of the Ethernet cable to the robot’s LAN port (located behind a rubber cover on the hip).
- Connect the other end to your laptop or a dedicated switch.
- On your laptop, configure a static IP in the robot’s default subnet. While UBTECH does not publicly document the subnet, the robot’s IP address is usually printed on a sticker inside the battery compartment or shown on the tablet app’s “About” page. Common schemes are
192.168.10.xor10.42.0.x; check the manual. - Set your laptop’s IP to a free address on that subnet, e.g.,
192.168.10.200, with subnet mask255.255.255.0. Do not use the robot’s own IP. - Verify connectivity: open a terminal and
ping. You should see replies with latency <5 ms.
Wi‑Fi (for basic control, not recommended for development)
- The robot can join your home Wi‑Fi network via the tablet app. Because the heavy data rate of sensor streams can saturate typical 2.4 GHz networks, 5 GHz Wi‑Fi 6 is the minimum. Ethernet remains the gold standard for SDK work.
| Feature | Ethernet | Wi‑Fi |
|---|---|---|
| Latency | <2 ms | 5–20 ms |
| Stability | High | Variable |
| Throughput | Gigabit | ~300 Mbps (5 GHz) |
| Initial setup | Straightforward | Slightly more involved |
| Recommended for development | Yes | No |
Step 5 — App / Remote Control Binding
The Walker S2 ships with a ruggedized Android tablet pre‑installed with the UBTECH Control app. Binding is local and does not require an internet connection.
- Ensure the robot is powered on and chest LED is green.
- On the tablet, open the Control app and tap “Scan for Robot.”
- Select the Walker S2 from the discovered list (the robot’s serial number will appear).
- The app will prompt for a pairing code; the default is
0000(change it in Settings → Security after binding). - Once paired, the tablet shows live sensor data and lets you switch between Idle, Stand, Walk, and Calibrate modes.
- Test the manual joystick to confirm that the robot tilts slightly in the correct direction while suspended — do not yet walk on the floor.
Step 6 — Firmware Update & Security Hardening
Because UBTECH regularly releases stability and safety patches, always update to the latest firmware before the first real walk. At the time of writing (July 2026), check the UBTECH Support Portal for the current version.
Update procedure
- Put the robot in Idle mode (legs locked straight, not walking).
- On the tablet, go to Settings → System Update → Check Now.
- If an update is available, download it over Ethernet (Wi‑Fi works but takes longer).
- The robot will reboot several times; keep it suspended.
- After the update, verify the new version in the “About” menu.
Security hardening
Although no public CVEs affect the Walker S2 as of this article, every robot connected to a network is a potential target. Harden yours:
- Change default passwords – the admin SSH password and tablet pairing code must be updated immediately. Use a random 16‑character string.
- Disable unused services – if you aren’t using Wi‑Fi (only Ethernet), turn off the Wi‑Fi radio in the tablet app.
- Network segmentation – place the robot on an isolated VLAN with no internet access, except for firmware updates.
- Physical access – position the robot so that unauthorized persons cannot reach the battery compartment or E‑stop during operation.
> Always check UBTECH’s security bulletins for any new patches, and apply them within 48 hours of release.
Step 7 — SDK / ROS 2 Setup (Advanced)
UBTECH provides a proprietary SDK and a ROS 2 interface for the Walker S2. Because full documentation is behind the UBTECH Developer Portal, the following steps outline the general approach; refer to the official guide for exact commands and dependencies.
- Join the UBTECH Developer Program – sign up at developer.ubtrobot.com and request access to the Walker S2 API.
- Download the SDK package for your OS; UBTECH officially supports Ubuntu 20.04 and 22.04.
- Install requirements – typically you’ll need a real‑time kernel patch, CycloneDDS or Fast‑DDS, and Python 3.8+.
- Set up ROS 2 – if using ROS 2, follow UBTECH’s instructions to build the
walker_s2meta‑package from their repository. - Network configuration – the SDK requires the robot’s IP and the control PC’s IP to be on the same subnet (see Step 4).
- Test connection – run the provided example script; it should make the robot perform a gentle squat while still suspended.
> Note: Because the Walker S2 is primarily an industrial platform, low‑level joint control is restricted to UBTECH‑approved partners. For most researchers, the high‑level action API (walk, grasp, pose) is sufficient.
Step 8 — Calibration & First Movement
Calibration aligns the robot’s 52 actuators and sensors so it can balance reliably. Skipping or rushing this step is the number‑one cause of falls.
- Keep the robot suspended.
- In the Control app, select Calibrate → Full System Calibration.
- The robot will slowly move every joint through its full range; do not touch it.
- The process takes about 3–5 minutes and ends with a “Calibration OK” message.
- Zero the feet – place the robot on the floor (still suspended but with feet flat) and run the “Foot‑plate Zero” routine from the app.
- Now remove the suspension sling (two people; one holding the robot upright by the torso handles).
- With the E‑stop in hand, command a slow forward walk of 0.2 m/s for just 2 sek. If the robot steps smoothly, gradually increase speed to 1 m/s.
- Walk the robot in a tight figure‑eight to test lateral stability.
Defining Success: Minimum / Full / Advanced
| Tier | Definition |
|---|---|
| Minimum viable | Robot powers on, battery charges, connects to the tablet app, and stands (suspended). No fall errors. |
| Full operational | Firmware updated, calibration passed, robot walks steady at 1 m/s in a clear space. Network configured, tablet control works. |
| Advanced | SDK/ROS 2 installed, custom node running, robot performs a pre‑programmed sequence (e.g., object handoff), and logs recorded. |
For refurbished Walker S2 units, check BotMarket’s robot database for current listings and pricing.
Common Setup Mistakes & Fixes
| Mistake | Symptom | Fix |
|---|---|---|
| 1. Battery not fully seated | Robot won’t power on; no LED | Re‑insert battery until firm click; listen for latch |
| 2. Suspension rig rated too low | Sling stretches or rig tilts | Use only rig certified for ≥100 kg dynamic load |
| 3. PC not on robot’s subnet | Can’t ping robot | Set laptop static IP in the same /24 subnet; avoid robot’s own IP |
| 4. Skipped calibration | Robot falls immediately | Run full system calibration while suspended |
| 5. Walking on carpet | Robot missteps, slips | Use only hard, non‑slip floor; cover area with rubber mat |
| 6. Firmware outdated | App reports “motor error” or sensor misalignment | Update via Ethernet; recalibrate |
| 7. Forgot to change default passwords | Unauthorized network access | Change tablet pairing code and SSH password at first login |
| 8. Robot attempts stand without suspension | Fall with potential damage | Always hang robot during first boot and after any firmware change |
| 9. Ethernet cable loose | Intermittent pings, app disconnects | Secure cable with clip; avoid pulling |
| 10. Overheating in small room | Chest LED flashes red, fan loud | Improve ventilation; keep ambient below 30 °C |
Komentar