
A 180 cm tall, 47 kg bipedal robot that can run at 3.3 m/s and execute backflips arrives in a crate at your doorstep. Without a structured setup protocol—covering power-on sequence, network bridging, and joint calibration—you risk damaging both the robot and your home. This guide details how to safely configure the Unitree H1 for indoor operation, from unboxing to ROS 2 deployment.
- Prerequisites and What You'll Need
- Step 1. Unpack and Inspect the Unitree H1 Hardware
- Step 2. Power On the Robot and Enter Damp Mode
- Step 3. Connect to the Unitree H1 via SDK and Wi-Fi
- Step 4. Calibrate Joints and Verify Sensor Telemetry
- Step 5. Perform Locomotion and Push Recovery Tests
- Step 6. Deploy Custom Code Using the ROS 2 Wrapper
- Frequently Asked Questions
Prerequisites and What You'll Need
The Unitree H1 is a high-performance research-grade humanoid, not a consumer toy. Proper preparation prevents mechanical damage and personal injury during initial setup. The table below lists the minimum tools, workspace, and equipment required before the robot arrives.
| Item | Specification / Requirement | Purpose |
|---|---|---|
| Floor space | 4 m × 4 m minimum, non-slip, level surface | Safe locomotion testing and fall recovery |
| Safety gear | Crash mat (≥ 5 cm thick), safety barrier | Mitigate damage during calibration and falls |
| Power supply | 100–240 V AC, 50/60 Hz; robot uses dual 864 Wh hot-swappable battery packs | Charging and stationary operation |
| Network | Dedicated 2.4/5 GHz Wi-Fi access point (WPA2) in the same room | Remote control and telemetry |
| Computer | Windows/Linux/Mac with Python 3.8+ and USB 3.0 port | Running Unitree SDK and ROS 2 |
| Tools | M6 hex key, Phillips #2 screwdriver, zip ties | Securing limb covers and accessing battery bay |
The Intel Core i5 platform CPU in the H1 handles real-time control, while an optional i7 or NVIDIA Jetson Orin NX (16 GB, 100 TOPS) compute upgrade is available for heavy onboard perception workloads. For home use, the standard i5 is sufficient for initial setup and locomotion testing.
Step 1. Unpack and Inspect the Unitree H1 Hardware
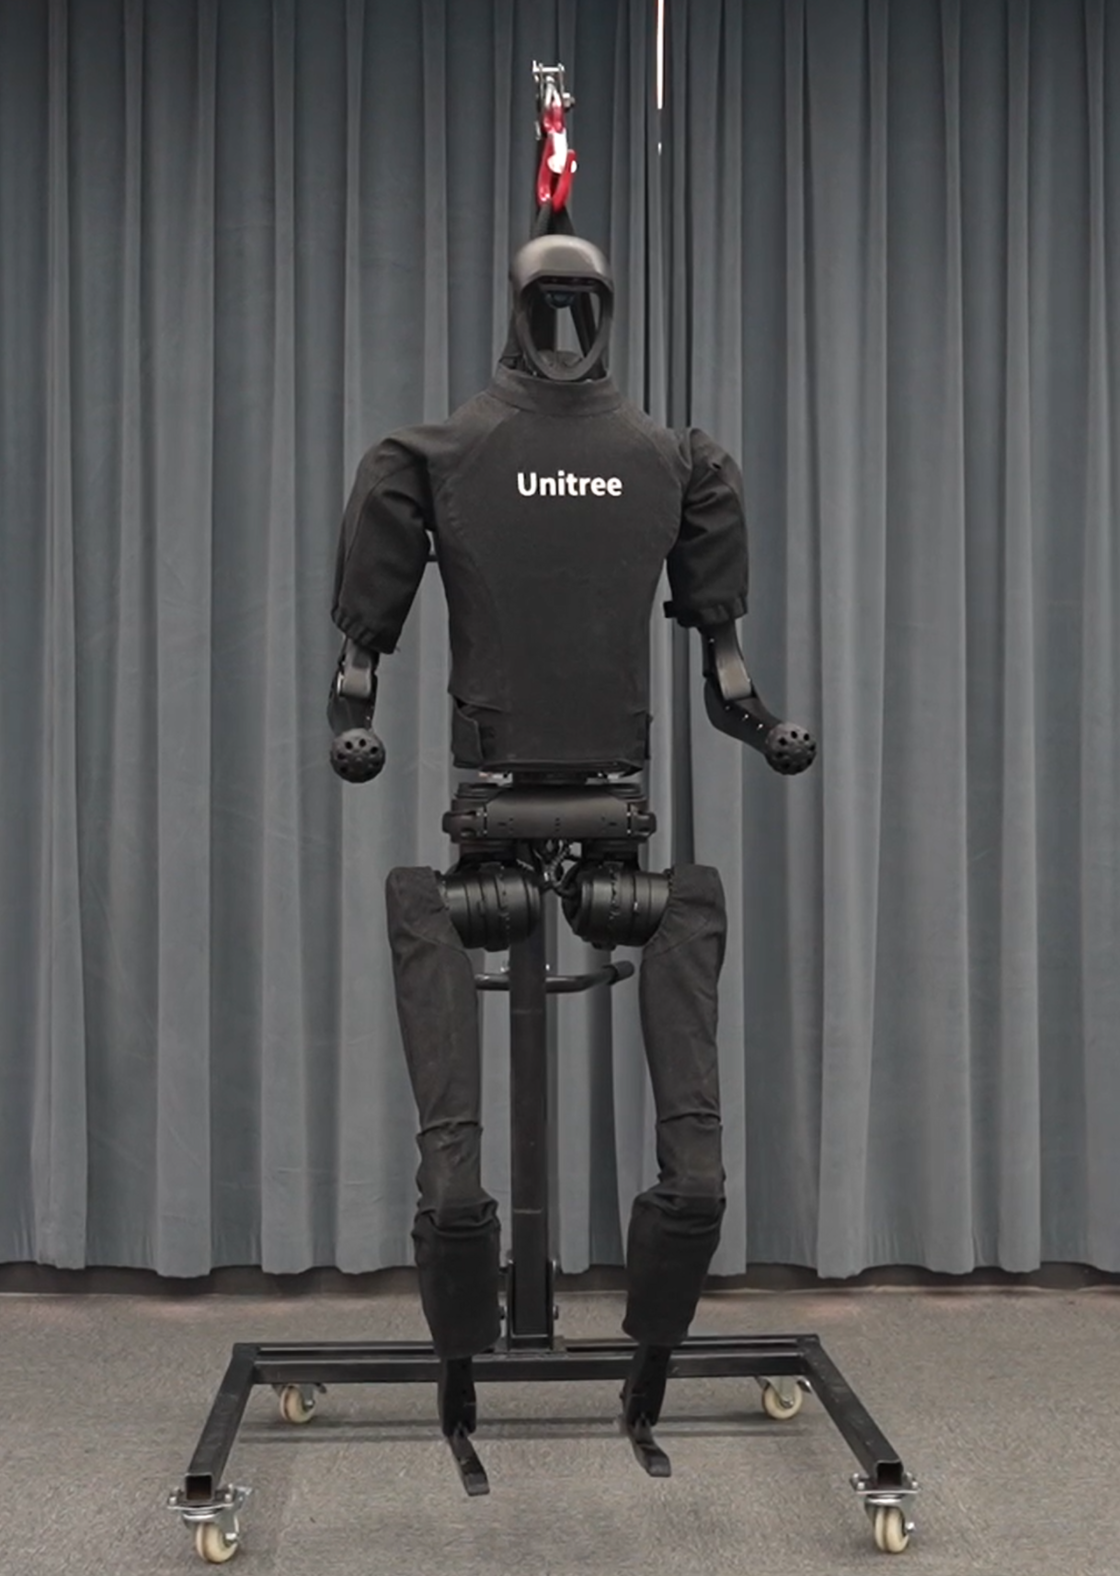
With the robot still in its shipping crate, visually inspect the exterior for any damage caused by transit. Two people are needed to lift the H1 onto a stable workbench or directly onto the prepared floor space. Once upright, examine each joint for free rotation and check that all limb covers are securely fastened.
Locate the LIVOX MID-360 3D LiDAR on top of the head module and the Intel RealSense D435i depth camera in the chest. Verify both sensor windows are clean and unobstructed. Press the battery check button on each pack — the LEDs should indicate at least 50 % charge to proceed with firmware updates.
What success looks like: all four limbs move freely by hand when power is off, battery LEDs show adequate charge, and the sensor windows are scratch-free.
Step 2. Power On the Robot and Enter Damp Mode
Insert both 864 Wh lithium battery packs into the torso bay until they click into place. Press the main power button located on the lower back panel. The unit boots into a low-power "damp" pose — the motors are active and stiff, but the robot remains stationary. This state allows safe manipulation of the joints using the SDK or the provided safety tether.
The damp pose is the home position for all calibration procedures. If the robot does not enter damp mode or if it immediately collapses, power off and check the battery connections. Industrial-grade crossed roller bearings in the hip and knee joints are robust, but a fall from full height during boot can cause alignment issues.
What success looks like: the robot stands rigidly in place, joint servo whine is audible, and fan noise from the platform CPU confirms the system is running.
Step 3. Connect to the Unitree H1 via SDK and Wi-Fi
The H1 broadcasts its own Wi-Fi access point by default with an SSID formatted as Unitree_H1_XXXX. Connect the computer to this network. Once connected, ping the robot's default static IP at 192.168.123.10 to confirm the link is established.
For home setups with existing Wi-Fi infrastructure, bridge the H1 to the local network by attaching an Ethernet cable between the robot's RJ45 port and a router, then use the SDK's Wi-Fi manager script to enter the home network credentials. This provides better throughput for depth camera streams and reduces latency for motion control.
Install the Unitree SDK for Python by running pip install unitree_sdk2 on the connected computer. Clone the official examples repository and run python hello_h1.py to verify that live joint state data is streaming to the terminal.
What success looks like: the unitree_sdk2 example scripts return joint angle and IMU data without timeouts, and the telemetry latency is below 10 ms on a wired connection.
Step 4. Calibrate Joints and Verify Sensor Telemetry
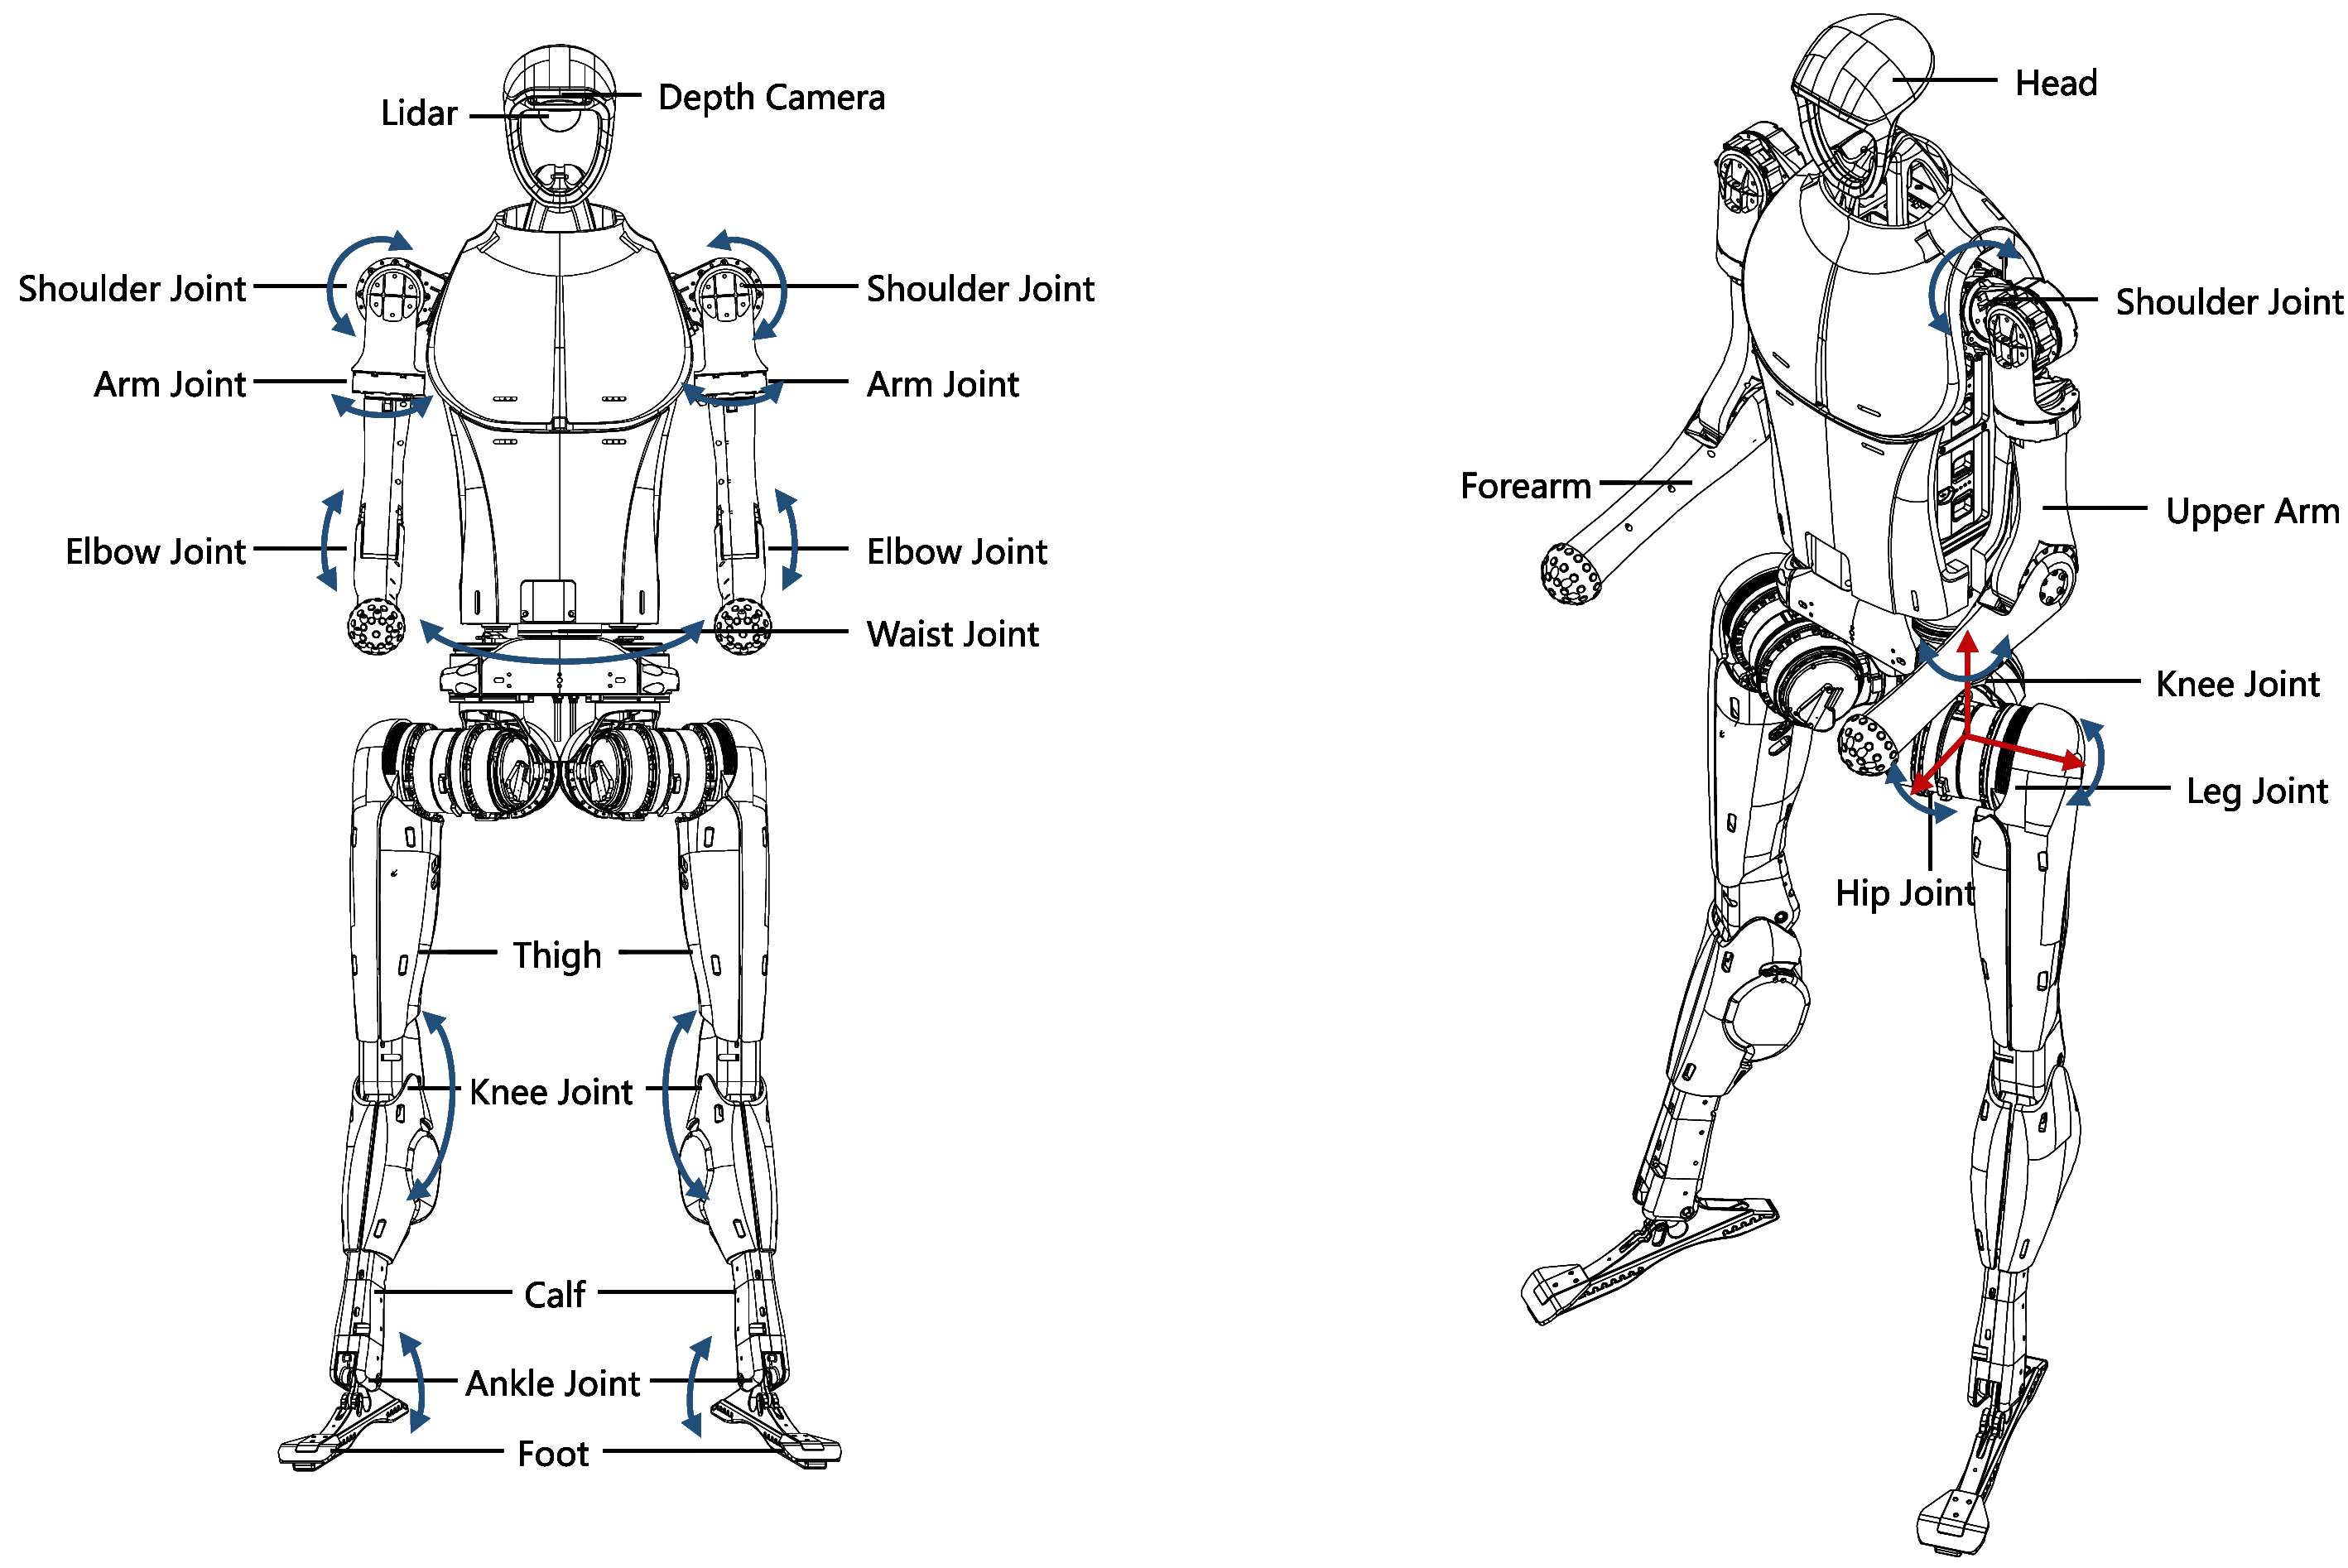
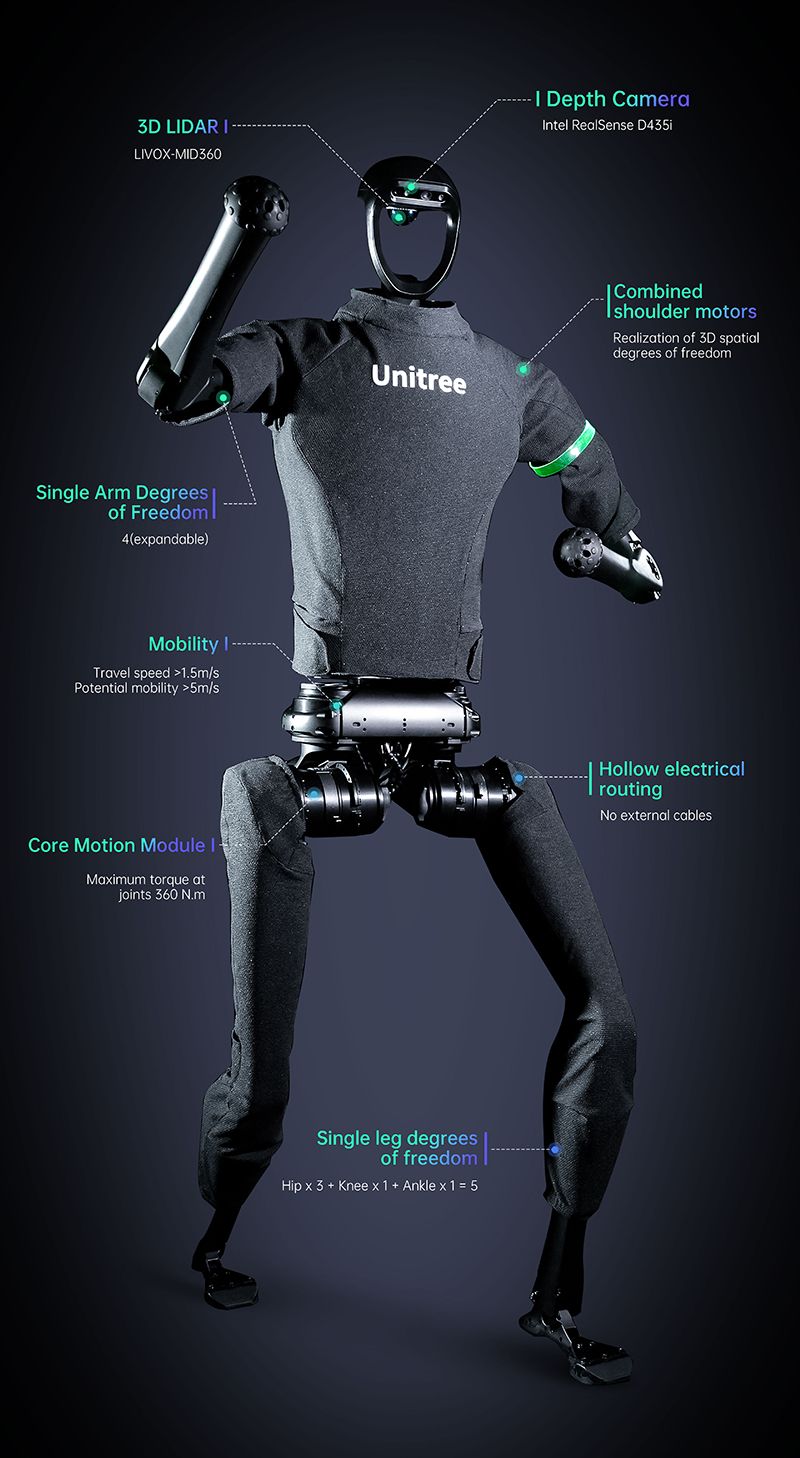
Calibration ensures that the built-in encoders and torque sensors report accurate positions for the hip (~220 N·m), knee (~360 N·m), and ankle (~45 N·m) joints. Use the SDK function calibrate_joints(): the robot will sequentially cycle each of its 19+ degrees of freedom (including the arm joints at ~75 N·m) through a full range of motion.
The M107 low-inertia PMSM motors feature high bandwidth, so calibration completes in under 30 seconds. After calibration, launch the Unitree viewer application to inspect the 360° depth perception data from the D435i and the LIVOX MID-360. Confirm that the point cloud is coherent and that no sensor blocking is occurring.
What success looks like: the SDK reports "Calibration Completed" for all joints, and the depth point cloud displays a clear 3D model of the surrounding environment without gaps.
Step 5. Perform Locomotion and Push Recovery Tests
Position the H1 in the center of the prepared 4 m × 4 m floor space with the crash mat directly underneath. Use the handheld remote controller or the robot_control.py SDK script to issue a slow forward walk command at 0.5 m/s. The robot should step forward with a stable gait, maintaining its torso upright.
Increase the commanded speed incrementally to 1.0 m/s, then 2.0 m/s. The H1's walking speed specification is 11.9 km/h, but indoor environments typically warrant slower speeds. Test the push recovery feature by applying a gentle lateral force (approximately 10 N) to the torso while the robot stands still. The H1 should take a corrective step and return to the neutral stance.
What success looks like: the robot walks forward 10 meters without losing balance and recovers its stance after a 10 N lateral push disturbance.
Step 6. Deploy Custom Code Using the ROS 2 Wrapper
For advanced users who want to program autonomous behaviors, the H1 provides a full ROS 2 wrapper. Clone the official unitree_ros2 repository into a colcon workspace. Build the workspace with colcon build and source the setup file.
Launch the H1 driver node with the command ros2 launch unitree_h1_controller h1_controller.launch.py. This node publishes high-frequency topics including /joint_states, /odom, and the depth camera feeds. The /cmd_vel topic accepts velocity commands, enabling integration with standard ROS 2 navigation stacks.
The H1 is featured on the Botindex as a premier research humanoid, and its open architecture makes it directly comparable to platforms like the Tesla Optimus Gen 2 and the Figure 03 for developers evaluating used humanoid robots for sale. The H1-2 variant offers upgraded arm joint torque (120 N·m shoulder/elbow, 30 N·m wrist) and a 7 kg nominal arm load, though the base H1 remains the standard for high-dynamic locomotion research.
What success looks like: ros2 topic echo /joint_states streams position, velocity, and effort data at 1 kHz without stuttering.
Doe mee aan de discussie
What is the first custom skill you would program on a home humanoid robot?