

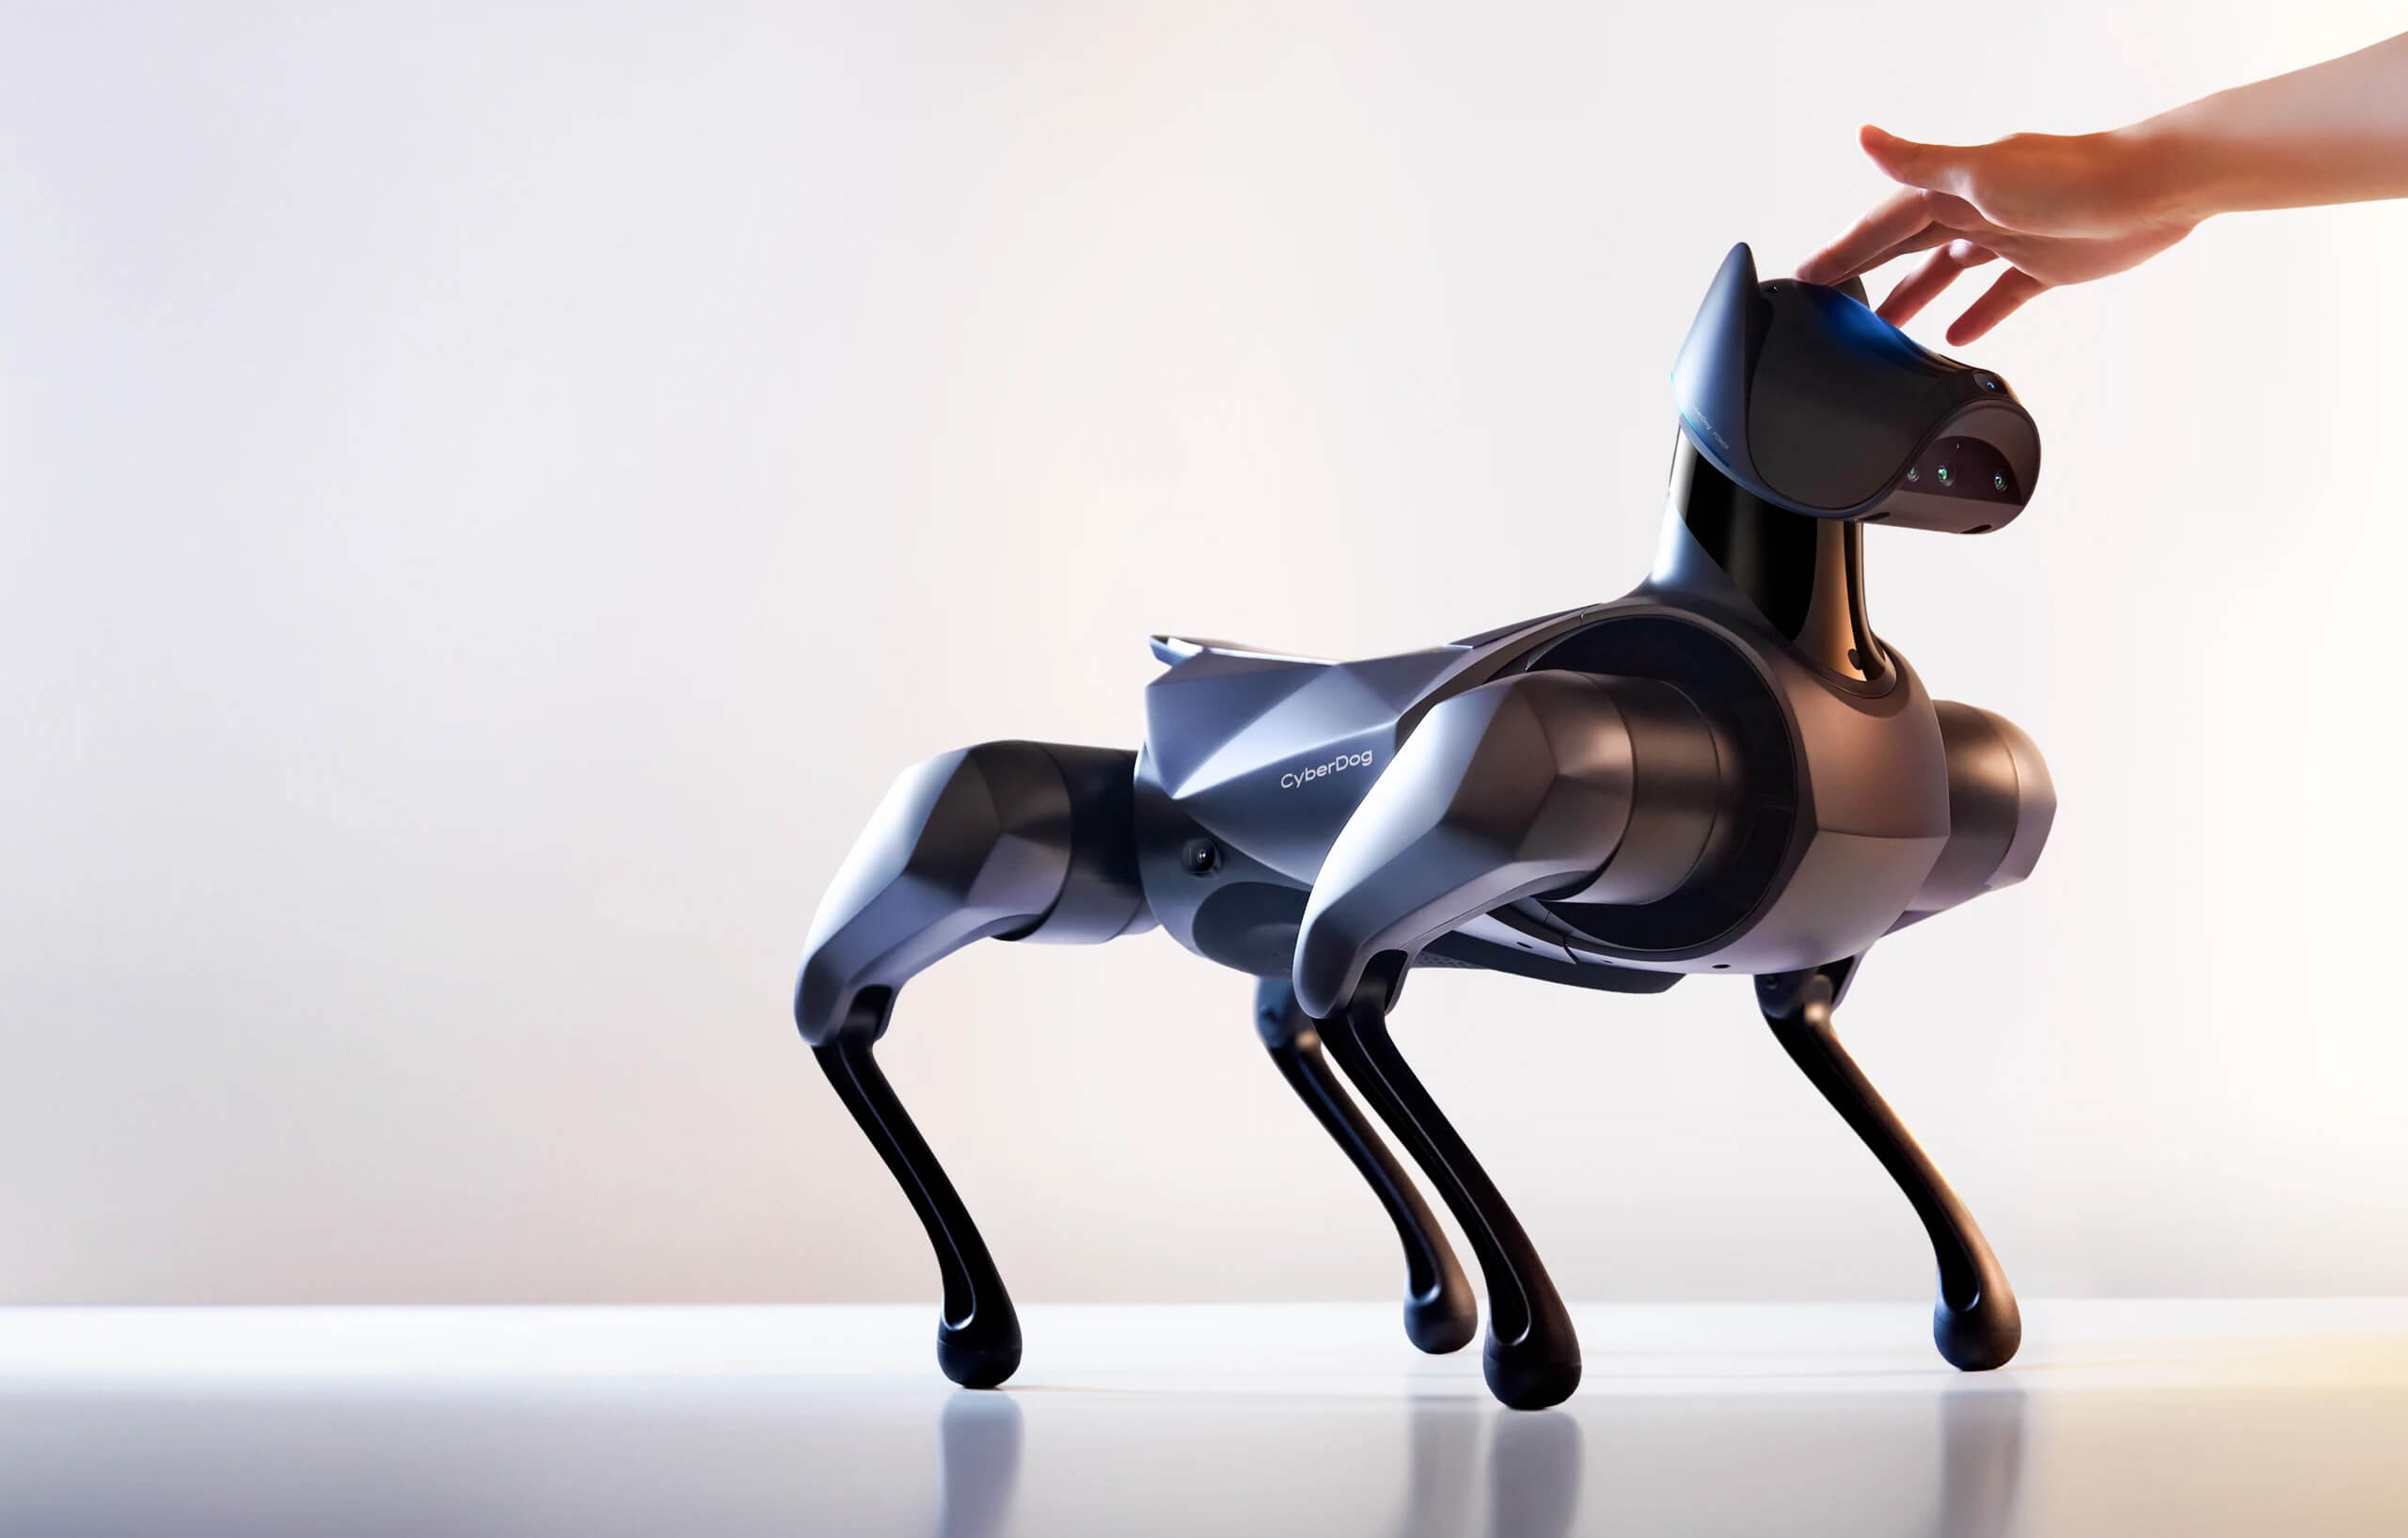
Setting up the Xiaomi CyberDog 2 at home takes about 60 minutes of active time and four phases: unbox and inspect, charge the battery (≈2–3 hours), connect to the Xiaomi app over Wi‑Fi, then update firmware and run motor calibration. You need at least a 3 × 3 m clear flat space and always keep an emergency stop within reach. The robot weighs 8.9 kg, stands 367 mm tall, and runs for 1.5 hours on a full charge.
What You’ll Need: Tools, Space & Time
Before you unbox, gather everything you’ll need and clear a suitable area. Setup goes smoothly when you follow this checklist.
Tools & Items - Xiaomi CyberDog 2 robot + removable battery - Included AC charger (29.4 V / 1.5 A, region‑specific plug) - Smartphone (Android 8.0+ or iOS 14+) with the Xiaomi CyberDog app installed - Optional: suspension stand or a sturdy low table (for first‑boot calibration) - Optional: small Phillips screwdriver (if a battery latch is misaligned) - Space: minimum 3 m × 3 m clear floor (wood, tile, or short‑pile carpet; not deep carpet or grass) - Laptop/PC (for SDK steps) with Ubuntu 20.04/22.04
Time to Set Up (per phase) | Phase | Active Time | |-------|--------------| | Unboxing & physical inspection | 10 min | | Battery installation & charging | 2–3 h (waiting) | | Network configuration | 10 min | | Firmware update | 10–20 min | | Calibration & first walk | 10 min | | Total active setup time | ~60 min |
> Note: Battery charging time depends on initial state; a full charge from empty takes roughly 2.5 hours with the stock charger. You can perform the unboxing and app binding while the robot charges.
Before You Start: Safety & Space Requirements
The CyberDog 2 is a light, agile quadruped, but its motors are powerful and unexpected movements can cause injury or property damage. Follow these rules every time you power on.
- Exclusion zone: Keep a 1‑metre clear radius around the robot when it is standing or walking. Remove trip hazards (cables, loose rugs, toys).
- First boot precaution: During the first power‑on and calibration, place the robot on a non‑slip surface with its legs folded or support it with a suspension stand. Never let it stand unsupported until calibration is complete – it may fall abruptly.
- Emergency stop: The quickest stop method is to press and hold the rear power button for 3 seconds until the robot shuts down, or remove the battery entirely. Familiarise yourself with the button location before first power on.
- Floor surface: Hard, flat, indoor floors work best. Avoid thick carpet, grass, or uneven surfaces during initial calibration.
- Children & pets: Keep them at least 2 m away during powered‑on operation. Do not leave the robot unattended while active.
- Firmware & network security: Always update to the latest firmware. Secure your home Wi‑Fi with WPA2/WPA3. If you enable developer mode (SSH), change the default password immediately.
Step 1 — Unboxing & Physical Inspection
Carefully open the box and verify all components before charging.
- Remove the robot from the packaging – use two hands; it weighs 8.9 kg.
- Check the contents list against the quick‑start guide:
- CyberDog 2 robot body
- Removable battery pack
- AC charger with power cord
- Quick‑start guide / safety leaflet
- (Optional) spare foot pads, sticker sheet
- Inspect the robot visually:
- All 12 joints move freely by hand (gentle rotation). No grinding or stiffness.
- Leg linkages are intact, no cracks.
- Battery contacts are clean and free of debris.
- Camera lenses and ToF sensor windows are scratch‑free.
- Do not power on yet.
Step 2 — Battery Installation & Charging
The robot ships with a partially charged battery; charge it fully before first use to calibrate the fuel gauge.
- Slide the battery into the rear compartment, contacts first. Press firmly until you hear a click and the latch is flush.
- Connect the charger to the charging port (located under a rubber cover near the rear). Plug into a wall outlet.
- Check the LED indicator: orange = charging, solid green = fully charged. Charging from empty takes roughly 2.5 hours.
- While charging, you can download the Xiaomi CyberDog app and prepare your workspace.
> Caution: Never charge the battery while it is still inside a hot car or in direct sunlight. Charge at room temperature (0–40 °C).
Step 3 — Powering On & First Boot
Once the battery is fully charged, you are ready to power on.
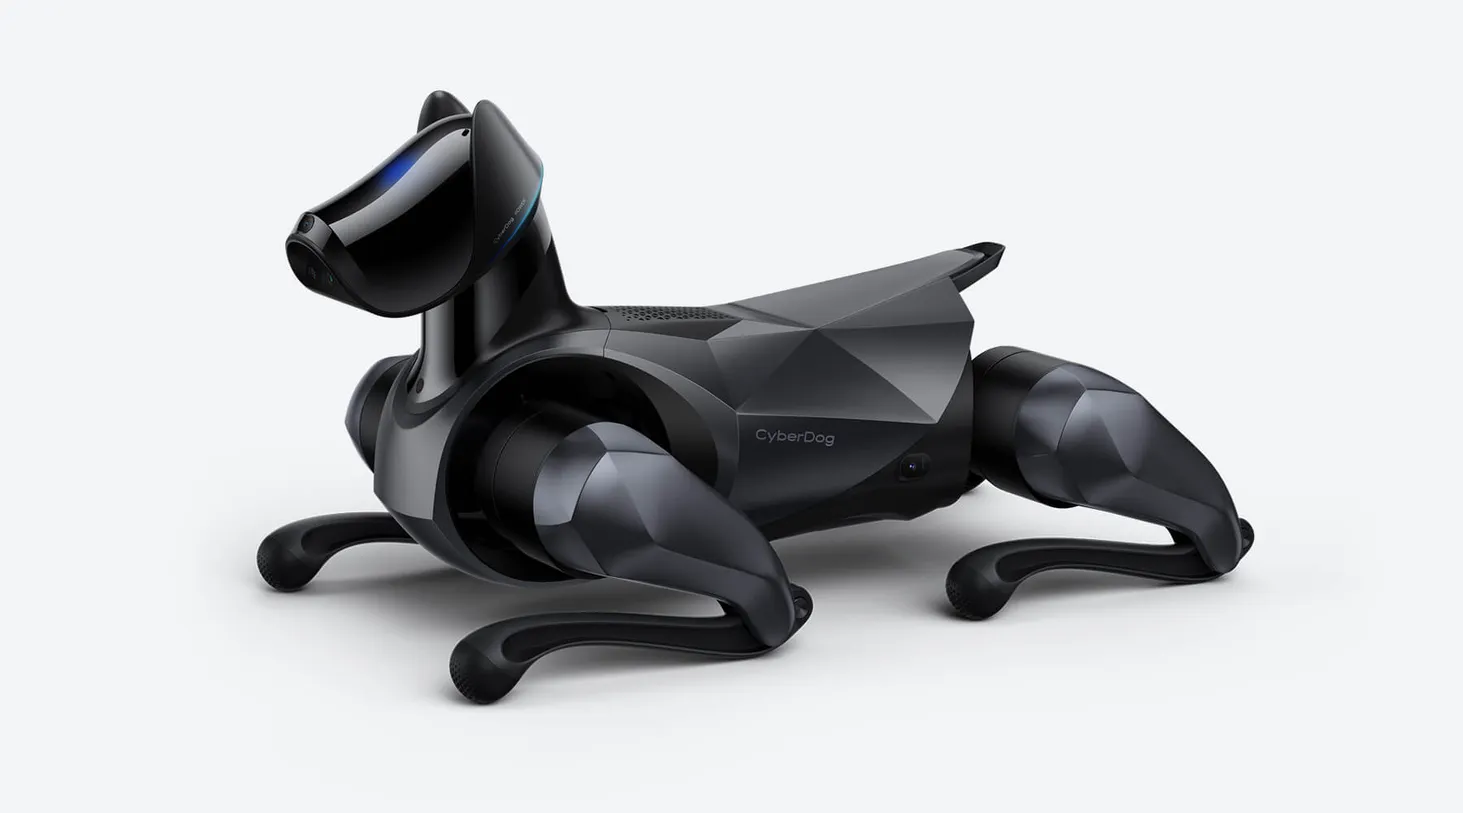
- Place the robot on a flat, non‑slip surface with its legs folded under the body. Alternatively, suspend it in a stand.
- Press and hold the rear power button for 2 seconds. The robot emits a short startup chime and the eyes/led strips light up. It will enter standby mode (joints not yet active).
- Check the status: The robot should be quiet, with no unexpected motor clicking. If it makes a straining sound, power off immediately and reseat the battery.
- Leave the robot in standby – do not command any movement until after calibration.
Step 4 — Network Configuration (Wi‑Fi)
The CyberDog 2 does not have an Ethernet port; all communication goes over Wi‑Fi.
Out‑of‑the‑box behaviour: The robot creates its own Wi‑Fi hotspot named CyberDog_XXXX (the exact SSID is printed on the quick‑start guide or inside the battery compartment). Your phone must connect to this hotspot to perform initial binding and firmware updates.
Permanent home network setup: 1. On your phone, connect to the CyberDog_XXXX Wi‑Fi. 2. Open the Xiaomi CyberDog app. It will detect the robot and prompt you to bind. 3. After binding, go to Settings → Wi‑Fi in the app and select your home Wi‑Fi network (2.4 GHz is recommended for range). Enter your password. 4. The robot will reboot and join your home network. You can now reconnect your phone to the same home Wi‑Fi and continue using the app.
For SDK development: Once the robot is on your home network, determine its IP address. In the app, go to Device Info (or look for “Robot IP”). It will typically be something like 192.168.1.X. Note this IP – you will need it for ROS 2 and gRPC connections.
| Connection Type | Use Case |
|---|---|
Direct Wi‑Fi (CyberDog_XXXX) | First pairing, firmware update if home network unavailable |
| Home Wi‑Fi | Regular app control, OTA updates, SDK development |
| Bluetooth | Optional remote controller accessory (sold separately) |
Step 5 — App / Remote Control Binding
After the robot is on your home Wi‑Fi, you can pair it with the app.
- Download the official app from the Google Play Store or Apple App Store (search “Xiaomi CyberDog”).
- Launch the app and sign in with your Xiaomi account (required for cloud features).
- If the robot is already connected to your home Wi‑Fi, the app will automatically discover it. Tap Bind and follow the permission prompts.
- (Optional) Physical remote: The CyberDog 2 supports an optional Bluetooth remote controller. Power on the remote, hold the pairing button, and on the app go to Accessories → Remote to bind it.
Step 6 — Firmware Update & Security Hardening
Keeping firmware current fixes bugs, improves stability, and patches vulnerabilities. Xiaomi pushes over‑the‑air (OTA) updates regularly.
- In the app, go to Settings → Device Update. The app will check for the latest firmware.
- If an update is available, confirm the installation. Do not power off the robot during the update. The robot will reboot automatically when complete (2–5 minutes).
- Verify the version after the reboot: in the app, the current firmware version is shown in Device Info. The latest version as of mid‑2026 is typically displayed as a date‑based version number (e.g.,
2025.12.10).
Security hardening (every CyberDog 2 owner should do): - Change developer credentials: If you enable the developer mode (SSH access), change the default root or mi user password to a strong, unique phrase. Use passwd after first SSH login. - Disable developer mode when not in use: The robot does not need an open SSH port for normal operation. In the app, disable developer mode unless you are actively working on code. - Protect your home Wi‑Fi: Use WPA2‑AES or WPA3 encryption, a strong password, and avoid sharing the network with unknown devices. - Keep the app and robot updated: Xiaomi occasionally pushes security patches; apply them within 7 days of release.
> Note: The CyberDog 2 is not affected by the Unitree‑specific UniPwn vulnerability (CVE‑2025‑35027) because it uses a completely different communication stack. However, basic network hygiene is just as important.
Step 7 — SDK / ROS2 Setup (Advanced)
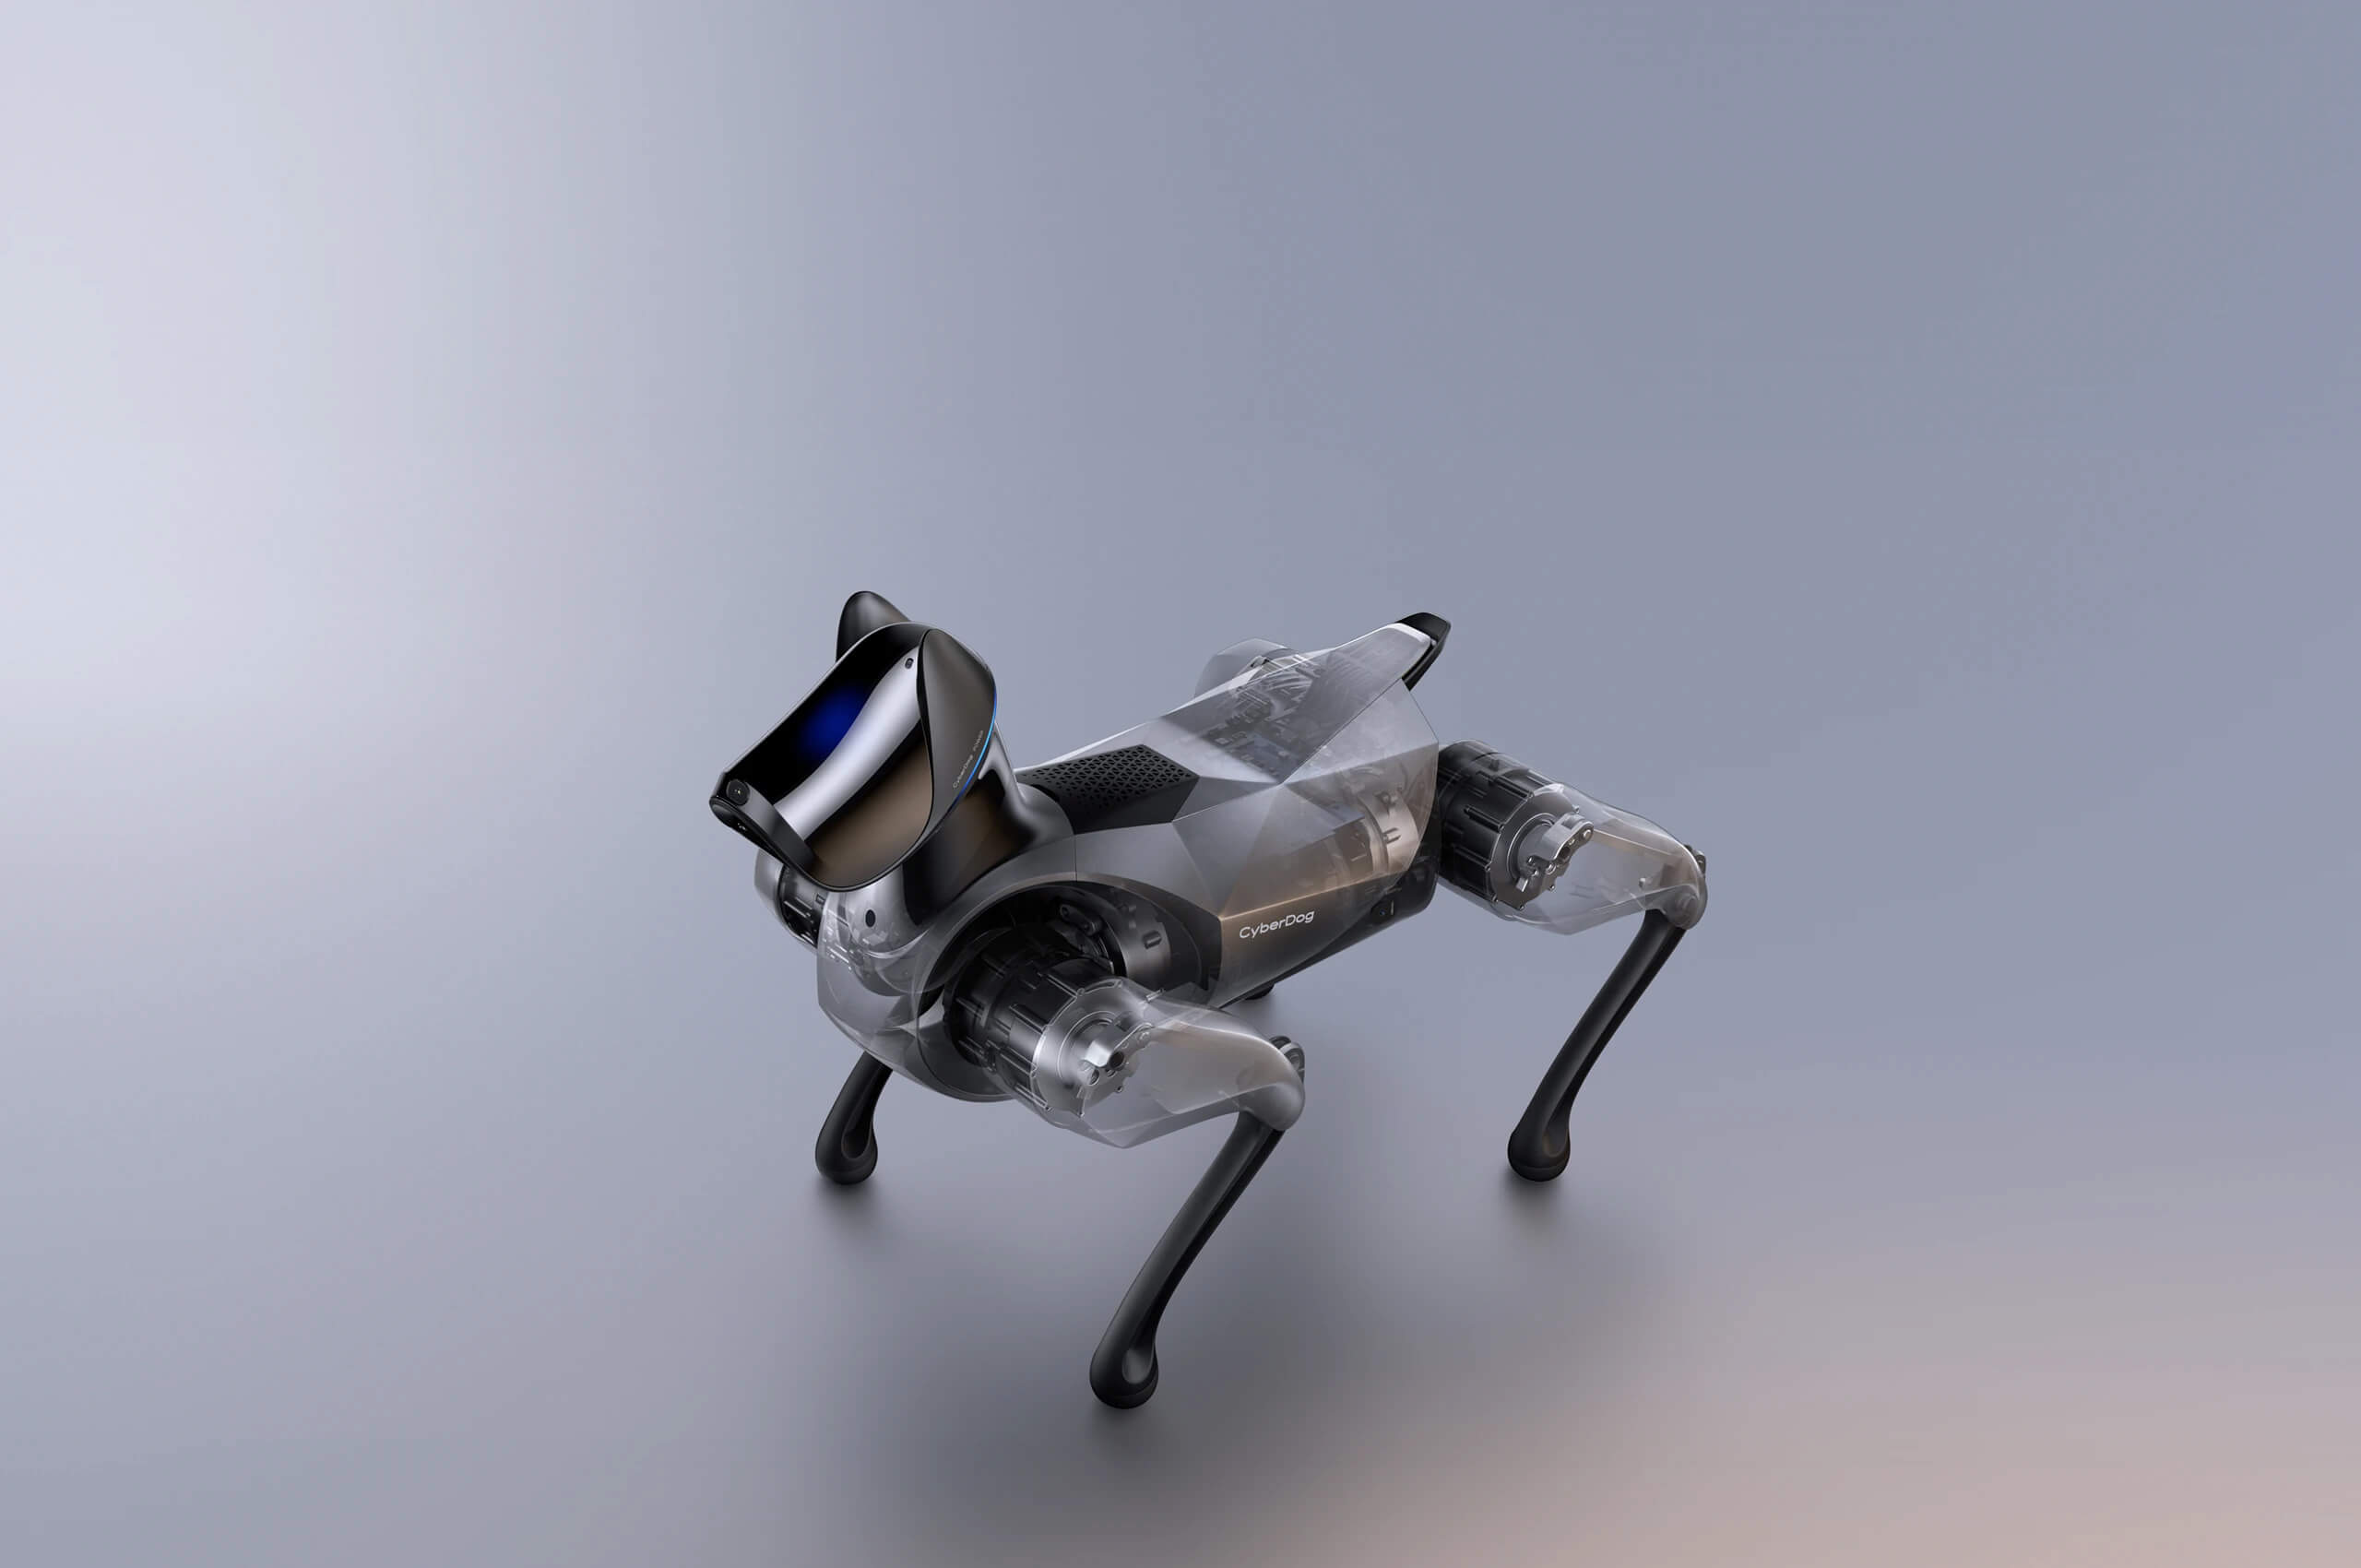
The CyberDog 2 runs ROS 2 (currently Humble) on an internal compute module and provides an open‑source SDK for custom development.
Prerequisites (on your PC): - Ubuntu 20.04 or 22.04 (64‑bit) - ROS 2 Humble installed (follow the official ROS 2 documentation) - Git, Python 3, colcon - The robot must be on the same Wi‑Fi network as your PC
SDK Installation Steps: ```bash # 1. Create a workspace mkdir -p ~/cyberdog_ws/src cd ~/cyberdog_ws
2. Clone the official cyberdog_sdk repository
git clone https://github.com/MiRoboticsLab/cyberdog_sdk.git src/cyberdog_sdk
3. Install dependencies using rosdep
sudo apt update rosdep update rosdep install --from-paths src --ignore-src -y
4. Build the workspace (select the appropriate build type)
colcon build --symlink-install ```
Connecting to the robot: - Source the workspace: source ~/cyberdog_ws/install/setup.bash - Set the ROS domain ID to match the robot’s (default is 30): ``bash export ROS_DOMAIN_ID=30 ` - Also set the CYBERDOG_IP environment variable to the robot’s IP address (e.g., 192.168.1.20). The SDK’s gRPC client will use this. - Test communication: ros2 topic list should show topics like /cyberdog/imu, /cyberdog/joint_states` etc.
> Important: Consult the official Xiaomi CyberDog SDK documentation for exact ROS environment setup and the latest domain ID. Always use the version of the SDK that matches your robot’s firmware.
Step 8 — Calibration & First Movement
With firmware updated and network ready, calibrate the robot’s motors and take the first walk.
- Place the robot on a flat floor, legs folded. Make sure the 1‑m exclusion zone is clear.
- In the app, go to Settings → Motor Calibration. Follow the on‑screen prompts. The robot will move each joint through its range; keep clear during the process.
- Once calibration passes, the robot will enter idle standing if it detects a stable surface. If it stays lying down, power cycle and repeat calibration.
- First walk: In the app’s main control page, choose Slow speed mode. Use the on‑screen joystick to gently command forward movement. The robot should walk straight with minimal drift.
- Test turning and stance‑changes. If it stumbles, check foot pads and floor surface.
Speed limits for home use: - Stick to <1 m/s indoors (roughly 3.6 km/h, half its top speed). This ensures you have time to react if the robot encounters an obstacle.
Defining Success: Minimum / Full / Advanced
| Tier | Definition |
|---|---|
| Minimum viable | Robot powers on, connects to the app, stands and walks under manual control |
| Full operational | Firmware updated, calibration passed, robot walks reliably on command, Wi‑Fi network stable |
| Advanced (developer) | ROS 2 workspace built, custom node or teleoperation running on a PC, low‑level sensor access working |
Common Setup Mistakes & Fixes
Even experienced builders hit a few snags. Here are the most frequent problems and their solutions.
| # | Symptom | Likely Cause | Fix |
|---|---|---|---|
| 1 | App cannot find robot | Phone not connected to robot’s hotspot | Connect to CyberDog_XXXX Wi‑Fi, then open app |
| 2 | Robot won’t stand after calibration | Calibration failed or surface too slippery | Re‑run calibration; ensure hard, non‑slip floor |
| 3 | Charger LED never turns green | Battery not fully seated | Remove and re‑insert battery until click |
| 4 | Robot walks in circles | One leg length off from uneven foot pad | Check and replace worn foot pads; re‑calibrate |
| 5 | SDK can’t discover topics | Wrong ROS domain ID or IP | Double‑check export ROS_DOMAIN_ID=30 and CYBERDOG_IP |
| 6 | Robot jerks on first power‑on | Stored transport mode still active | Power off, wait 30 seconds, then boot again on flat surface |
| 7 | Firmware update fails | Unstable Wi‑Fi connection | Move router closer; connect robot to home network before updating |
| 8 | Developer SSH refused | Developer mode not enabled or password unchanged | Enable developer mode in app; then ssh mi@ (default password may be 123456 – change it immediately) |
| 9 | Battery drains faster than expected | Continuous background apps or Wi‑Fi scanning | Close unused apps; disable developer mode when not coding |
| 10 | Remote controller not binding | Remote not in pairing mode | Hold remote’s pairing button for 3 seconds until LED flashes, then bind in app |
Comments