

Table of Contents - What You’ll Need: Tools, Space & Time - Before You Start: Safety & Space Requirements - Step 1 — Unboxing & Physical Inspection - Step 2 — Battery Installation & Charging - Step 3 — Powering On & First Boot - Step 4 — Network Configuration (WiFi vs Ethernet) - Step 5 — App / Remote Control Binding - Step 6 — Firmware Update & Security Hardening - Step 7 — SDK / ROS2 Setup (Advanced) - Step 8 — Calibration & First Movement - Defining Success: Minimum / Full / Advanced - Common Setup Mistakes & Fixes - Frequently Asked Questions - About the Author / How We Tested
What You’ll Need: Tools, Space & Time
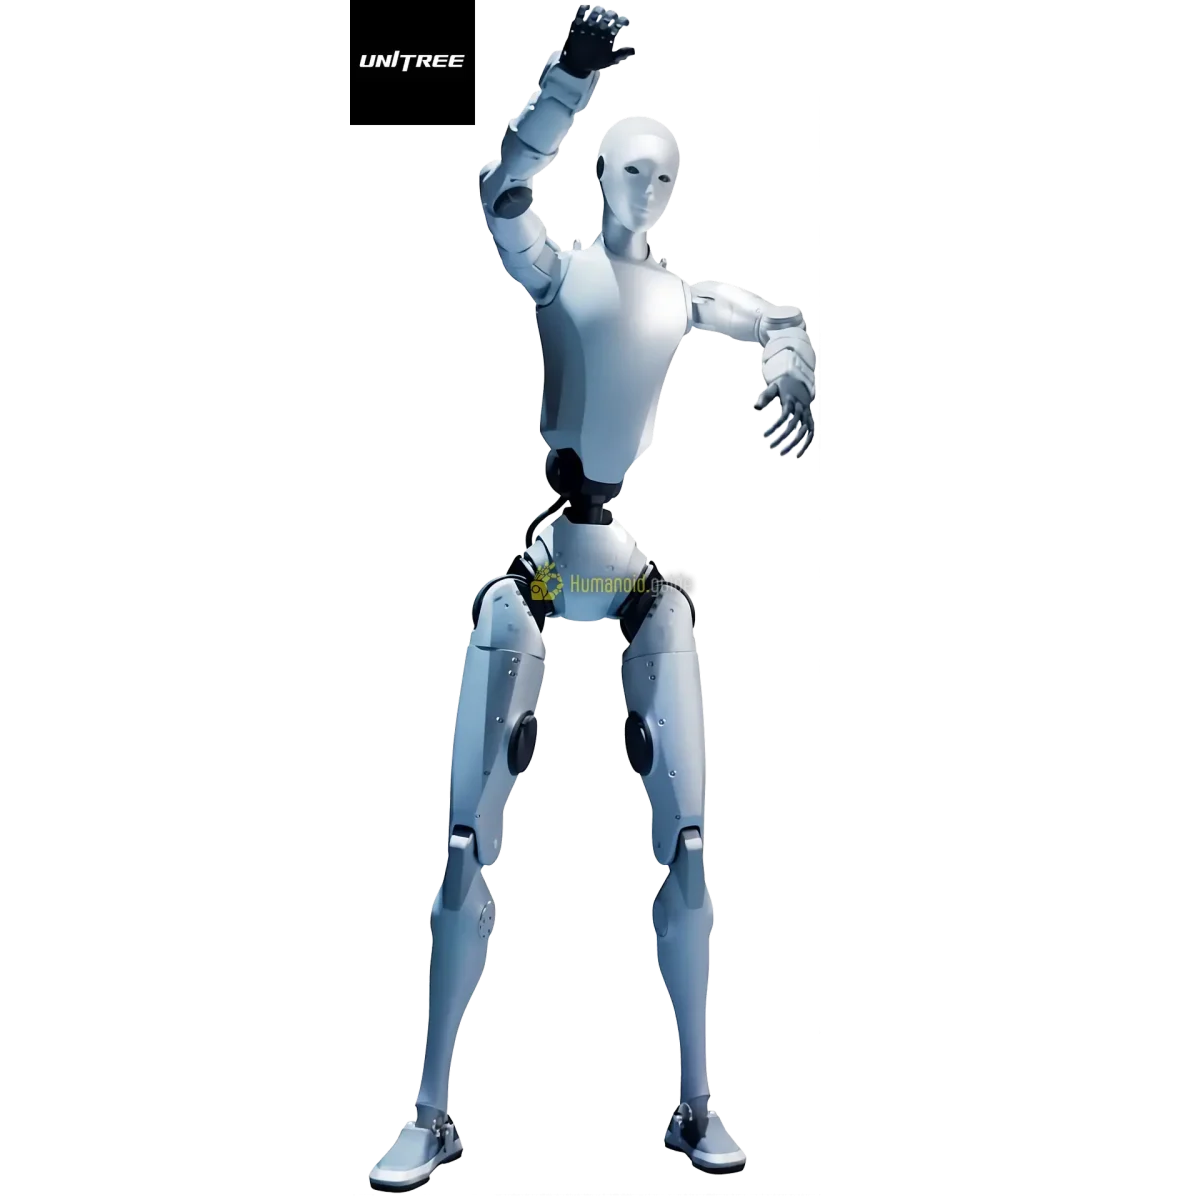
The Unitree H2 is a full‑size humanoid (182 cm tall, 70 kg, 31 DOF) that requires careful preparation. Before starting, gather:
- Supplies: the robot itself, its charger, an Ethernet cable, a laptop with Ubuntu 20.04 (or 22.04 for later SDK versions), a suspension rig or sturdy stand capable of supporting 70 kg, and a non‑slip rubber mat.
- Space: minimum 3,5 m × 3,5 m of clear flat floor; ideally 4 m × 4 m for first walks.
- Time estimates (first‑timer):
| Phase | Time |
|---|---|
| Unbox & inspect | 15 min |
| Battery charge | 1,5–2 hr |
| Network & IP setup | 20 min |
| Firmware/security/calib | 20-30 min |
| Total | ~2 hr (excluding charge) |
Before You Start: Safety & Space Requirements
Humanoid robots are heavy and powerful. Always follow these safety rules:
- Exclusion zone: Mark a 2‑metre safety perimeter around the robot. Keep all people, pets and loose objects out of this zone when the robot is powered.
- Emergency stop: The easiest immediate stop is pressing L2+B simultaneously (damping mode) on the remote controller. The battery–release button also cuts power instantly.
- Suspension rig: The H2 must be suspended or securely seated on a stand during first boot and calibration. Never let it stand free until you have verified damping and balance.
- Floor surface: Use a flat, non‑slip rubber mat. Avoid carpet, which can catch the feet and overload the motors.
Step 1 — Unboxing & Physical Inspection
- Open the shipping case with the robot lying face‑up. Check for any visible transport damage.
- Verify that all accessories are present: charger, controller, cables, initial‑setup guide.
- Visually inspect the 7‑DOF arms, bionic head, and all 31 joints for loose fasteners.
- Photograph the robot’s condition before first power — this helps with warranty claims.
- Position the robot on its suspension rig, with the feet hovering just above the floor.
Step 2 — Battery Installation & Charging
The H2 uses an internal, non‑swappable 54 V battery pack (approximately 3 hr runtime).
- Plug the supplied 54 V/5 A charger into the charging port on the robot’s back.
- A full charge takes up to 2 hours. The battery indicator on the robot’s power panel will turn solid green when complete.
- Charge the battery fully before first power‑on; partial charge can cause a premature shutdown during calibration.
Step 3 — Powering On & First Boot
- Ensure the robot is still suspended and the floor is clear.
- Press and hold the main power button for 3 seconds.
- Watch the boot sequence: the head’s facial display will light up, and the fans will spin up. The robot will emit a series of beeps.
- After about 60 seconds, the system reaches a stable idle state.
- Do not attempt to stand until calibration (Step 8).
Step 4 — Network Configuration (WiFi vs Ethernet)
The H2’s onboard control computer runs on the 192.168.123.x/24 subnet. For development and SDK access, a wired Ethernet connection is strongly preferred over WiFi.
- Identify the robot’s IP address — the onboard computer (likely a Jetson Orin) typically uses 192.168.123.164. The control board may be at 192.168.123.161.
- Set your laptop’s Ethernet interface to a static IP such as 192.168.123.99 (subnet mask 255.255.255.0, no gateway).
- Connect the Ethernet cable directly between your laptop and the robot’s LAN port.
- Verify connectivity:
ping 192.168.123.164should succeed. - [Optional] If you need wireless, connect the robot to your home WiFi via the companion app (Step 5). Always revert to wired for SDK work due to lower latency.
| Method | Pros | Cons |
|---|---|---|
| Ethernet | Low latency, stable, SDK reliable | Tethered, less convenience |
| WiFi | Un‑tethered, convenient for demos | Higher jitter, potential SDK issues |
Step 5 — App / Remote Control Binding
- Install the Unitree Controller app on your smartphone or tablet (Android recommended).
- Power on the robot; the app will scan for nearby Unitree devices on the same WiFi network or via Bluetooth.
- Select the H2 from the device list and follow the on‑screen binding code.
- Once bound, the physical remote controller will also be paired automatically.
- Test basic damping by pressing L2+B — the motors should go limp, and the robot will sag slightly in the rig.
Step 6 — Firmware Update & Security Hardening
> Important: All Unitree robots (Go2, G1, H1, H2) are affected by the UniPwn vulnerability (CVE‑2025‑35027) — a wormable BLE‑to‑root chain. Always apply firmware updates and disable unnecessary wireless services.
- Check the current firmware version via the app or by SSH (
unitree@, default password123— change this immediately). - Download the latest firmware from the official Unitree support portal. As of publication, the H2 is a pre‑production unit; firmware images are provided to early access partners.
- Apply the update using the app’s OTA function or manually via USB. Reboot.
- After update, disable BLE provisioning if you won’t be using the setup wizard again (app settings → disable “BLE broadcast”).
- Segment your robot’s network — place it on a separate VLAN from your main home devices.
- Change all default credentials (SSH, app, web console).
Step 7 — SDK / ROS2 Setup (Advanced)
The Unitree H2 runs the same unitree_sdk2 / unitree_sdk2_python stack as the G1 and H1, built on CycloneDDS. For custom code or ROS2 integration:
Prerequisites: Ubuntu 20.04 LTS (or 22.04 if supported by later SDK releases).
# 1. Install CycloneDDS (version 0.10.2, releases/0.10.x branch)
git clone https://github.com/eclipse-cyclonedds/cyclonedds -b releases/0.10.x
cd cyclonedds && mkdir build && cd build
cmake .. -DCMAKE_INSTALL_PREFIX=/opt/cyclonedds
make -j$(nproc) && sudo make install

# 2. Set environment variables
export CYCLONEDDS_HOME=/opt/cyclonedds
export LD_LIBRARY_PATH=$CYCLONEDDS_HOME/lib:$LD_LIBRARY_PATH

# 3. Clone and build unitree_sdk2
git clone https://github.com/unitreerobotics/unitree_sdk2
cd unitree_sdk2 && mkdir build && cd build
cmake .. -DCMAKE_INSTALL_PREFIX=/opt/unitree_robotics
make -j$(nproc) && sudo make install
For Python:
git clone https://github.com/unitreerobotics/unitree_sdk2_python
cd unitree_sdk2_python
pip3 install -e .
ROS2 (Foxy) support with unitree_ros2:
git clone https://github.com/unitreerobotics/unitree_ros2
# Follow the repository’s README for colcon build
Verify with the example_walk demo after network setup. Ensure that the AI sport client is active (not debug mode) when using high‑level RPC commands.
Step 8 — Calibration & First Movement
- With the robot still suspended, start the calibration routine from the app: Settings → Calibration → Full Body.
- The robot will move each joint through its range. This takes about 3–5 minutes.
- After calibration, the damping mode (L2+B) will be fully active. Release damping to let the motors stiffen.
- Lower the robot slowly with the rig until its feet touch the ground, but keep the rig taut for balance.
- Press L2+UP (ready pose), then R2+A to gently initiate a standing posture. The robot will slowly rise.
- For first steps, use the remote to jog the robot forward at low speed (≤0.5 m/s). Stay within the exclusion zone with the e‑stop ready.
Defining Success: Minimum / Full / Advanced
| Tier | Definition |
|---|---|
| Minimum viable | Robot powers on, connects to app, performs damping and stands safely. |
| Full operational | All joints calibrated, firmware current, wired network established, robot walks reliably in your space. |
| Advanced | SDK/ROS2 installed, custom code runs, autonomous navigation or teleoperation working. |
Common Setup Mistakes & Fixes
| Symptom | Root cause | Fix |
|---|---|---|
| Cannot ping robot | PC not on 192.168.123.x subnet | Set static IP to 192.168.123.99, mask 255.255.255.0 |
| SDK channel factory init error | Wrong network interface name in config | Specify the host’s Ethernet adapter name (not veth or virtual) |
| CycloneDDS compilation fails or DDS missing | Wrong version / missing branch | Build from releases/0.10.x branch and set CYCLONEDDS_HOME |
| RPC commands ignored | AI sport client off or debug mode active | Ensure sport mode is on (not debug); for G1/H1/H2, high‑level RPC needs AI sport client |
| L1+A damping does nothing | Using legacy combo on newer firmware | Use L2+B for damping on current firmware (check release notes) |
| Robot won’t stand after calibration | Still in damping / no ready pose | Press L2+UP to move to ready, then R2+A to stand |
| First boot fails with motor over‑current | Not suspended / feet on floor | Always hang robot before power and calibration |
| BLE provisioning left open after setup | Security oversight (UniPwn) | Disable BLE in app; apply firmware patch |
| Wrong SDK for base (non‑EDU) model | Non‑EDU H2 lacks SDK support | Only EDU or advanced variants allow SDK — check with vendor |
| Default SSH credentials unchanged | Security risk | Immediately change unitree account password (passwd) |
Komentari