

What You’ll Need: Tools, Space & Time
A first‑time setup of the Unitree G1 takes approximately 90–120 minutes and requires no specialised tools. However, you must have a well‑prepared space and a few essential items.
Tools & supplies - The G1’s included 54 V/5 A charger and power cable - A suspension rig (overhead hoist, sturdy camera stand, or purpose‑made robot stand) to support the robot during the first power‑on and calibration - An Ethernet cable (Cat 5e or better) for the initial wired connection - A laptop running Ubuntu 20.04 (or a virtual machine) for SDK steps - Smartphone with the Unitree app installed (iOS or Android) - A safety mirror and an anti‑fatigue mat are highly recommended for the home environment - Optional: a dedicated Wi‑Fi router for a controlled network segment
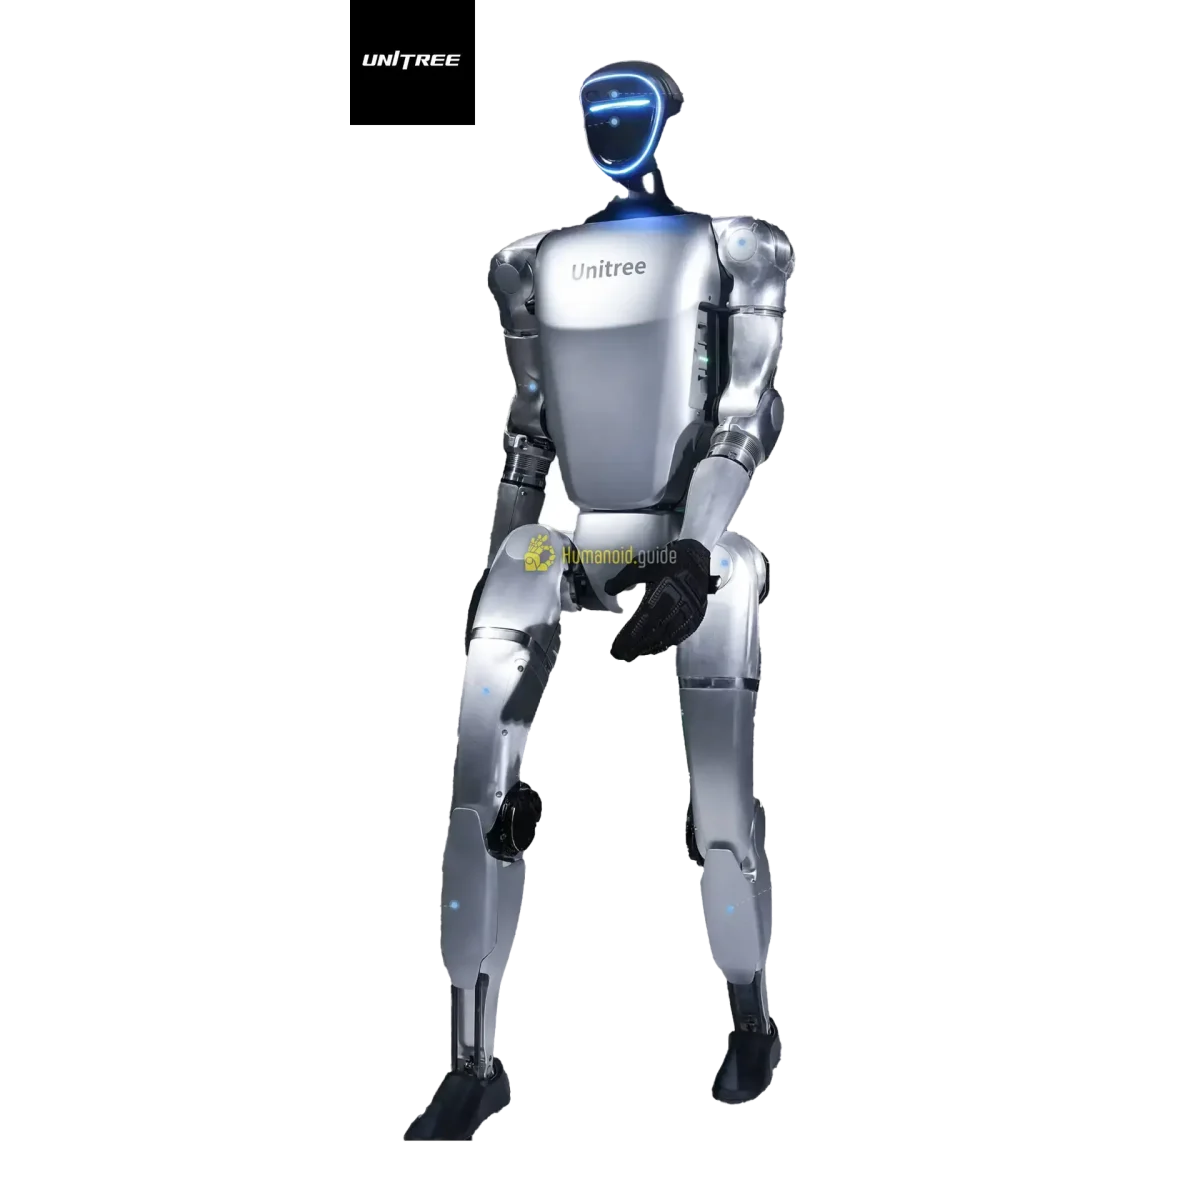
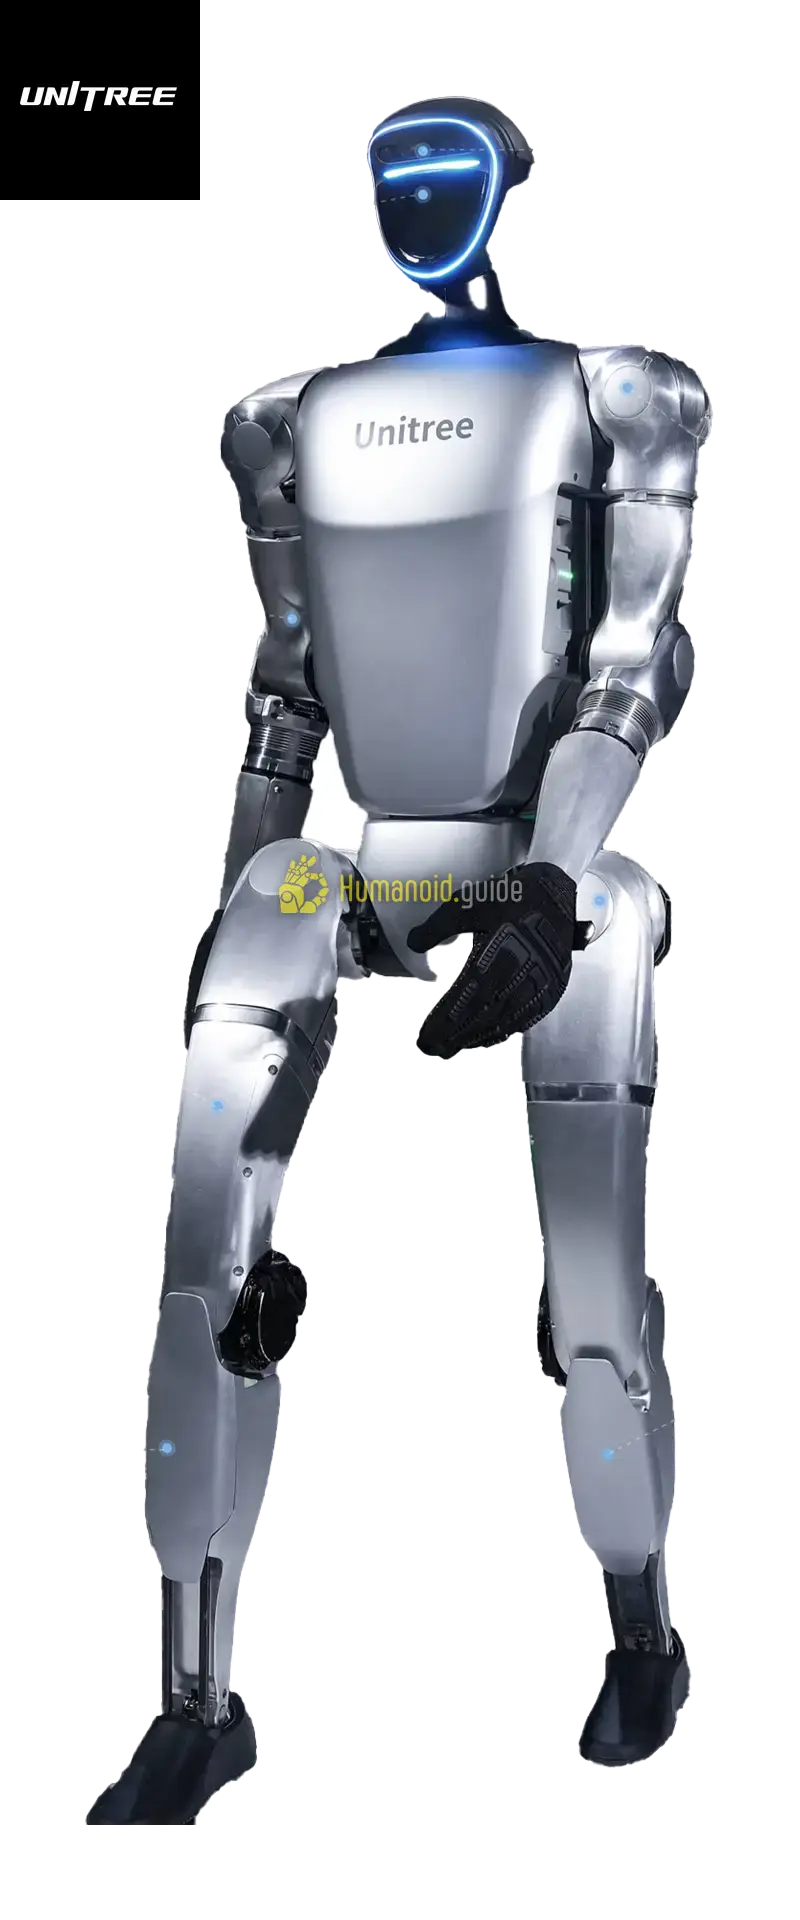
Minimum room size 5 m² (roughly 3 m × 3 m) of flat, non‑slip, indoor floor space. The robot measures 127–132 cm tall × 45 cm wide × 20 cm deep when upright but folds to 69×45×30 cm for storage. An additional 1 m of clearance around the perimeter lets you reach the emergency‑stop without obstruction.
Setup time by phase | Phase | Typical time | |--------------------------------------------|-----------------| | Unboxing & physical inspection | 15 min | | Battery installation & charging | 90 min (charge) | | First boot & suspension | 10 min | | Network configuration (wired) | 15 min | | App / remote binding | 5–10 min | | Firmware update & security hardening | 15–20 min | | Calibration & first walk | 15 min | | SDK / ROS2 installation (advanced, optional)| 30–45 min |
If you already have an Ubuntu 20.04 machine and a suspension rig ready, the hands‑on time drops below 2 hours. Charging the battery fully before the first power‑on avoids interruptions.
Before You Start: Safety & Space Requirements
[CRITICAL] The G1 is a 35 kg bipedal robot capable of 2 m/s movement. It can fall, cause injury, or damage property if not physically secured during its first calibration. Follow these rules without exception.
- Exclusion zone: Mark a 3 m radius around the robot’s startup position. No person, pet, or object may enter while the robot is in Ready or Operate mode.
- Suspension: During the very first boot and calibration, the robot must hang from a secure overhead rig or be firmly seated on a purpose‑built stand. The rig must hold at least 40 kg. Never let the robot stand unsupported until calibration passes successfully.
- E‑stop: Keep the battery button and the remote control within arm’s reach. Pressing L2+B on the remote immediately activates damping (joint‑softening fall‑safe mode). On the robot chassis, press and hold the power button for 3 seconds to perform a hard shutdown.
- Floor surface: Hard, level, and non‑slip (short‑pile carpet or hardwood with an anti‑fatigue mat). Sloped or slick surfaces can cause the robot to slip during calibration.
- Power supply: Use only the included 54 V/5 A charger. Plug the charger into a grounded, surge‑protected outlet.
- Firmware‑dependent controls:
- Firmware 1.4.5 and later (including 1.5.1): damping = L2+B, ready = L2+UP, operate = R2+A.
- Legacy firmware (<1.4.5): damping = L1+A, ready = L1+UP, operate is the same button but may be unreliable.
Always check your firmware version before relying on a button sequence.
Step 1 — Unboxing & Physical Inspection
- Open the shipping crate on a clean, level floor.
- Remove the top foam layer and the accessory box (charger, cables, remote control, quick‑start card).
- With a second person, carefully lift the robot out by gripping the torso frame — never the limbs. The robot weighs 35 kg.
- Place the robot on its back on a padded surface or directly onto your suspension rig.
- Inspect every joint for visible damage, loose fasteners, or misaligned covers. Check the Intel RealSense D435/D435i cameras behind the visor and the Livox MID‑360 LiDAR on the chest.
- Confirm that the 9000 mAh quick‑release battery is present in the accessory box; it ships separately.
Step 2 — Battery Installation & Charging
- Locate the battery bay on the back of the robot.
- Slide the 9000 mAh pack in at a 45° angle and press firmly until you hear a distinct click — the pack must be fully seated.
- Connect the charger to the same port. The LED on the charger glows red while charging and turns green when complete. A full charge takes roughly 1.5 hours.
- Keep the battery plugged in during the first boot and calibration so the robot never runs on partial charge.
> The G1 supports hot‑swapping — you can swap packs without powering down, but for home setup we recommend keeping it on the charger until you are ready to walk.
Step 3 — Powering On & First Boot
- Hang the robot from the suspension rig or seat it securely on a stand. The feet must not touch the floor.
- Press the power button on the back of the robot for about 3 seconds. The chest LEDs will cycle and the fan will spin up.
- Wait for the boot sequence to finish (about 60–90 seconds). The robot will initially be in Damped mode — joints are soft but the robot will not stand.
- Do not attempt to stand the robot yet. Proceed directly to network configuration.
Step 4 — Network Configuration (Wi‑Fi vs Ethernet)
The G1’s internal subnet is 192.168.123.0/24. Three critical IPs are reserved:
| Device | IP address |
|---|---|
| Control computer (RockChip) | 192.168.123.161 |
| Development computer (NVIDIA Jetson Orin NX) | 192.168.123.164 |
| LiDAR (Livox MID-360) | 192.168.123.120 |
Step‑by‑step (wired Ethernet — recommended) 1. Connect your PC directly to the G1’s Ethernet port with a patch cable. 2. On your PC, set a static IP of 192.168.123.99 (any unused address in the subnet except the three above), netmask 255.255.255.0, gateway left blank. 3. From a terminal, ping 192.168.123.164 — you should get a reply. 4. SSH into the Jetson: ssh unitree@192.168.123.164 (default password 123 — change it later).
Wi‑Fi (via the app — basic control only) After the app is bound (Step 5), you can connect the robot to your home Wi‑Fi through the app’s settings. For SDK development, always use Ethernet — latency and packet loss over Wi‑Fi can interrupt real‑time control loops.
| Interface | Latency | Throughput | Use case |
|---|---|---|---|
| Ethernet | < 1 ms | 1 Gbps | SDK, ROS2, real‑time control |
| Wi‑Fi 6 | 2–10 ms | ~600 Mbps | App, telemetry, remote |
Common pitfall: If your PC has multiple network interfaces, the SDK may bind to the wrong one. You must explicitly set the interface name (e.g., enp0s31f6) in the SDK channel‑factory configuration.
Step 5 — App / Remote Control Binding
- Download the Unitree Robotics app from the App Store or Google Play.
- Ensure your phone’s Bluetooth is on. Press L2+R2 on the remote to enter pairing mode.
- In the app, tap “Add Device” and select the G1 from the list.
- Once bound, the remote’s LCD will show the robot’s battery status and current mode.
- Keep the suspension rig in place — the robot is still not ready to stand.
Step 6 — Firmware Update & Security Hardening
[CRITICAL — UniPwn / CVE‑2025‑35027] All Unitree G1 units shipped with firmware prior to 1.5.1 are vulnerable to a wormable BLE command‑injection flaw (CVE‑2025‑35027) that can grant an attacker root access over the air. The disclosure (September 2025) identified a hardcoded AES key and trivial handshake, and the exploit works on firmware 1.30–1.4.4. Even on patched firmware, you must disable BLE provisioning when not in use and segment the robot’s network from your home LAN.
Update process 1. On the bound app, go to Settings → Firmware Update and follow the on‑screen prompts. The current latest is 1.5.1. 2. The update takes about 10 minutes; the robot will reboot automatically. 3. After updating, verify the version on the remote’s LCD or via SSH with cat /etc/unitree/version.
Hardening steps - Disable BLE provisioning: In the app’s advanced settings, toggle “BLE Provision” to OFF unless you are actively pairing a new device. - Change default credentials: SSH into the robot (unitree@192.168.123.164, password 123) and run passwd to set a strong password. - Network isolation: Place the robot on a separate VLAN or use a dedicated router that is not connected to the internet. Keep the robot offline by default. - Update the SDK and DDS to the latest versions listed in Step 7 — check the official changelogs for any additional security patches beyond CVE-2025-35027.
Step 7 — SDK / ROS2 Setup (Advanced)
The G1’s EDU and Ultimate variants ship with an NVIDIA Jetson Orin NX running Ubuntu 20.04.6 LTS and are fully open for development. The Base model does not support the SDK.
Prerequisites on your PC: - Ubuntu 20.04 (64‑bit) - ROS2 Foxy - CycloneDDS 0.10.2 built from the releases/0.10.x branch (do not use the default master — it may not include the unitree_hg IDL support)
Installation commands (copy‑to‑clipboard)
# 1. Install CycloneDDS
cd ~
git clone -b releases/0.10.x https://github.com/eclipse-cyclonedds/cyclonedds.git
cd cyclonedds && mkdir build && cd build
cmake .. -DCMAKE_INSTALL_PREFIX=/opt/cyclonedds
sudo make install
echo 'export CYCLONEDDS_HOME=/opt/cyclonedds' >> ~/.bashrc
source ~/.bashrc

# 2. Clone and build unitree_sdk2 (C++)
git clone https://github.com/unitreerobotics/unitree_sdk2.git
cd unitree_sdk2 && mkdir build && cd build
cmake .. -DCMAKE_INSTALL_PREFIX=/opt/unitree_robotics
sudo make install

# 3. Install Python bindings
cd ~/unitree_sdk2_python
pip3 install -e .

# 4. Clone unitree_ros2 package for ROS2 control
git clone https://github.com/unitreerobotics/unitree_ros2.git
[IMPORTANT] In every SDK example, set the network interface name and ensure the channel factory uses the G1’s unitree_hg IDL (not the older unitree_go). For high‑level RPC commands, the robot’s AI sport client must be ON (not in Debug mode). Debug mode is only for low‑level SDK control; entering it via L2+R2 then L2+A disables the sport client. To exit debug mode, reboot the robot.
Step 8 — Calibration & First Movement
- Keep the robot securely suspended.
- On the remote, press L2+B to engage damping (soft joints).
- Press L2+UP to enter Ready mode. The robot will stiffen slightly but still be supported by the rig.
- Run the calibration routine from the app or via the SDK:
python3 examples/calibration.py (if using the Python SDK). The routine moves every joint through its range of motion. 5. Once calibration passes without errors, lower the robot slowly until its feet touch the floor while still partially supported. 6. Press R2+A to enter Operate mode. The robot will begin balancing. 7. Use the left joystick to command very slow walking (0.2 m/s). Keep one hand on the rig’s safety line. 8. After a successful short walk, you can remove the suspension rig. Never rush this step.
> If you see a fall: immediately press L2+B. The robot will go limp and drop, minimising joint damage. Then debug the calibration log before retrying.
Defining Success: Minimum / Full / Advanced
| Tier | What it looks like |
|---|---|
| Minimum viable | G1 powers on, connects to app, responds to L2+B/L2+UP/R2+A, and takes a single step while supported. |
| Full operational | Networked to PC, firmware 1.5.1, calibration passes, robot walks stably in your space without assistance. |
| Advanced | SDK/ROS2 installed, custom control code runs (e.g., teleoperation via joystick or autonomous path following). |
Common Setup Mistakes & Fixes
| Symptom | Root cause | Fix |
|---|---|---|
| Cannot ping 192.168.123.164 | PC not on 192.168.123.x subnet | Set static IP to 192.168.123.99, netmask 255.255.255.0 |
| “channel factory init error” in SDK | Wrong network interface name | Set the host’s Ethernet adapter name (e.g., enp0s31f6) in the channel config |
| CycloneDDS reports “could not locate CycloneDDS” | Wrong version or install prefix | Re‑build CycloneDDS from releases/0.10.x and set CYCLONEDDS_HOME |
| High‑level RPC commands ignored | AI sport client OFF / robot in Debug mode | Reboot to exit Debug mode; confirm sport client is active (app status) |
| Button combo L1+A does nothing | Using legacy combo on firmware ≥ 1.4.5 | Use L2+B for damping, L2+UP for ready, R2+A for operate |
| Robot does not power on | Battery not fully seated | Remove and re‑insert battery until click; verify charger LED |
| Robot falls at first stand attempt | Suspension rig not used or calibration skipped | Hang robot, run full calibration, lower slowly |
| Remote does not pair | BLE provisioning not enabled | Enable BLE Provision in app temporarily, pair, then disable again |
SDK examples reference unitree_go IDL | Using wrong IDL for G1 | Change all IDL references to unitree_hg; the G1 uses the unitree_hg library |
| Unauthorized SSH access / UniPwn exploit possible | Default password and BLE provisioning left ON | Change password via passwd, disable BLE provisioning, update firmware to 1.5.1 |
Comments