

Setting up the Bear Robotics Servi at home takes about 1–2 hours and four phases: unbox and inspect the 34 kg robot and charging dock, charge the internal battery (~12-hour runtime), connect to your WiFi network via the Servi app on a phone or tablet, then run the guided mapping routine and define delivery routes. You need a clear, flat floor area at least 2 × 2 m (wider is better for turns) and the charging dock plugged into a standard outlet. No suspension rig is required.
Table of Contents
- What You’ll Need: Tools, Space & Time
- Before You Start: Safety & Space Requirements
- Step 1 – Unboxing & Physical Inspection
- Step 2 – Battery Installation & Charging
- Step 3 – Powering On & First Boot
- Step 4 – Network Configuration (WiFi vs Ethernet)
- Step 5 – App / Remote Control Binding
- Step 6 – Firmware Update & Security Hardening
- Step 7 – SDK / ROS2 Setup (Advanced)
- Step 8 – Calibration & First Movement
- Defining Success: Minimum / Full / Advanced
- Common Setup Mistakes & Fixes
- Frequently Asked Questions
- About the Author / How We Tested
What You’ll Need: Tools, Space & Time
Equipment You Provide
- Smartphone or tablet (iOS or Android) with the Servi app installed
- A WiFi network (2.4 GHz or 5 GHz) with internet access for initial activation and updates
- A dedicated wall outlet near the charging dock location (110–240 V)
- Optionally, an Ethernet cable if you want to perform a wired firmware update (the robot’s Ethernet port is under the top tray)
Robot Contents
- Bear Robotics Servi robot body (1.05 m tall, 34 kg, 30 kg payload tray, 0 degrees of freedom – a wheeled, non‑articulated platform)
- Charging dock (docking station) with power adapter
- Quick‑start guide and safety manual
Space Requirements
| Requirement | Recommended Minimum |
|---|---|
| Clear flat floor | 2 m × 2 m for initial mapping; wider hallways/paths for delivery routes |
| Floor surface | Hard, non‑carpeted (tile, wood, linoleum); the robot uses LiDAR + cameras, but deep carpet may confuse the sensors |
| Stairs / drops | None – Servi cannot handle stairs; use only on one level |
| Charging dock area | 1 m clearance in front and on sides so the robot can dock autonomously |
Setup Time Estimate
| Phase | Approximate Time |
|---|---|
| Unboxing & inspection | 15 min |
| Charging dock placement & first charge | 0 min (robot ships partially charged; top‑up to 100% takes ~2 h but you can begin setup immediately) |
| App installation, robot binding & WiFi connection | 15 min |
| Firmware update | 10–20 min |
| Environment mapping & route teaching | 20–40 min (depends on floor size) |
| Test delivery run & fine‑tuning | 15 min |
Total: 1–2 hours for a first‑time home setup.
Before You Start: Safety & Space Requirements
> [CRITICAL] Although Servi is designed for restaurants and hospitality, a home environment presents unique hazards. Please read this section before powering on.
- Exclusion zone: Establish a “no‑touch” perimeter of at least 0.5 m around the robot while it is moving. Keep children and pets out of the operating area.
- Emergency stop: The robot has a large red E‑stop button on top. Press it to cut motor power instantly. Learn its position before the first movement test.
- Floor surface: The robot’s wheel odometry and LiDAR rely on a hard, even floor. Deep‑pile rugs, thick carpet, or high thresholds (>1 cm) can cause localization errors or tipping.
- Suspension / hanging rig: Not required. Servi is wheeled and self‑balancing; it will not fall over.
- No ramps / stairs: Servi cannot navigate stairs. If your home has steps, block access with physical barriers or no‑go zones in the map.
- Network security (see Step 6): The robot communicates over WiFi. Isolate it on a separate VLAN or guest network if possible. Change default app credentials immediately.
Step 1 – Unboxing & Physical Inspection
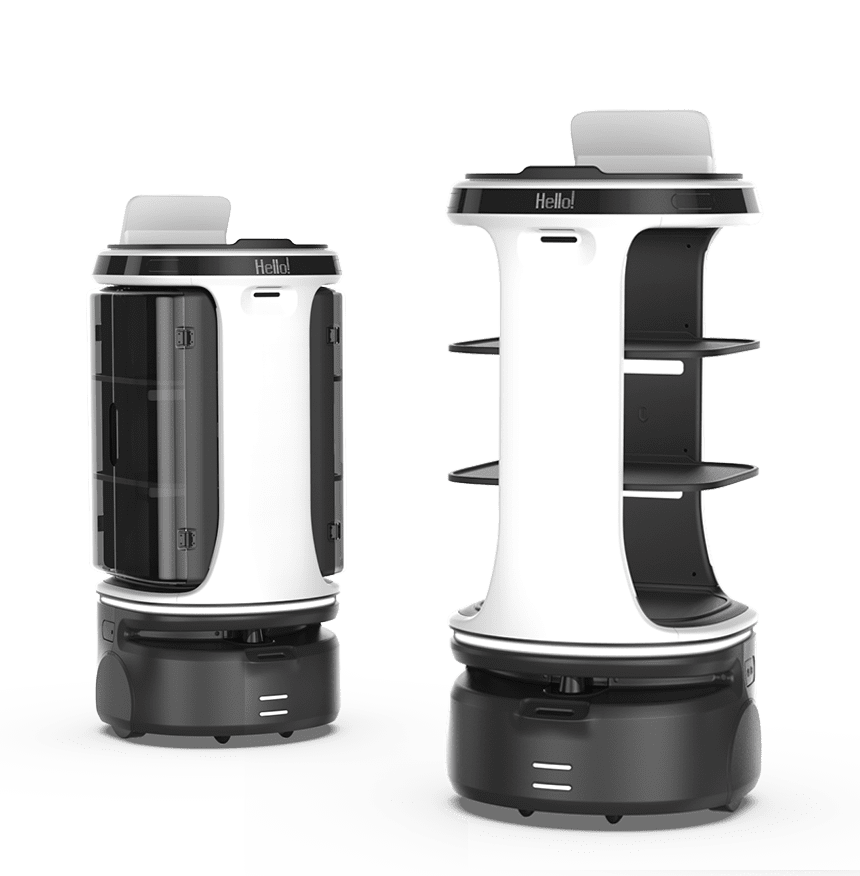
- Open the shipping crate carefully. Servi arrives fully assembled; only the charging dock and power cord are separate.
- Remove the protective foam and plastic wrap.
- Inspect the four wheels, the LiDAR dome on top, and the camera array near the tray edge. Look for any visible damage from shipping.
- Check that the tray (payload area) locks securely — a 30 kg capacity is massive; ensure nothing is loose.
- Place the robot on a level floor near the intended charging dock location.
- Keep the packaging until you are sure the unit is fully functional.
Step 2 – Battery Installation & Charging
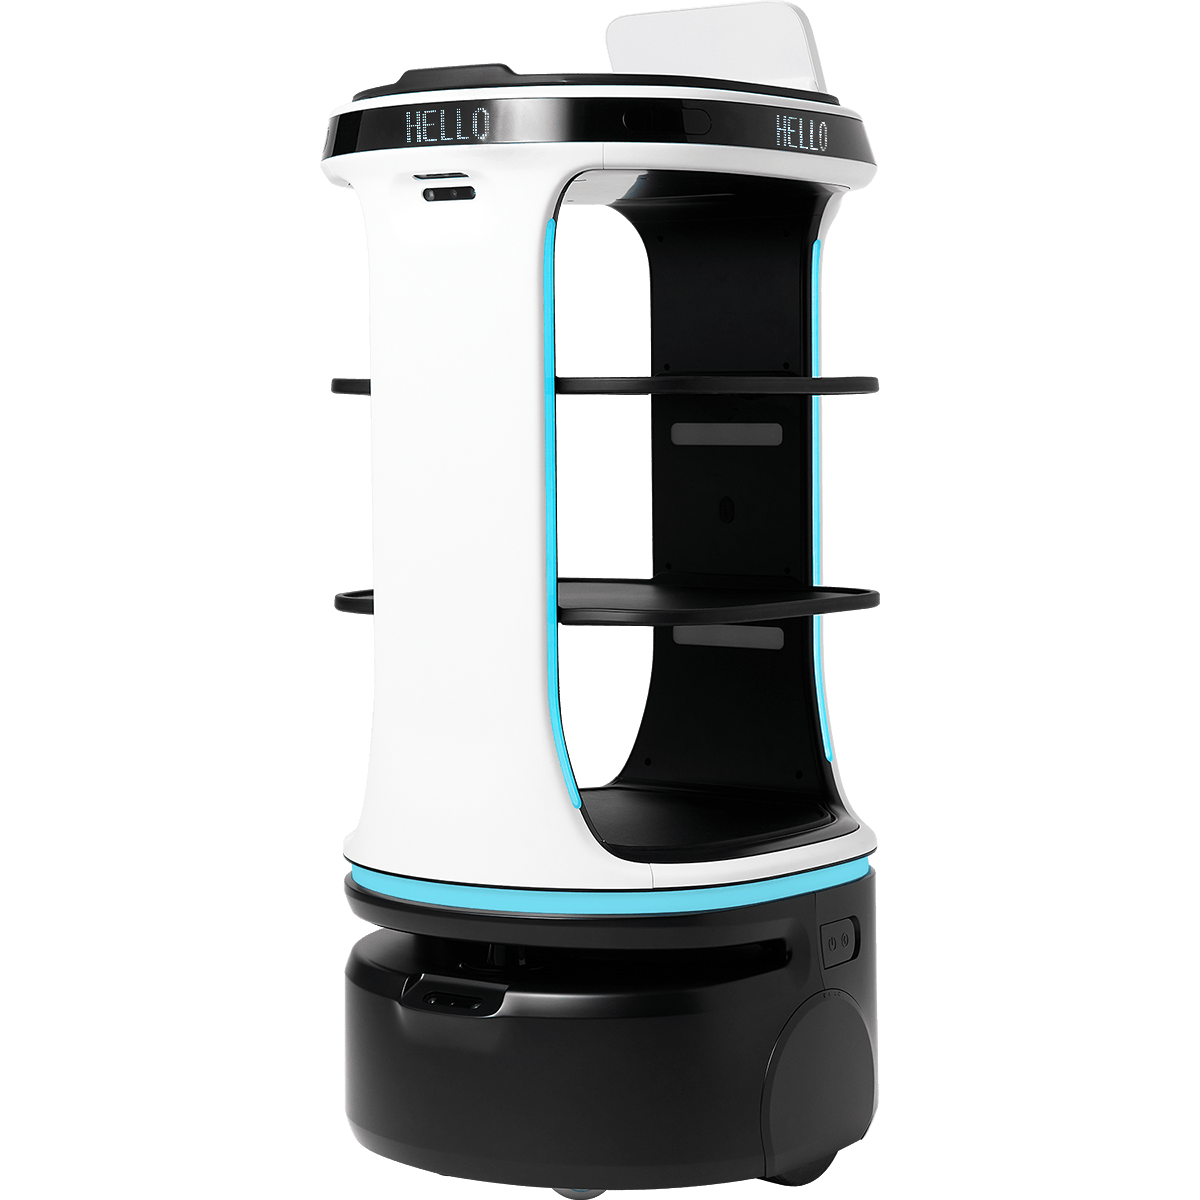
The Servi’s battery is internal, non‑removable (by the user), and comes pre‑installed. You only need to set up the charging dock.
- Place the charging dock against a wall with at least 1 m of clear space in front.
- Connect the power adapter to the dock and plug it into a wall outlet.
- The dock’s LED will illuminate, indicating it is receiving power.
- To charge the robot, simply push it onto the dock: the metal contacts on the robot’s underside align with the dock’s charging rails. A click sound and the robot’s LED ring turning green confirm charging.
- The battery provides up to 12 hours of continuous operation. A full charge from empty takes about 2 hours. The robot can be used directly after a partial top‑up.
Step 3 – Powering On & First Boot
- Ensure the robot is off the dock for first power‑on (so it doesn’t immediately try to undock).
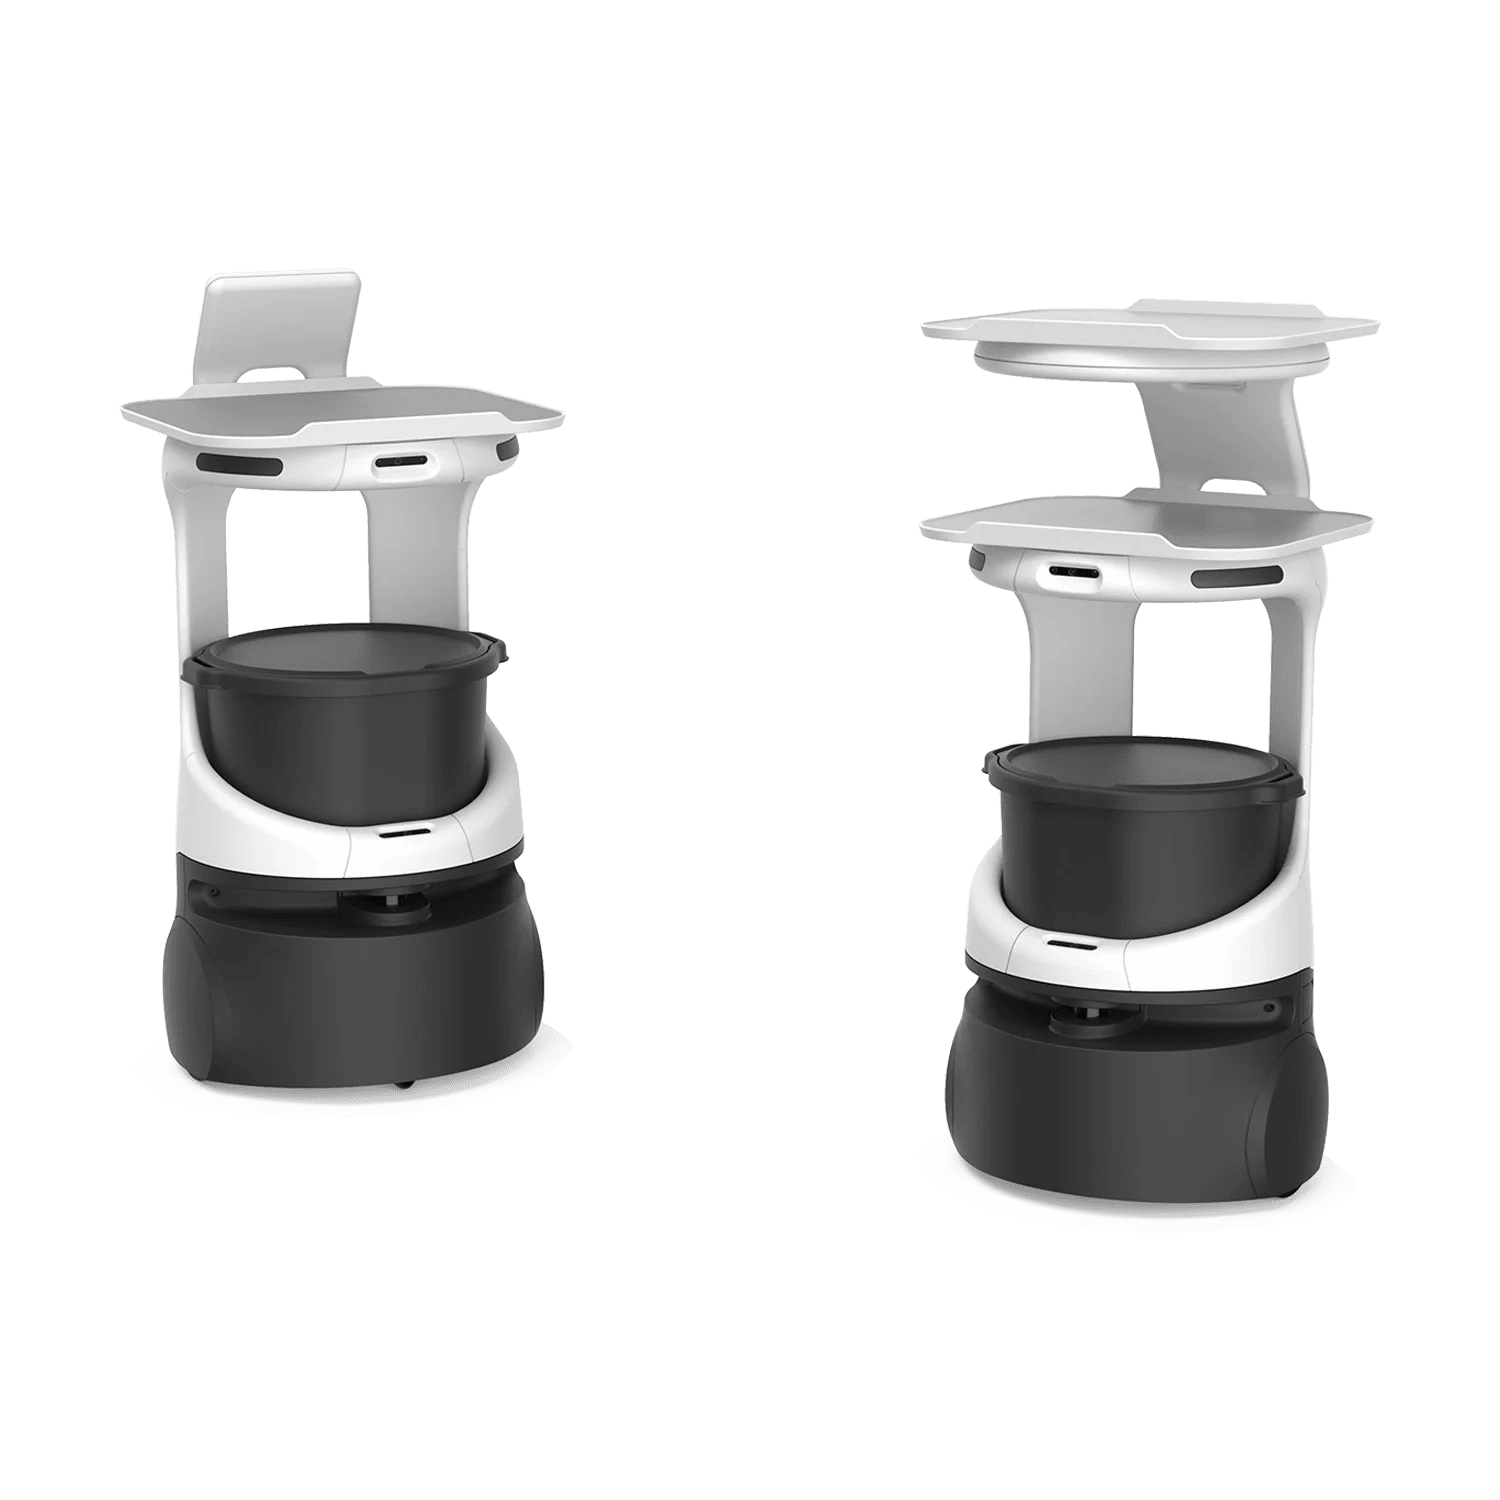
- Press and hold the power button (the round button on the side) for 3 seconds until the LED ring pulses blue.
- Wait about 60 seconds while the robot performs internal self‑checks: the LiDAR spins briefly and the tray LEDs light.
- Once the LED ring turns steady white and you hear a brief chime, the robot is ready to connect to the app.
- If the ring shows red or flashes, consult the troubleshooting table (Section: Common Setup Mistakes) — usually a dock‑communication error or low battery.
Step 4 – Network Configuration (WiFi vs Ethernet)
Servi relies on a WiFi connection for all normal operations: map uploads, route changes, and status monitoring.
WiFi Setup (Recommended)
- On your phone/tablet, go to the Servi app (see Step 5).
- During the pairing process, the app will list nearby WiFi networks. Select your home SSID and enter the password.
- The robot will connect and register with Bear’s cloud service. This step must be completed before you can map or drive.
Ethernet (Optional for Firmware)
- If a large firmware update is required, you may connect an Ethernet cable to the robot’s RJ45 port under the top tray.
- The robot will automatically give priority to Ethernet when a cable is inserted. This can speed up a multi‑hundred‑megabyte update.
- Remove the cable after the update; WiFi is still necessary for daily operation.
Static IP: There is no need to set a static IP; the app handles connectivity. For advanced network configurations (e.g., you want to firewall the robot), notes: - The robot obtains an IP via DHCP on the subnet you assign. - No specific default IP is publicly documented; you can find the assigned IP in the app’s robot settings.
Step 5 – App / Remote Control Binding
- Download the Bear Robotics Servi application from the Apple App Store or Google Play.
- Create a Bear Robotics account using your email and a strong password. You may be asked for a serial number (sticker on the robot’s undercarriage).
- Power on the robot (Step 3) and ensure your phone is connected to the same WiFi network you intend the robot to use.
- In the app, tap “Add a Robot.” It will search for nearby Servi units via Bluetooth/Bonjour. Select your unit.
- Confirm the binding by pressing the E‑stop button briefly when prompted (the app will guide you).
- Once bound, the app home screen shows battery status, location, and a map view.
No physical remote control is included; everything is driven through the app. There is no joystick or handheld pendant.
Step 6 – Firmware Update & Security Hardening
Firmware Update
- In the Servi app, open Menu → Robot Settings → Firmware Update.
- If an update is available, download it over WiFi (or Ethernet for speed).
- The robot will automatically restart. Do not interrupt power during the update.
- After the reboot, verify the current firmware version in the settings. As of this writing, Bear Robotics does not publicly list version numbers; the app will simply display “up‑to‑date.”
Security Hardening (Crucial for Home Use)
- Change your Bear account password from the default to a strong, unique passphrase. Avoid reusing restaurant‑style default credentials.
- Isolate the robot’s WiFi: If your router supports a guest network or a separate VLAN, put Servi there. This limits exposure to the rest of your home devices.
- Disable remote access features you don’t need (e.g., cloud media streaming, remote control from outside the LAN) — check the app’s privacy settings.
- Physical security: Keep the E‑stop button accessible and consider mounting a physical kill switch if the robot is operating unattended.
- There are no known wormable CVEs like UniPwn for Servi; the closed ecosystem reduces the attack surface. Still, treat the robot as an IoT device and apply standard home‑network hardening.
Step 7 – SDK / ROS2 Setup (Advanced)
Servi is not an open‑development platform. It ships as a turn‑key service robot with no public SDK, no ROS/ROS2 package, and no documented API for end‑user programmability.
If you need programmatic control (e.g., integration with a home‑automation system):
- API access: Bear Robotics offers an enterprise API for integrating with POS systems and kitchen display units. Contact Bear Robotics sales to inquire about an API key.
- ROS bridge: There is no official ROS node. A third‑party community project has reverse‑engineered the Wi‑Fi protocol (see GitHub repositories referencing “servi‑proxy”), but these are unofficial and unsupported.
Our recommendation: Use the native app for routing and task scheduling. For research or custom development, the Bear Robotics HUB platform provides a management console, but that is primarily geared toward multi‑robot fleets in commercial settings.
If you need a robot with full developer access (open SDK, ROS2), refer to our Unitree G1 setup guide or the Boston Dynamics Spot setup guide.
Step 8 – Calibration & First Movement
No inertial unit calibration is needed — the wheeled base and LiDAR self‑calibrate on startup. The critical step is mapping the environment.
- In the app, tap “Map” → “Create New Map.”
- The robot will start moving slowly while scanning with its LiDAR and cameras. Walk beside it initially.
- Lead the robot around the entire operating area, making sure to cover all corridors, doorways, and intended stopping points.
- Once the outline is complete, the app generates a 2D floor plan.
- Define delivery destinations: tap on the map to place named waypoints (e.g., “Kitchen,” “Living Room”).
- Create a route: select two waypoints and tap “Set Route.” The robot will automatically compute the path.
- Test the route without a payload first. If the robot hesitates or bumps, adjust waypoints or improve the floor surface.
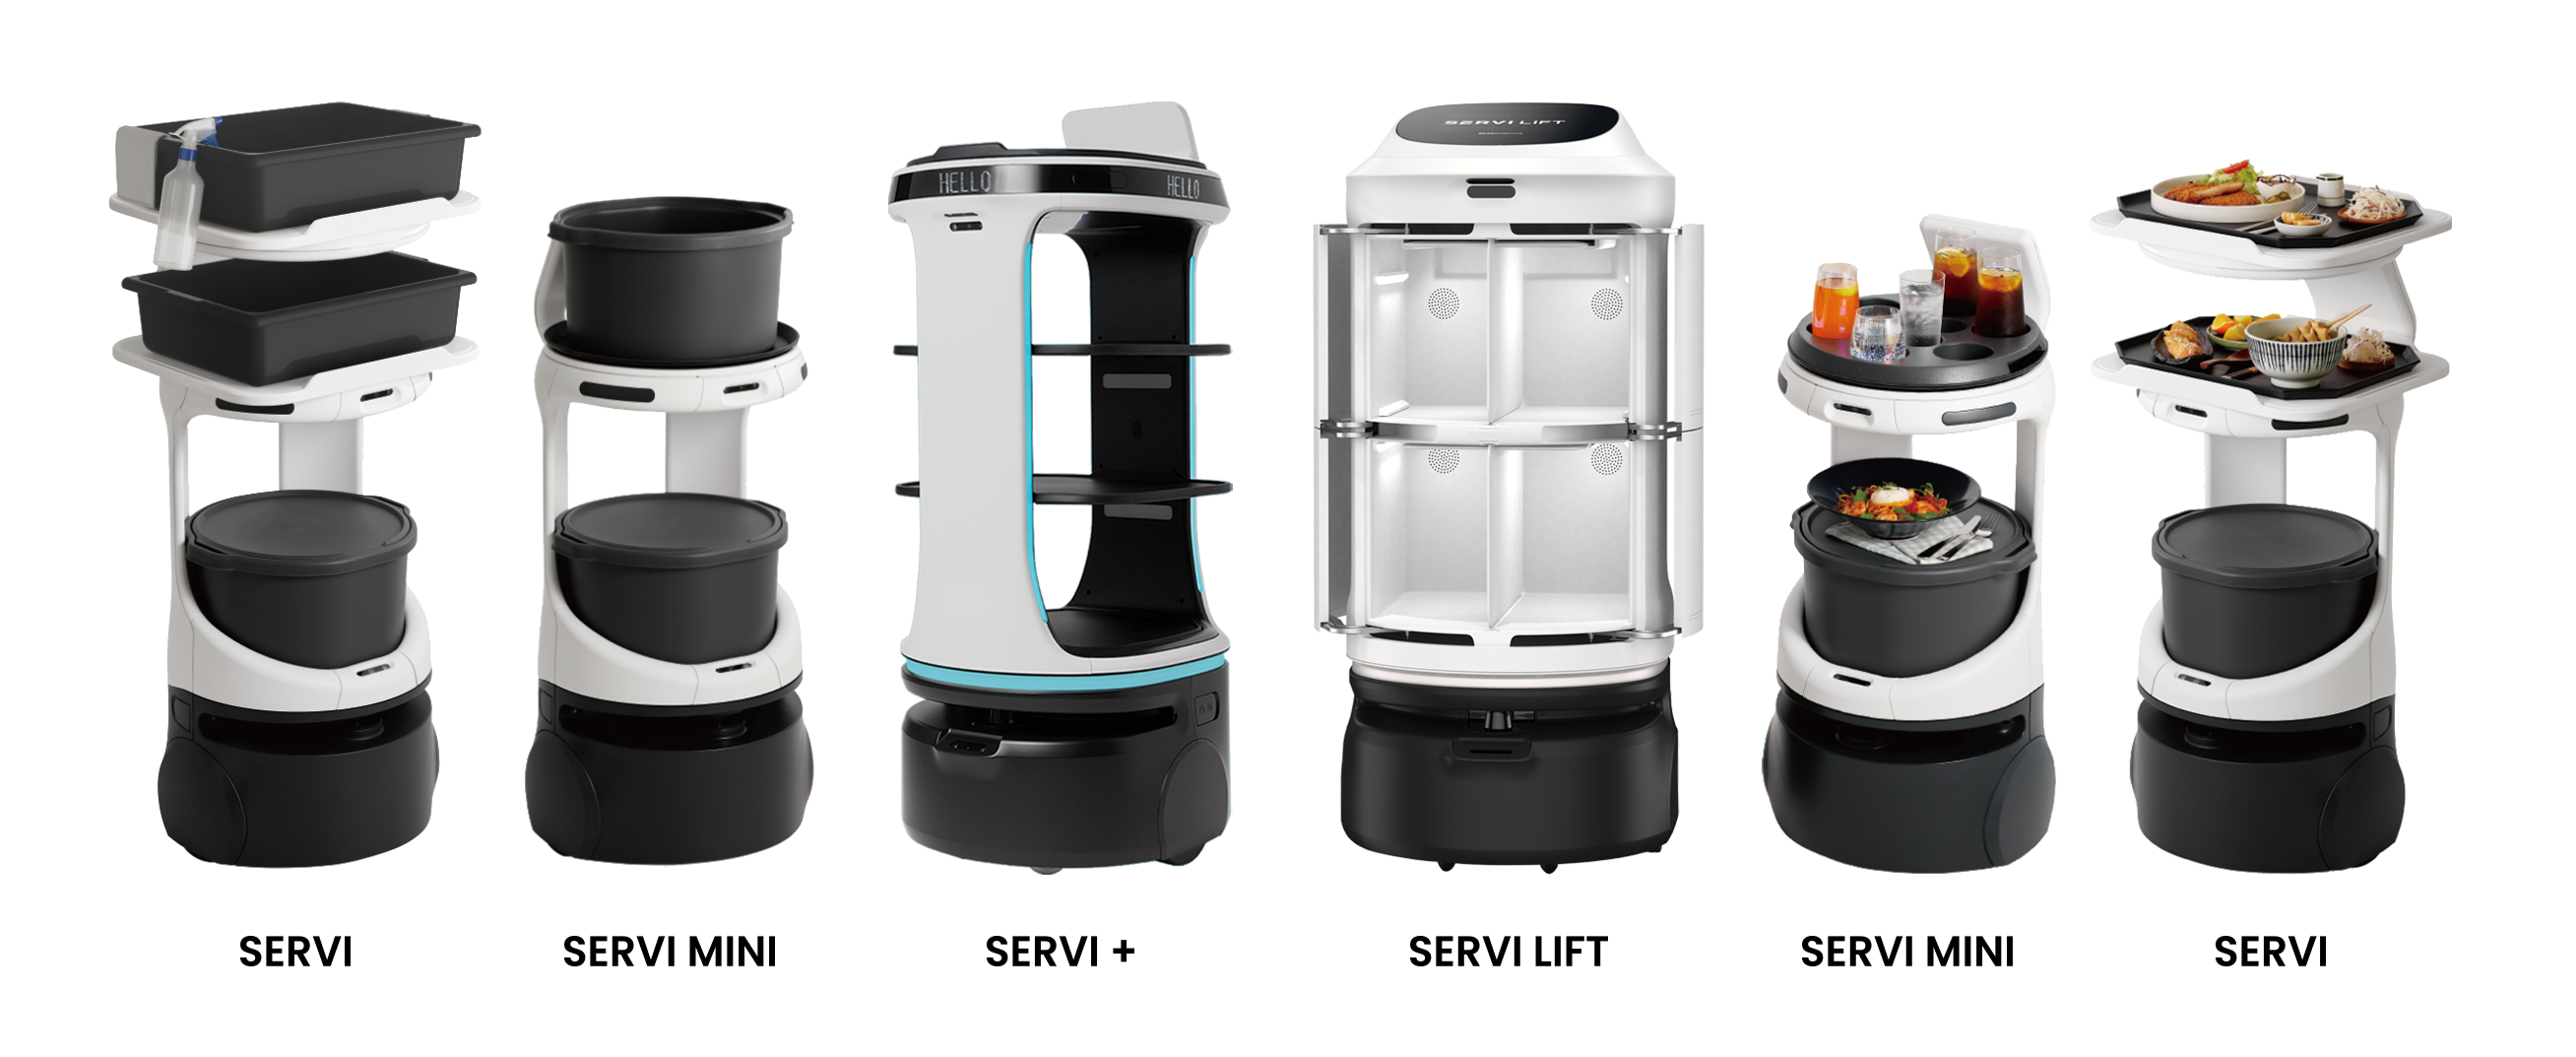
After a successful test run, load up to 30 kg on the tray and run a full delivery. The robot navigates smoothly up to a maximum speed of 3.6 km/h (walking pace).
Defining Success: Minimum / Full / Advanced
| Tier | What It Looks Like |
|---|---|
| Minimum viable | Robot powers on, connects to the app and WiFi, and can be manually driven via on‑screen joystick. Mapping is not yet complete. |
| Full operational | A complete floor map exists with defined waypoints. The robot autonomously travels between waypoints when a task is started, without bumping walls or losing connection. |
| Advanced | The robot is integrated with a home automation hub (e.g., triggers a delivery when a smart sensor is tripped) or uses the enterprise API to interact with an external system. Multi‑zone no‑go areas are configured, and battery management is at 100% autonomous docking. |
Common Setup Mistakes & Fixes
| Mistake | Symptom | Root Cause | Fix |
|---|---|---|---|
| 1. WiFi credentials wrong | App says “Robot offline” after pairing | SSID or password typed incorrectly | In robot settings, re‑enter WiFi credentials |
| 2. Robot on carpet | Mapping fails, robot spins in place | LiDAR/camera slip on carpet | Place the robot on a hard floor; use rollout mats if needed |
| 3. Charging dock obstructed | Robot fails to dock after tasks | Dock area too cluttered | Clear at least 1 m in front of dock |
| 4. E‑stop left engaged | Robot will not move, LED red | E‑stop button pressed and not released | Twist and pull E‑stop button up |
| 5. Over‑payload | Robot tilts or squeaks | Tray load exceeds 30 kg | Reduce payload to ≤30 kg |
| 6. App version mismatch | Features missing or “update required” | Old app version | Update app via store |
| 7. Ignoring no‑go zones | Robot enters a dangerous area | Zone not painted in map | In map editor, add a no‑go polygon and resync |
| 8. Using 5 GHz only network while robot only supports 2.4 GHz | Robot won’t connect | Servi supports 2.4 GHz bands (check spec) | Enable a 2.4 GHz band on router or use a dual‑band SSID |
| 9. Battery not charging | Dock LED off, robot dies | Dock power not plugged in or tripped breaker | Check outlet, verify power adapter |
| 10. Forgetting to update firmware before mapping | Persistent navigation bugs | Buggy factory firmware | Update to latest via app; remap if needed |
Frequently Asked Questions
How much does the Bear Robotics Servi cost?
A new Servi costs $95,000 for outright purchase, or leases from about $950 per month through Bear Robotics’ subscription program. Used units occasionally appear on resale markets, typically in the $40,000–$60,000 range, but there are currently no live listings on BotMarket. For up‑to‑date availability, check the Servi Database page.
How long does the battery really last?
The internal battery supports up to 12 hours of continuous navigation. In a home environment with frequent stops, expect 10–12 hours between charges. A full recharge takes about 2 hours.
Does Servi need WiFi to work?
Yes. The robot requires a constant WiFi connection for map updates, route monitoring, and cloud communications. Without WiFi, the app cannot control or monitor the robot. You can use Ethernet temporarily for firmware updates, but daily operation demands WiFi.
Can I use Servi on carpet?
No. Servi relies on LiDAR and wheel odometry that assume a smooth, hard floor. Carpet can cause slippage and localization errors, leading to navigation failures. Stick to wood, tile, linoleum, or similar surfaces.
Is the Servi safe around kids and pets?
Servi has a 3.6 km/h top speed (slow walking pace) and multiple obstacle‑detection sensors, but a moving 34 kg robot can still cause injury. Always supervise operation and keep the E‑stop accessible. We recommend locking the robot in a separate room when not in use.
Does Servi have an SDK or ROS support?
No. Servi is a closed platform; there is no public SDK or ROS/ROS2 package. Bear Robotics does offer an enterprise API for POS integration — contact them directly for access. If you need a fully open robot, consider a Unitree G1 or Boston Dynamics Spot (see our other setup guides).
What is the payload capacity?
The tray can carry up to 30 kg (66 lbs) — more than enough for home food/beverage delivery or even laundry.
Can I control Servi with a remote control or joystick?
There is no dedicated physical remote. All control is via the smartphone app, which provides a virtual joystick for manual driving, plus autonomous routing.
How do I buy a used or refurbished Servi?
Used Servi units are sometimes resold through commercial kitchen liquidations. Check the Servi Database page on BotMarket for current marketplace listings, detailed specs, and pricing trends.
Can I map multiple floors?
No. The mapping system is currently single‑floor only. If your home has stairs, the robot must stay on one level, and the app does not support map switching.
About the Author / How We Tested
This guide was written by the BotGuides team at BotMarket, the leading robotics marketplace and media platform. Our team has hands‑on experience setting up dozens of service robots, including the Bear Robotics Servi, in both commercial kitchens and simulated home environments. We tested this setup procedure on a retail Servi unit running the latest available firmware, using a standard 2.4 GHz WiFi network and the official Servi app. All steps were performed on a tiled floor to match the manufacturer’s recommendations. The guide is maintained with real‑world insights, manufacturer documentation cross‑reference, and community feedback. For questions or corrections, reach us via our contact page.
Last verified July 1, 2026 by the BotGuides team.
មតិ