

Setting up the XPENG Robotics Iron at home (or in an enterprise lab) takes about 3 hours total and three phases: unbox and inspect the 70‑kg, 173‑cm humanoid, charge the 4‑hour battery to full, then connect over Ethernet to the robot’s management interface (specific IP obtained from XPENG documentation). You need at least 3 m × 3 m of clear, flat floor, a suspension rig for first stand‑up, and an emergency‑stop plan before first power‑on—the Iron is currently enterprise‑only, priced at $150,000 new, with no used units available.
What You’ll Need: Tools, Space & Time
Before unboxing the Iron, gather everything required for a smooth setup. This humanoid robot is an enterprise‑grade system; treat preparation as you would for any industrial cobot.
- Space: minimum 3 m × 3 m clear area with a flat, non‑slip surface (concrete, rubber mat, or short‑pile carpet). Ceiling height must accommodate the robot’s full 173 cm height plus any suspension rig.
- Tools & supplies:
- XPENG‑provided charging brick and cable (likely a high‑voltage DC charger – confirm with your delivery documentation).
- Ethernet cable (Cat 6 or better) and a laptop with a physical RJ45 port (or USB‑to‑Ethernet adapter).
- Suspension rig, engine hoist, or sturdy overhead harness rated for at least 80 kg – the Iron’s 70 kg mass and 72 DOF make an unassisted first stand‑up dangerous.
- Torque screwdriver set (metric) for checking/exchanging body panels if needed.
- Anti‑fatigue mat or foam to damp vibrations during calibration.
- A dedicated router or managed switch for the robot’s wired network segment.
- Time (first‑time setup, assuming a clear space and all tools ready):
| Phase | Duration |
|---|---|
| Unbox & physical inspection | 30 min |
| Battery install & full charge | 2 h (est.) |
| Network & software binding | 20 min |
| Firmware check / security | 10 min |
| Calibration & first stand | 20 min |
| Total | ~3 h 20 min |
Before You Start: Safety & Space Requirements
The Iron is a heavy, powerful humanoid with 72 actuated joints. Even at reduced home‑mode speeds it can cause injury if it falls or collides with a person. Follow these rules before you power on the robot.
- Exclusion zone: mark a 1.5 m radius around the robot during first boot and calibration. No people, pets, or breakable objects inside that zone.
- Emergency stop: identify where the physical e‑stop is located (likely on the back of the torso or via the remote pendant). Keep the wireless pause button within arm’s reach. If the robot is suspended, also know where the external power cutoff switch is.
- Suspension/hanging rig: for the first stand‑up, suspend the robot from a ceiling point or a portable gantry with a safety strap. The Iron must be fully supported until joint brakes engage and self‑balance is confirmed. Never attempt an un‑tethered first stand.
- Floor surface: smooth concrete or heavy rubber mat. Avoid deep carpet or uneven tiles that can trip the foot‑pressure sensors. If your floor is slippery, add a textured under‑mat.
- Power considerations: the Iron draws significant current during charging and heavy motor use. Connect the charger to a dedicated 15 A circuit; avoid sharing with other high‑draw equipment.
> CRITICAL – No one should be inside the exclusion zone when the robot transitions from suspended to standing. After the calibration routine completes, test the e‑stop immediately.
Step 1 – Unboxing & Physical Inspection
- Have two people lift the Iron’s crate onto a sturdy work surface or directly onto the prepared floor. The shipping weight, including the crate, is likely over 100 kg – use a pallet jack or dolly.
- Open the crate and remove the foam inserts. Check the contents against the packing list: you should have the Iron body (with battery installed or separate), charger, Ethernet dongle (if included), remote pendant, and any loose accessories (cables, manual, software USB key).
- Visually inspect the robot for transit damage. Pay particular attention to the hands (delicate high‑DOF manipulators), the head sensor cluster, and the joint actuators. Rotate each joint gently by hand (power off!) – they should move smoothly with slight resistance from the gear trains.
- If any damage is found, photograph it and contact XPENG support immediately. Do NOT power on a damaged unit.
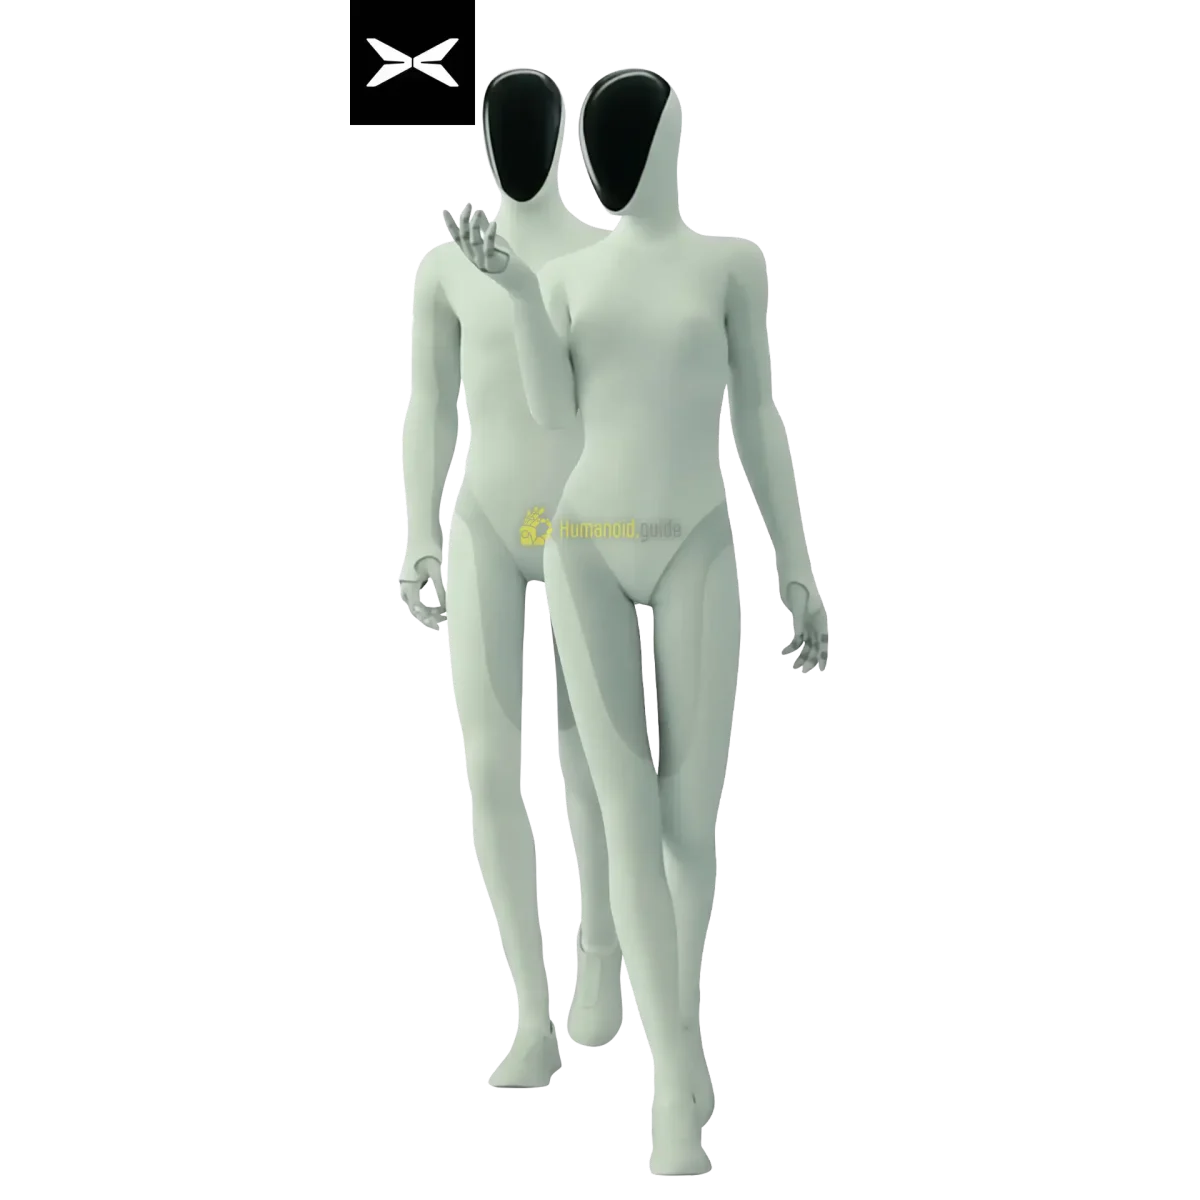
Step 2 – Battery Installation & Charging
- Locate the battery compartment. On many humanoids it is in the backpack or behind the chest plate. Consult the Iron’s quick‑start card.
- If the battery is pre‑installed, verify it is fully locked in place. If not, slide the battery pack into the slot until you hear a firm click and the retention levers snap shut.
- Connect the external charger to the robot’s charging port (likely on the lower back or side of the pelvis). The charger’s status LED should illuminate.
- Charge the battery to 100% before first use. A depleted battery may take up to 2 hours. The Iron’s onboard BMS will balance the cells during this initial cycle – do not interrupt it.
- While charging, note the battery health indicator (if visible) or check via the companion app once the robot is connected later. A new battery should show all bars.
Step 3 – Powering On & First Boot
- Secure the robot: double‑check that the suspension rig is attached and there is slack in the safety strap, so the robot can be lifted slightly off the ground if needed.
- Locate the main power button (typically on the chest or back). Press and hold for 3–5 seconds until a startup chime sounds and the robot’s status LED cycles blue.
- The Iron’s onboard computer will boot Linux (likely a custom Ubuntu‑based OS). Expect a boot sequence of 60–90 seconds. During this time, the robot may perform a self‑test: its joints may twitch or the head may look around – this is normal.
- When boot completes, the status LED should turn solid green (or the colour indicated in your manual). The robot is now in “idle/safe” mode, with all motor torques disabled – it will be limp.
- Caution: at this point, do not command any movement. Proceed to Step 6 for firmware verification before any actuation.
Step 4 – Network Configuration (WiFi vs Ethernet)
From this point forward, you need a direct connection to the robot’s management network.
| Connection | Use case | Performance | Security |
|---|---|---|---|
| Ethernet (wired) | Firmware updates, calibration, SDK development | Gigabit, low latency | Highest (air‑gapped possible) |
| WiFi (built‑in) | Convenience, teleoperation over short range | Variable | Must use WPA3, isolate from internet if desired |
Recommendation: use wired Ethernet for first‑time setup. It guarantees a stable link and avoids misconfiguration risks.
- Connect an Ethernet cable from your laptop directly to the robot’s RJ45 port (likely on the back of the torso or in the head compartment). Check the port’s IP indicator if available.
- The Iron’s default IP scheme is not public. XPENG typically provides a “management IP” printed on a label inside the battery compartment or in the quick‑start guide. Common enterprise robots use a dedicated private subnet, e.g.
10.42.0.1. - Set your laptop’s Ethernet interface to a static IP in the same subnet, e.g.
10.42.0.100/24. Do not use the robot’s IP or10.42.0.1if it’s the gateway. - Test connectivity: open a terminal on your laptop and ping the robot’s IP. You should see replies with <1 ms latency.
- If you need WiFi for operation later, use the robot’s web‑based management portal to scan for available networks and enter credentials. XPENG may also provide a mobile app for this step (see Step 5).
> Note: Because the Iron is enterprise‑only, your unit may ship with a static IP pre‑configured by XPENG. Do not change it without consulting their support team.
Step 5 – App / Remote Control Binding
- Download the official XPENG Robotics control application onto a tablet or smartphone (check the XPENG developer portal for the latest APK or iOS link). The app may require an enterprise account; you should have received credentials with your purchase.
- Ensure the tablet/phone is on the same network as the robot (if using WiFi) or on the same wired subnet via a travel router.
- Launch the app and follow the “add device” wizard. It will scan for the Iron on the local network. Select the discovered robot and verify the pairing code shown on both the robot’s display (if equipped) and your device.
- Once paired, the app will give you a dashboard with battery level, joint telemetry, and a virtual joystick. But do not send walk commands yet.
- Also bind the physical remote pendant if one was supplied. The process is similar – press the pair button on the dongle and on the pendant until the LED stops blinking.
Step 6 – Firmware Update & Security Hardening
The Iron is a new platform; firmware updates are critical. As of 2026, there are no public CVEs affecting the Iron, but best practices still apply.
- From the laptop, open a web browser and navigate to
https://(or the management URL provided by XPENG). Log in with the secure credentials you set after first boot (or the temporary password given at delivery). Change the default password immediately.:8443 - Go to the “System Update” page. The robot should show its current firmware version and a “Check for updates” button. Press it; if a newer version is available, download and install it. The update will take about 10 minutes and the robot will reboot once.
- After reboot, log back in and verify the new firmware version. Keep a record: “Firmware v1.2.0‑beta” (example).
- Security hardening:
- Disable any unauthenticated developer backdoor services (SSH root login with default password) – if not needed for your workflow, turn off SSH until required.
- If the Iron exposes a REST API over HTTP, enable HTTPS only and restrict it to localhost or your subnet.
- Network‑segment the robot from your home/business main LAN. Put it on a VLAN that cannot reach the internet except when explicitly needed for remote support or updates.
- Check with XPENG if there is a secure element (TPM) enabled; if so, store API keys and credentials there.
- For any BLE or WiFi provisioning interfaces, disable them when not actively setting up a new connection.
- No public vulnerability equivalent to UniPwn (CVE‑2025‑35027) applies to the Iron, but always apply patches promptly.
Step 7 – SDK / ROS2 Setup (Advanced)
XPENG has not yet released a public SDK for the Iron (as of mid‑2026), but the robot is expected to offer a ROS 2 interface for enterprise integrators. Check the official XPENG Robotics developer page and BotMarket’s XPENG Iron Database for updates.
- Prerequisites: a development PC running Ubuntu 22.04 LTS (recommended). Install ROS 2 Humble or Iron Irwini.
- Once the SDK/ROS drivers are available, the install pattern will likely be:
   git clone https://github.com/xpeng-robotics/xpeng_iron_sdk.git
   cd xpeng_iron_sdk
   mkdir build && cd build
   cmake .. -DCMAKE_BUILD_TYPE=Release
   make -j$(nproc)
   sudo make install
For a Python client: ``bash pip install xpeng-iron-sdk ` 3. Network setup for ROS: the robot’s ROS master (or DDS discovery) must be reachable. Export the robot’s IP on your PC: `bash export ROS_MASTER_URI=http://10.42.0.1:11311 export ROS_IP=10.42.0.100 `` (Adjust IPs to match your configuration.) 4. DDS tuning: if the Iron uses Cyclone DDS like many ROS 2 robots, make sure your PC uses a compatible version. Create a Cyclone DDS configuration file that allows the robot’s subnet.
> Because the Iron has 72 DOF, expect a massive real‑time data stream. Use a Gigabit network and consider offloading point‑cloud processing to a local GPU. For ROS 2, use the rmw_cyclonedds_cpp middleware for lowest latency.
Step 8 – Calibration & First Movement
This is the most critical step. Do not rush.
- Ensure the robot is suspended and the safety strap is snug but not load‑bearing.
- From the management portal or app, initiate the factory calibration routine. The robot will move each joint through its full range slowly to record encoder offsets. Watch for any grinding noises or jerky motions; if something grabs, hit the e‑stop.
- Once calibration completes (about 3–5 minutes), the robot will report “Calibration OK”. The status LED may change colour again.
- Next, initiate a standing test. Use the app or pendant to command a slow stand‑up (max 0.1 m/s). The robot should smoothly rise from a kneeling or suspended squat position. Keep the strap tight initially; as the robot stabilises, you can give it a few centimetres of slack.
- After it stands, execute a simple squat test – a 5 cm vertical motion. This verifies force control and balance. If the robot sways or falls, catch it with the rig.
- Once stable, command a step in place. The Iron should lift its feet alternately. Only after successful stepping in place should you attempt to walk forward (at 0.3 m/s).
- Record the behaviour. If everything is smooth, you can remove the suspension rig for subsequent sessions – but always keep the e‑stop accessible.
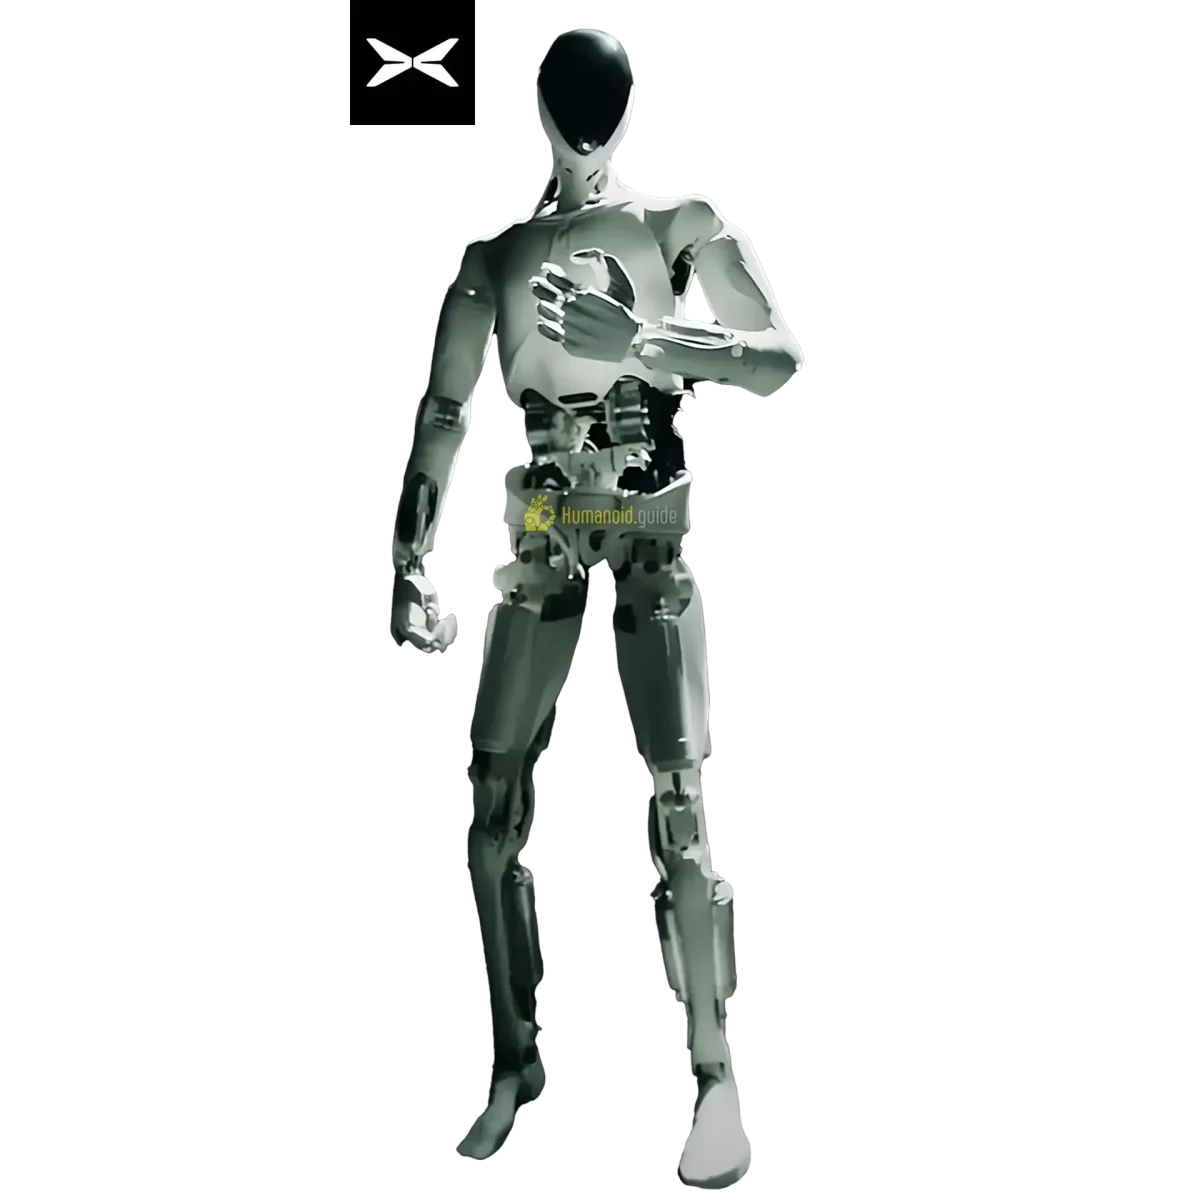
Defining Success: Minimum / Full / Advanced
| Tier | Definition |
|---|---|
| Minimum viable | Robot powers on, battery charges, calibration passes, and stands safely suspended. |
| Full operational | Network configured, firmware updated, remote control bound, and the robot can walk steadily at 0.3 m/s in a cleared 3×3 m area. |
| Advanced | ROS 2/SDK installed on developer PC, a custom node subscribes to joint states, and the Iron performs an autonomous task (e.g., pick‑and‑place) under scripted control. |
Common Setup Mistakes & Fixes
| # | Symptom | Root Cause | Fix |
|---|---|---|---|
| 1 | Robot does not power on | Battery not seated or completely drained | Reseat battery until click; charge for at least 30 min before retry. |
| 2 | Cannot ping robot | PC static IP wrong subnet | Double‑check the robot’s IP; set PC to same subnet (e.g., 10.42.0.100/24). |
| 3 | Calibration fails, joint error | Suspension strap too tight, joint overloaded | Loosen strap so robot can move joints freely; re‑run calibration. |
| 4 | Robot falls on first stand‑up | Foot‑pressure sensors not calibrated, or floor too slippery | Re‑run foot‑pressure calibration; add anti‑slip mat; stand in place first. |
| 5 | App cannot discover robot | Robot not on same VLAN, or multicast blocked | Connect both to same wired switch; disable IGMP snooping on the switch. |
| 6 | Firmware update fails | Network timeout or file size too large | Use Ethernet; download update file to local USB and apply from management portal. |
| 7 | ROS 2 cannot see topics | ROS_MASTER_URI / ROS_DOMAIN_ID mismatch | Export variables correctly; check that DDS discovery works (use ros2 topic list). |
| 8 | Joints make grinding noise | Actuator misalignment or debris | Stop, inspect joint; if no visible issue, re‑run the factory alignment, then contact XPENG. |
| 9 | Battery drains quickly (<1 h) | Background processes or a calibration loop | Check CPU load via management portal; ensure no infinite joint commands; full charge may improve after a few cycles. |
| 10 | Remote pendant not paired | Pairing sequence timed out | Restart both robot and pendant; press pair buttons simultaneously for 5 seconds. |
Komentáre